

Tutorials take a lot of time & effort to create, and I choose to make mine available for free. If you enjoy this guide, you can support me with a donation that feels right for you, here.


 III. Next I did my back center seam:
 IV. And then cut pockets and placed them right side to right side on the front and the back:
 .. And sewed them in place along the sides.
 V. Then I just placed right sides together, aligning pockets neatly, and first went over the edges with my serger, then added a straight stitch. You could finish the edge with a zig zag too. I also sewed the inseam at this point.
 VI. Try-on time! Get in the pants and pin your pleats/darts until you get a good fit. I ended up taking a few cm in at the center back seam first, then did two pleats in the front..
 .. Which I secured with a stitch along the waistline..
 .. And two darts at the back to get a snug high waist fit.
 VII. Last big step was to add my waist band. I first cut it out (I like to cut 10 cm or so longer than the waist circumference measurement just in case), and pressed in half width-wise, plus the seam allowances:
 Then pinned right side facing reverse, and sewed along the pressed seam allowance ditch:
 Next I folded the waist band over itself, sewed vertically, aligning with the ends of the zip fly as you see in the photo, and trimmed the corners before turning right side out.


TOOLS:
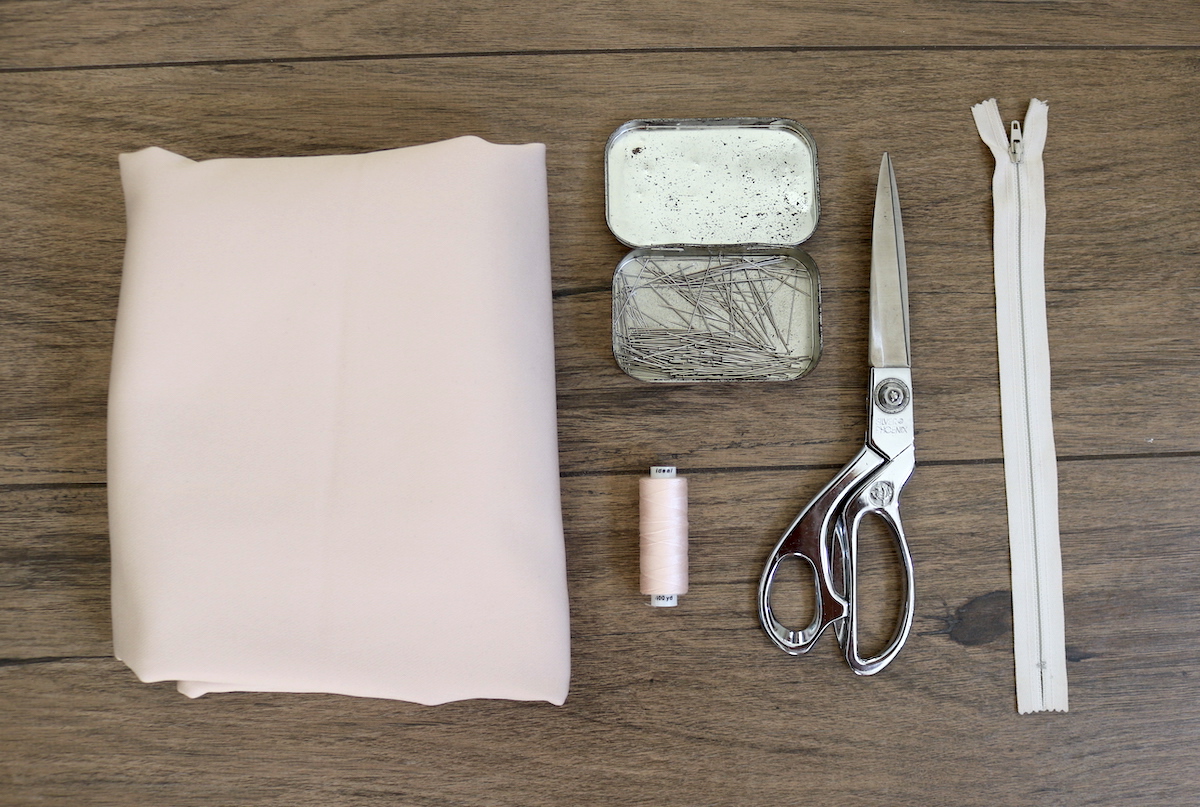
Fabric, 1.1 m full width (could be less or more depending on how tall you are), I used a cotton mix with a nice amount of stretch | Scissors | Zipper (fly length, mine was excessively long but the only colour-matched one I had) | Pins | Thread, sewing machine, serger if you have
I. This will definitely not become a habit, but here's an illustration of the front and back pieces. You need two of each. The waistline measurements may seem excessive but they disappear into pleats, darts, and the front fly. My waist is 70 cm, so if we do the math: 2 x 29 cm (front piece width) + 2 X 30 cm (back piece width) = 118 cm. Let's deduct from that:
- About 3.5 cm for the zip fly (on both front pieces): 7 cm
- 1 cm of seam allowance on each piece: 8 cm
Leaves us with 103 cm. Deducting my waist measurement 70 cm, leaves 33. That will be used for darts to create the tailored look. I usually do 6 cm deep pleats in the front, so if I do 1 on each side, we're down to 21 cm. I'll probably use that up by taking some in from the sides, so I have enough left to make either one dart per side at the back, or two. So.. based on that you could use these same measurements even if you're EU38-40, just adjusting the amount you take in with the darts/pleats.
Here's what my cut pieces looked like IRL:
II. I've already done a detailed tutorial on sewing a front fly zipper before, so you can just refer to that here. You can think of cutting the shape this way: The area in the green borders is where your zipper will live, and the stitch there should be a basting stitch (your longest stitch), since it will be removed later. The stitch along the curved pink line is a regular stitch. For the rest just follow the steps in the link.
.. And you'll have your fly ready!
And finally sewed on the right side, right along the edge to secure the waist band in place. Last step was to sew my button hole & button in place.
If you give these a go, tag me on IG, I want to see! :)
xo,
Julia


It's looking good on you.
ReplyDeletePM Kisan Yojana provides crucial financial support to farmers, ensuring their welfare and boosting agricultural productivity. Timely installments help ease the financial burden, promoting sustainable growth in the agricultural sector. PM Kisan Status
ReplyDeleteA speaker cleaner is a tool or app designed to remove dust, water, or debris from smartphone or speaker grills by playing specific sound frequencies to help restore audio quality.
ReplyDelete