

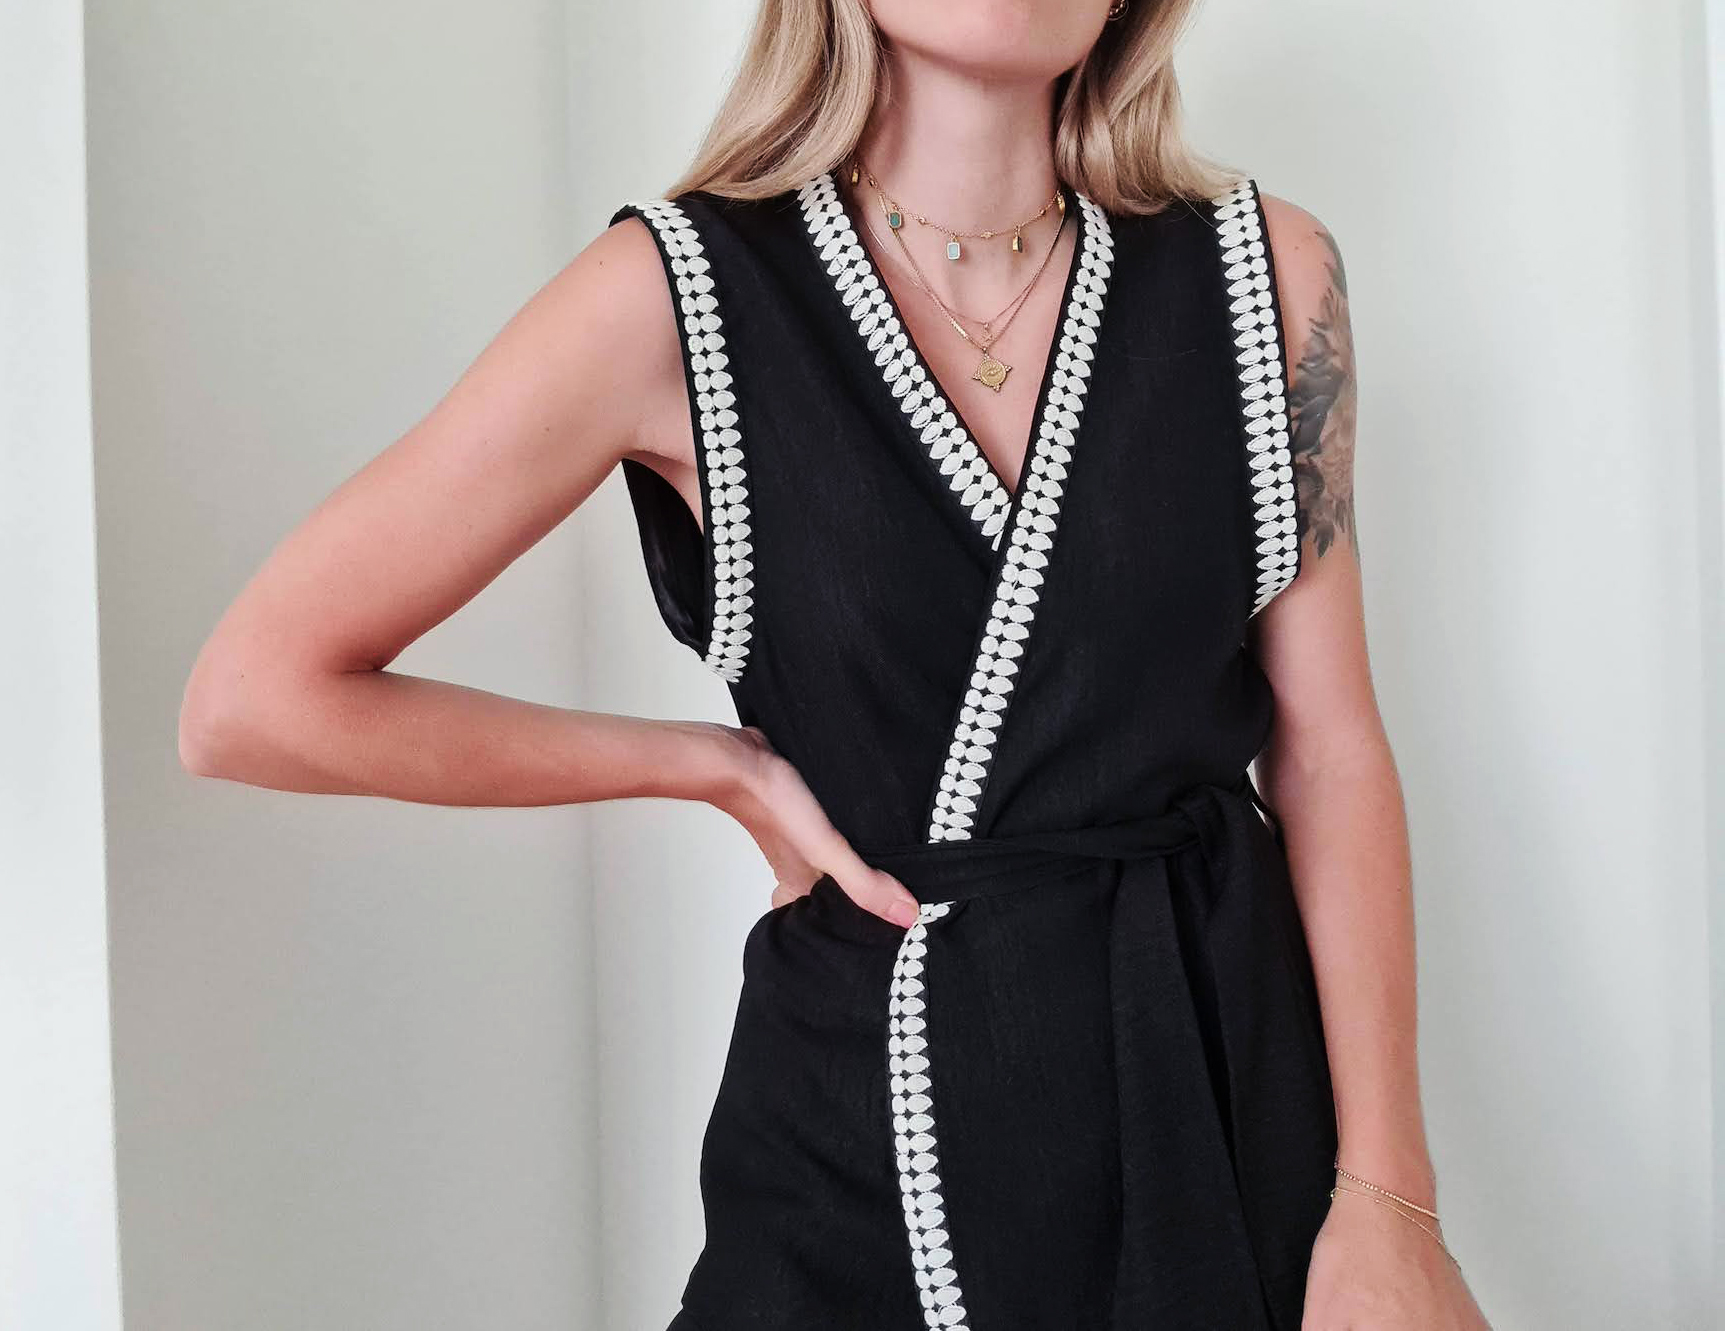
I've had a vision of this set in my head for a while, but finding the right trim was a quest. I was hoping to use something a bit wider, but turns out in Dubai, finding a simple black & white design trim is not an easy task (everything has either metallic elements or is very ornate..) This one got me close enough. With these measurements, the vest has a loose fit on my size EU36/US4, and would work for up to EU40/US8 fitting slightly closer.
If you make this use #VeniceVest so I can see <3
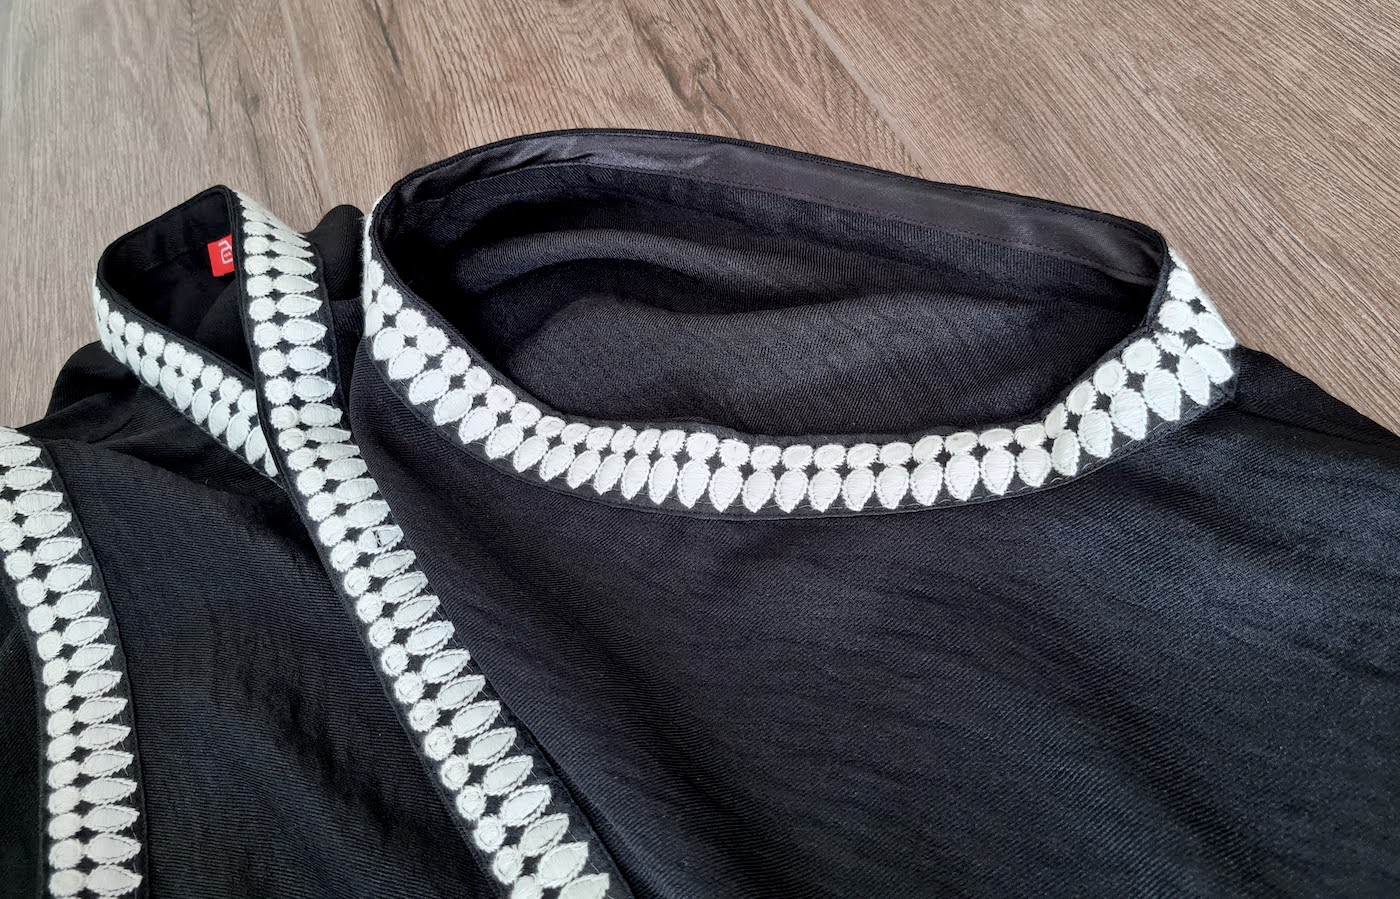
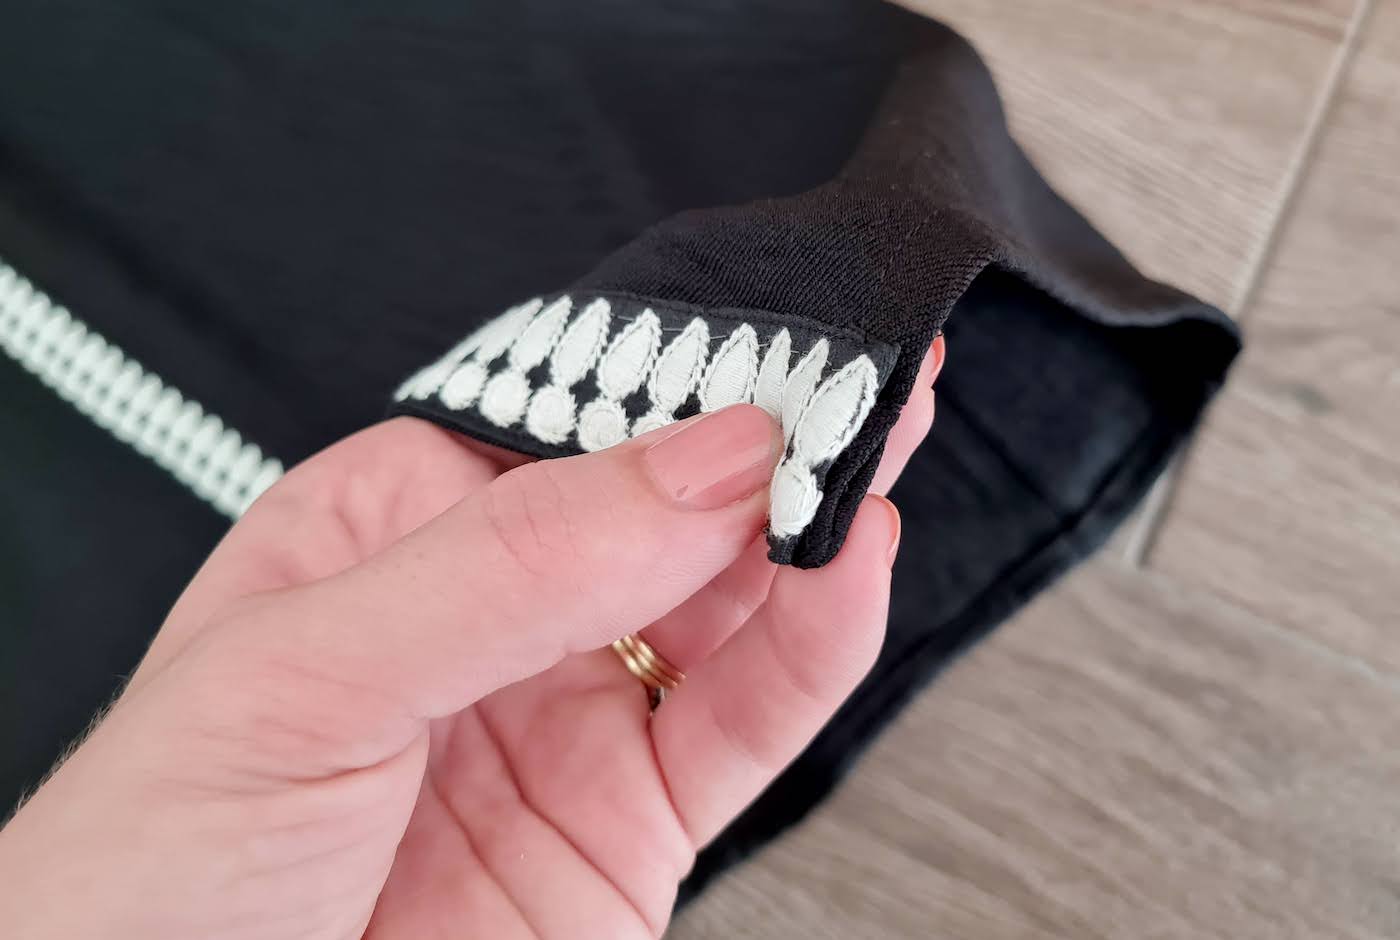
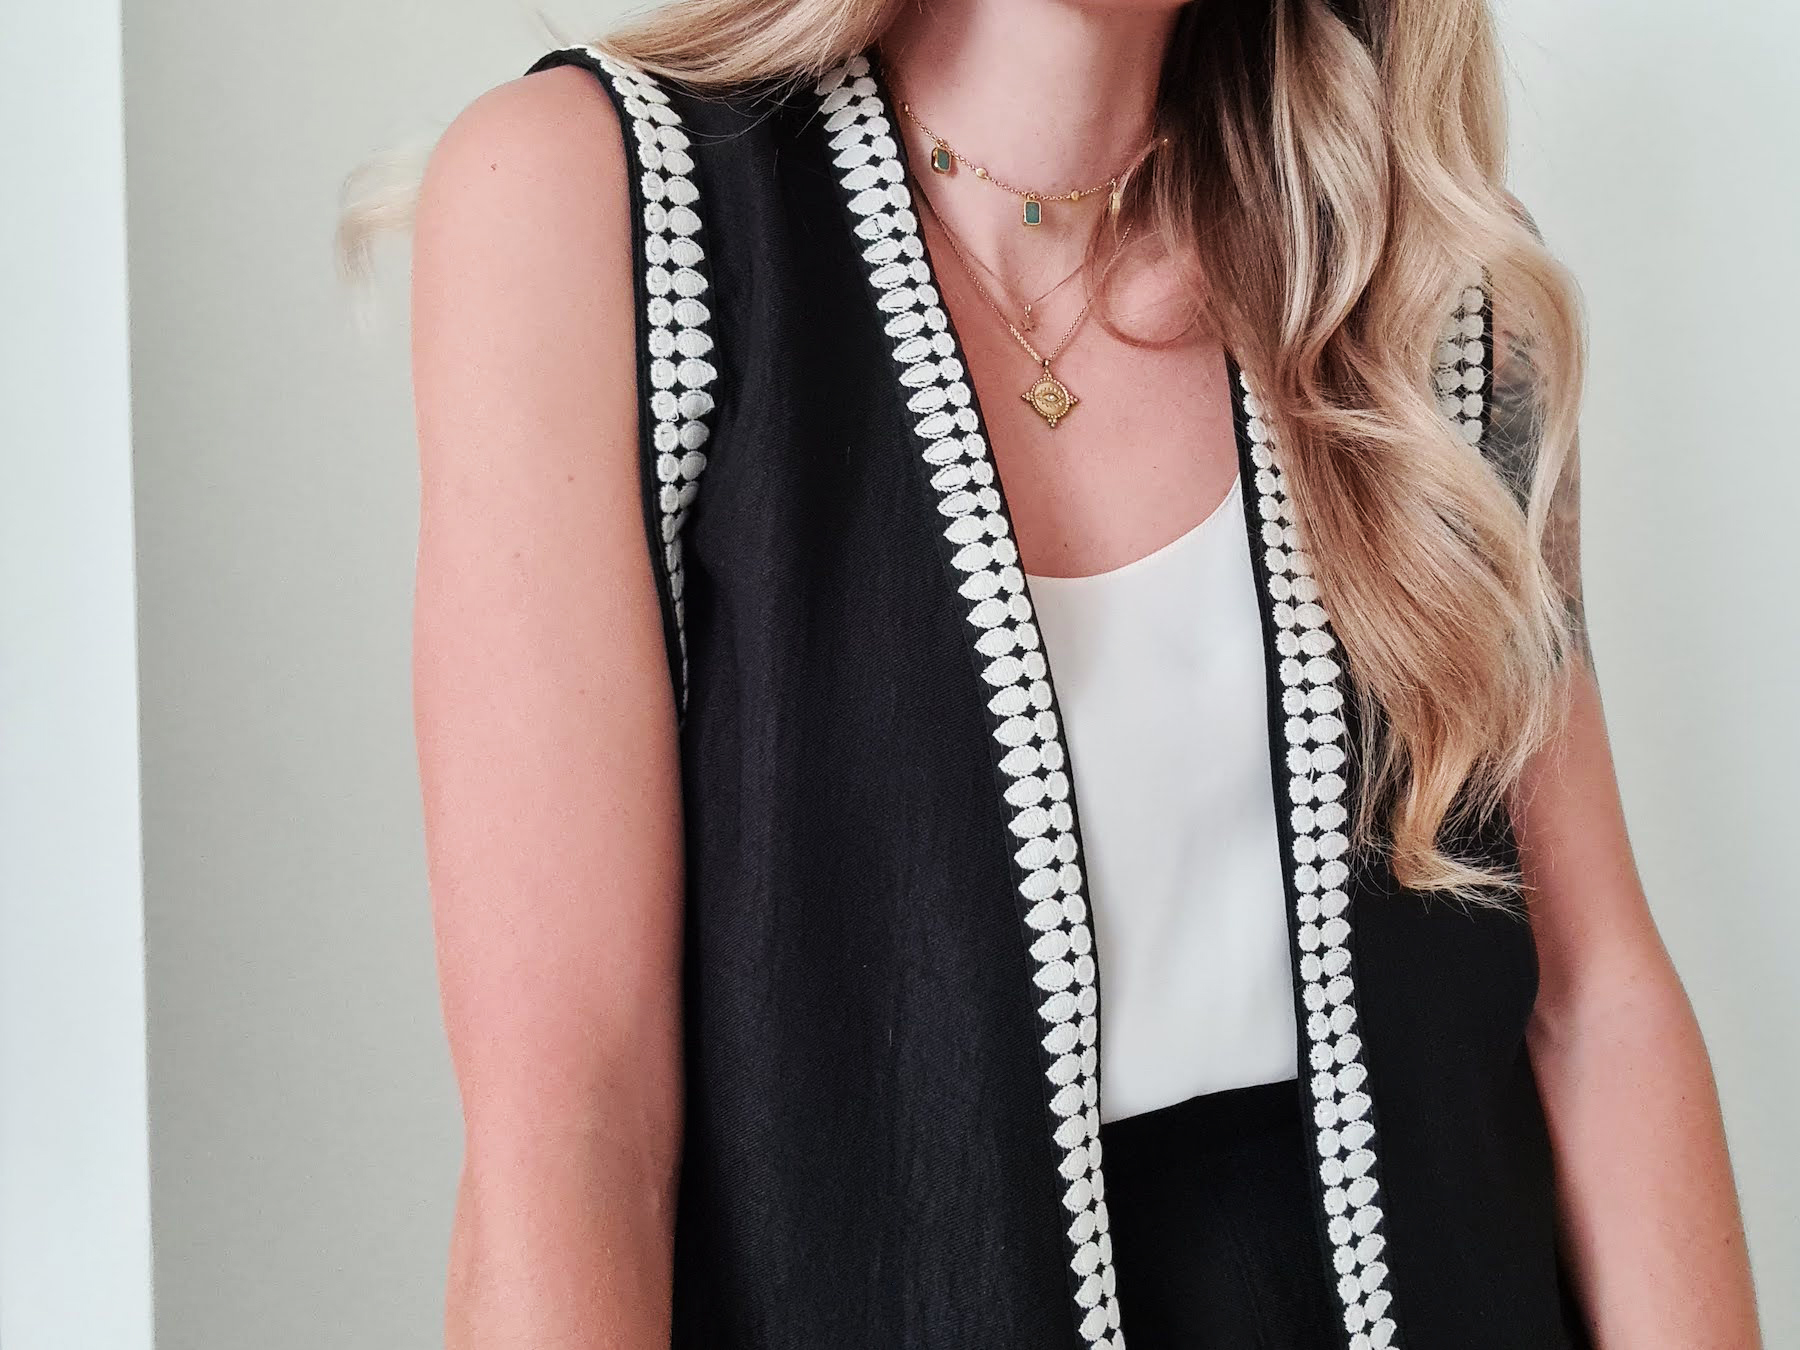
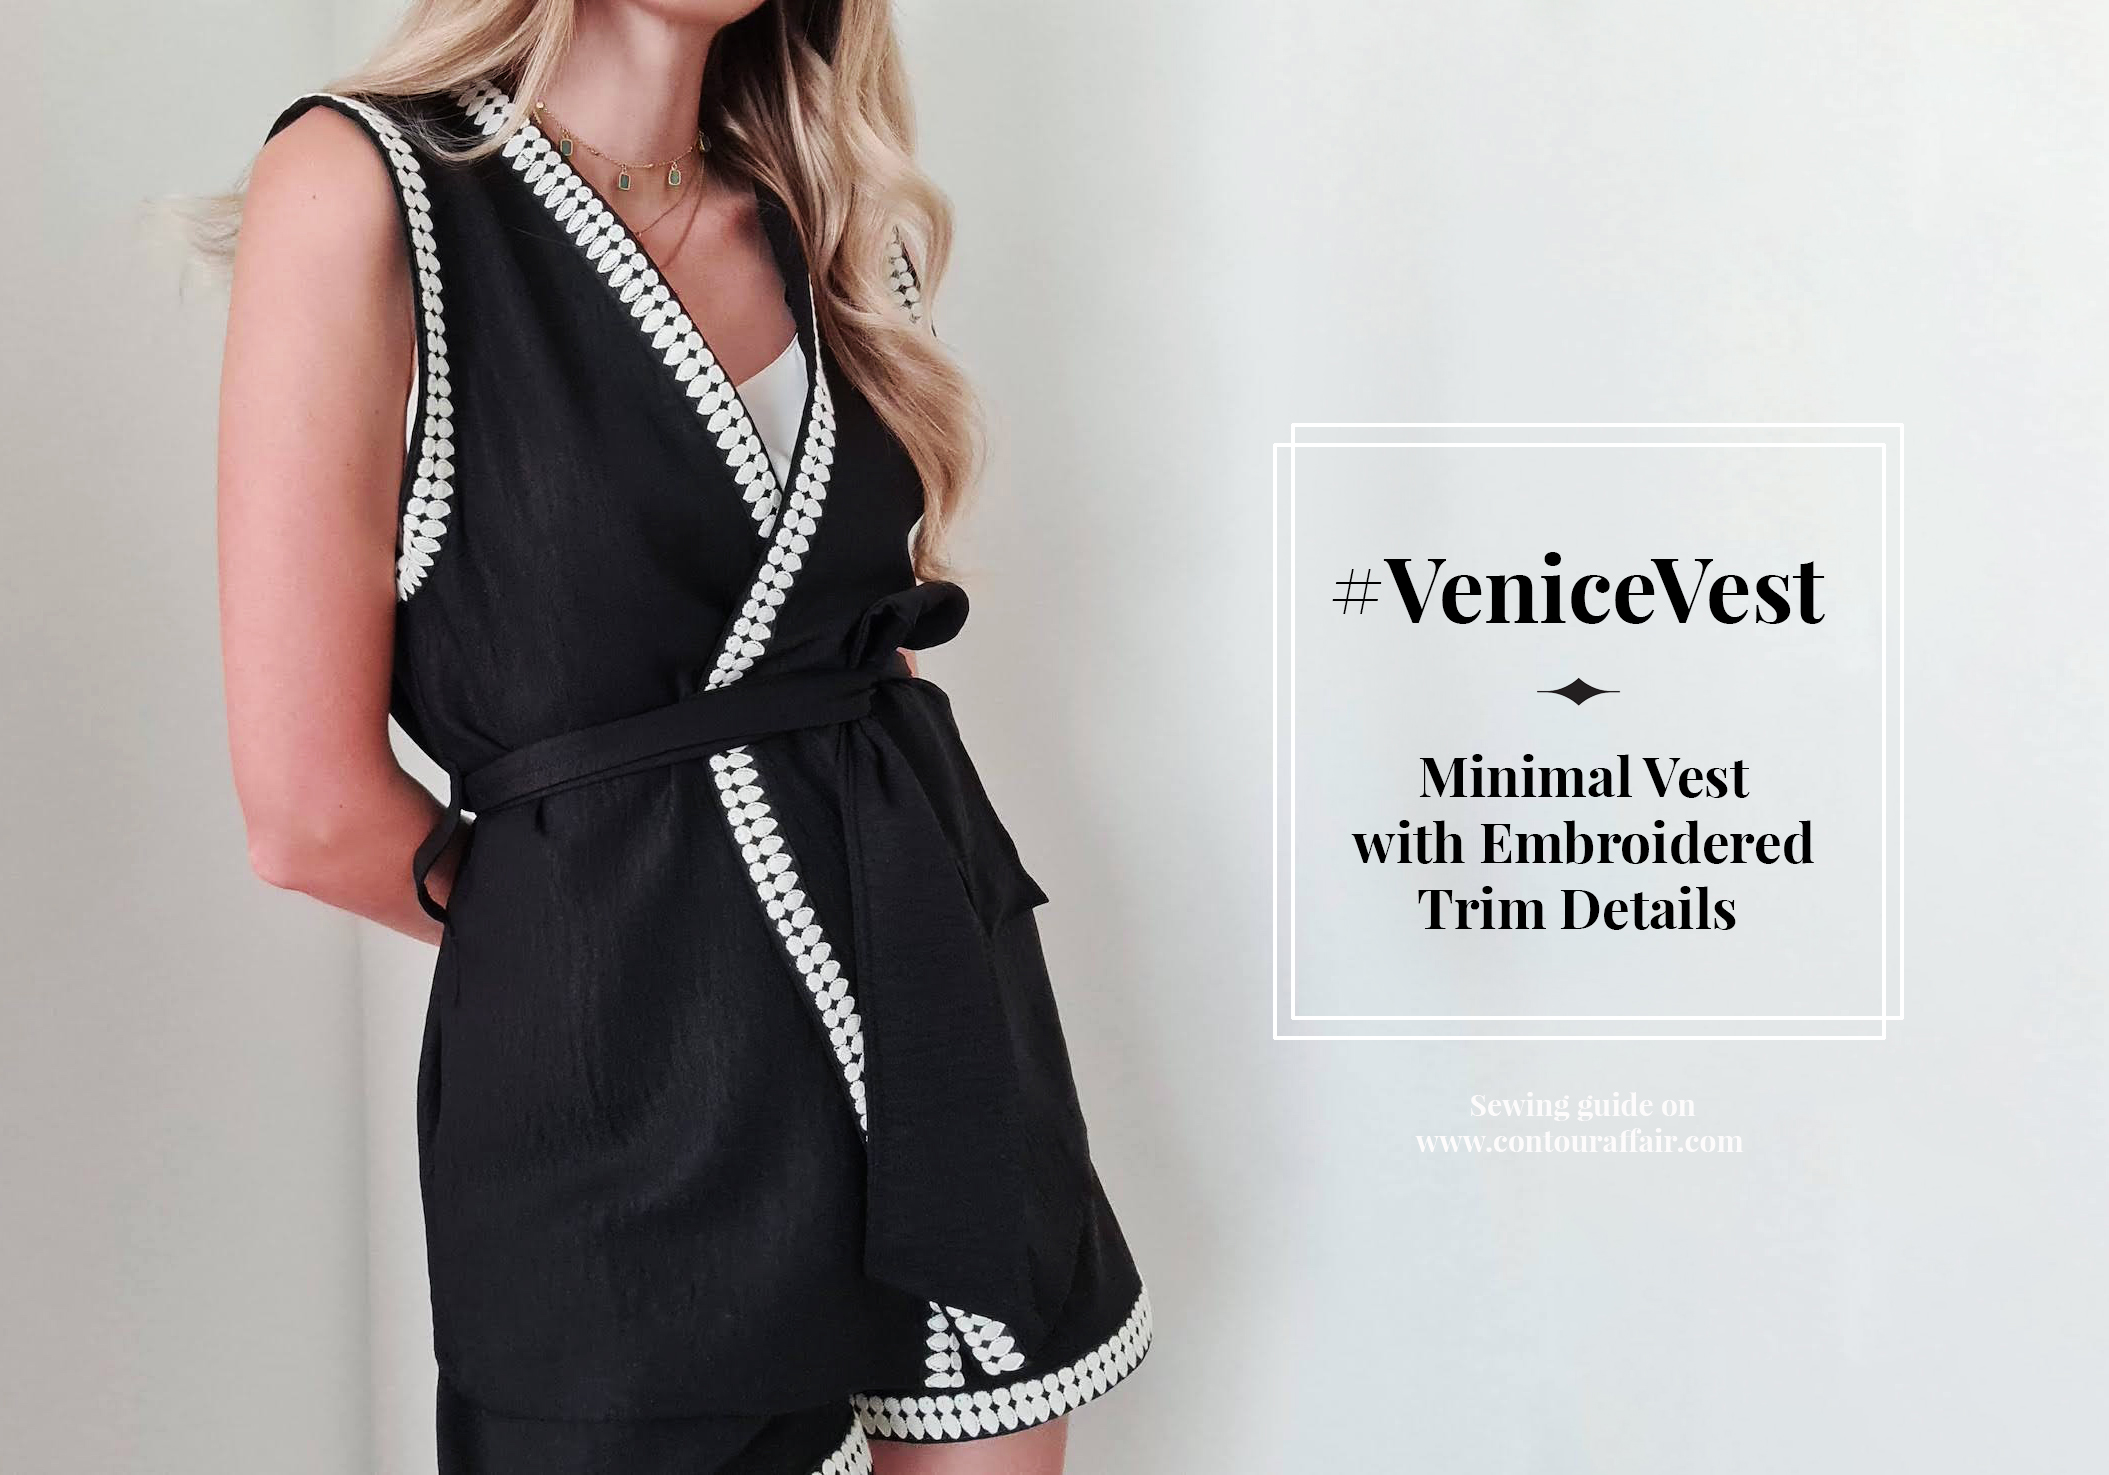
I'm feeling an era of trim starting.. so much opportunity lies here. The shorts are just another version of these elasticated babies. I chose to put trim along the armholes and the front of the vest, but more could be more and you could also do the vest hem and/or the belt.
Tutorials take a lot of time & effort to create, and I choose to make mine available for free. If you enjoy this guide, you can support my work with a donation that feels right for you, here.
TOOLS:
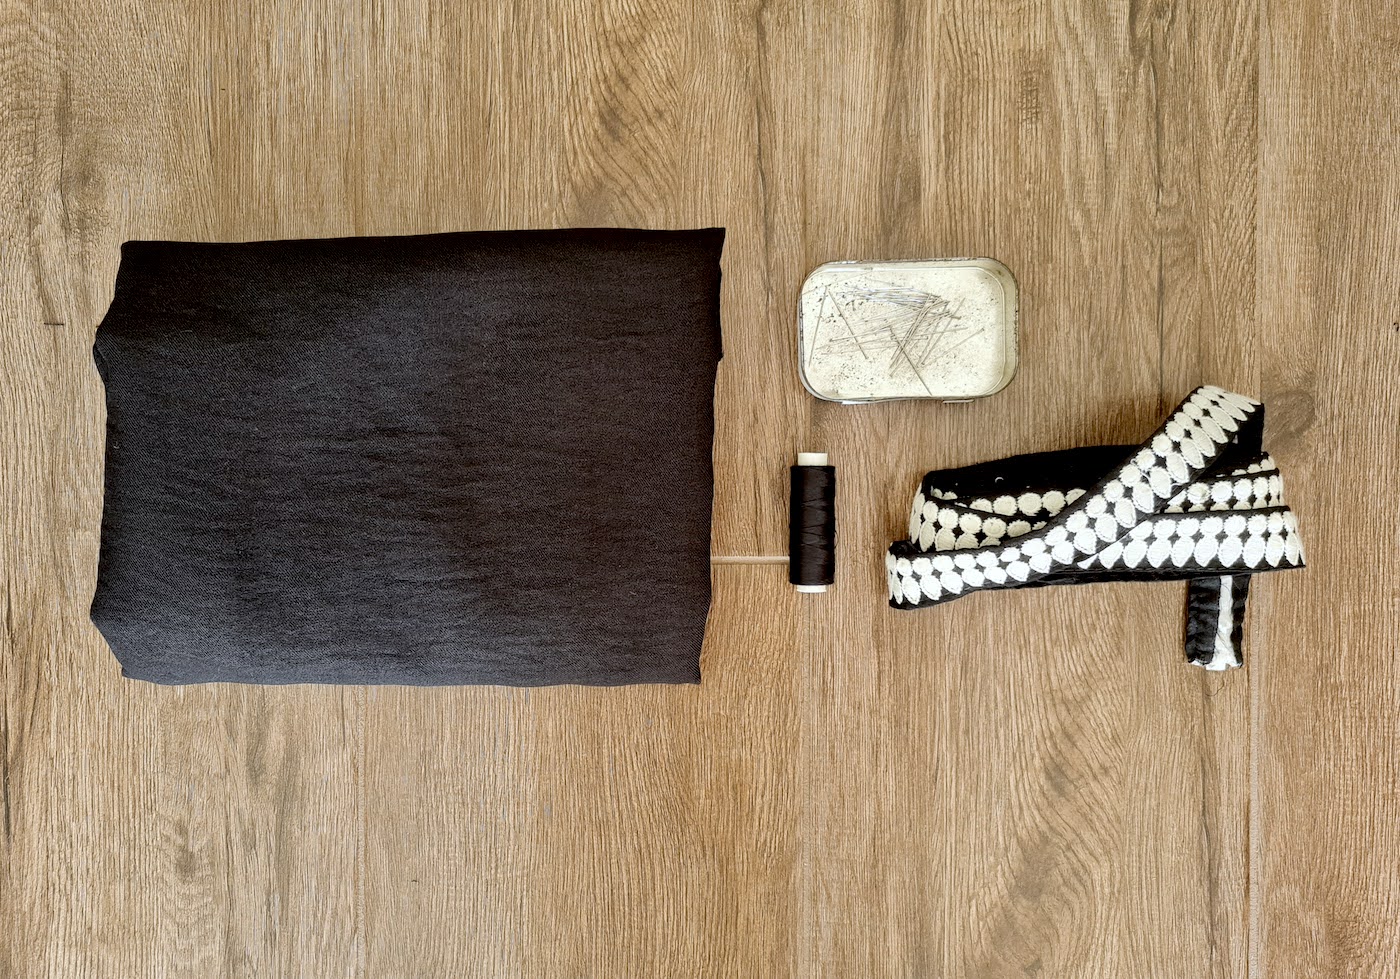
Fabric (I used a light cotton), 1 m of full width (150 cm) | Scissors | Trim of your choice, 315 cm (get some extra to be safe) | Bias tape, 315 cm (optional, you can also use the fabric itself for arm hole facings | Thread, Pins & Sewing machine
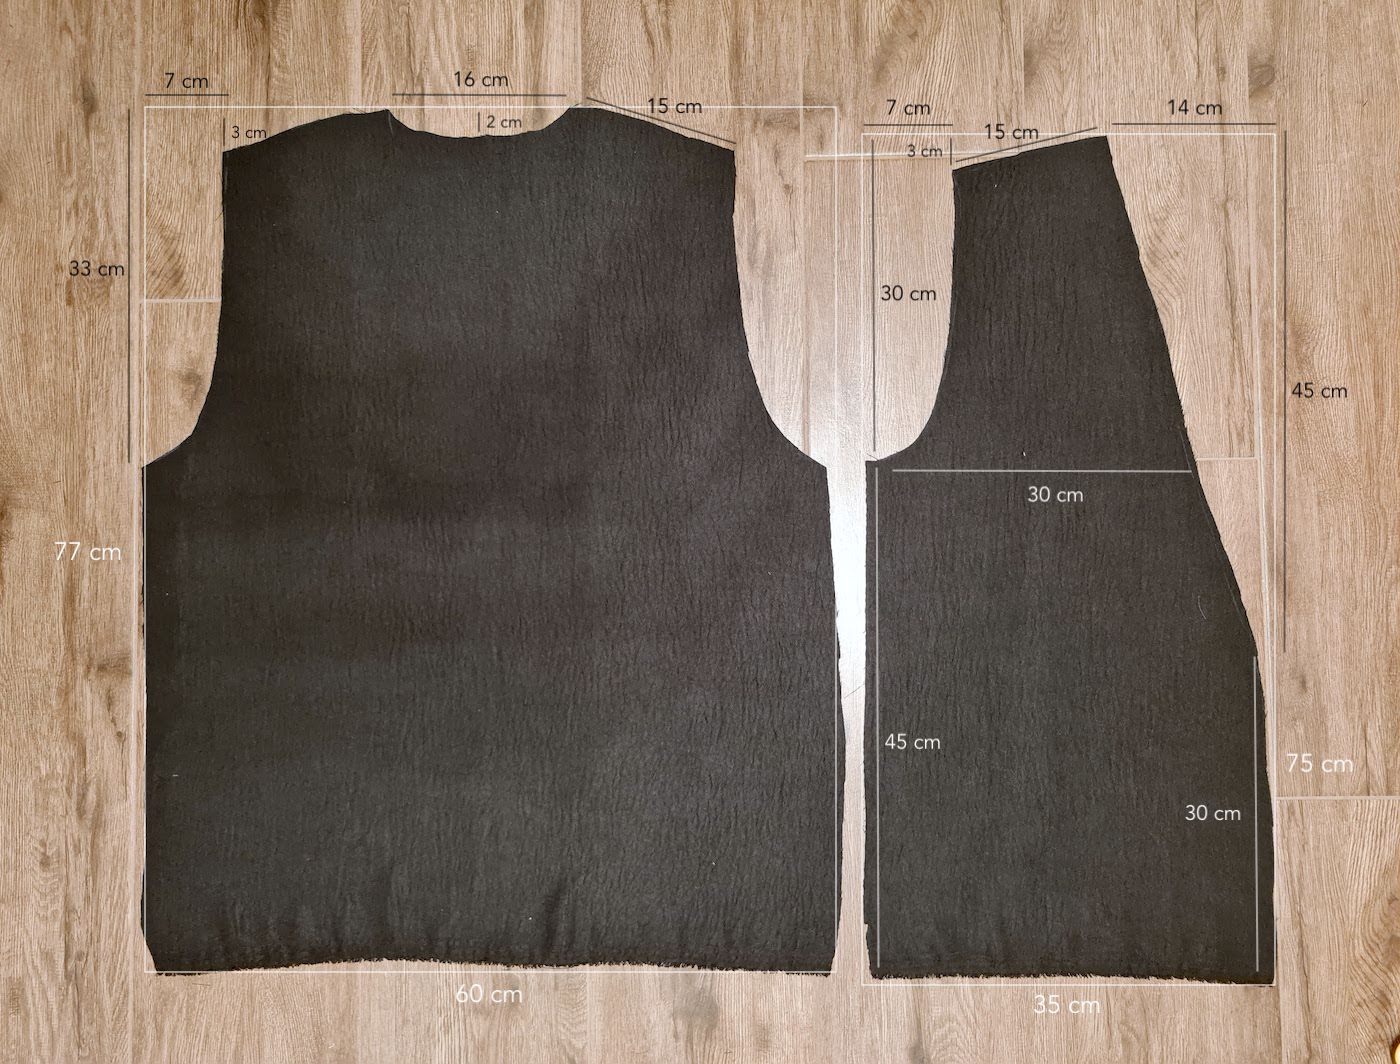
I. My cut pieces with measurements below. Post baby bedtime sewing so grainy led-illuminated photo.. If you want to make a pattern for yourself first, I've included a guide rectangle (in white) that you can draw first, and then use as a reference for the other measurements. The image shows one back piece and one front piece - you need to cut 1 back piece and 2 of the front pieces, in mirror images of each other.
II. I did French seams on this, so first pinned the fronts pieces to the back piece, along the shoulders and sides, wrong sides of fabric facing, and sewed along the sides and the shoulders..
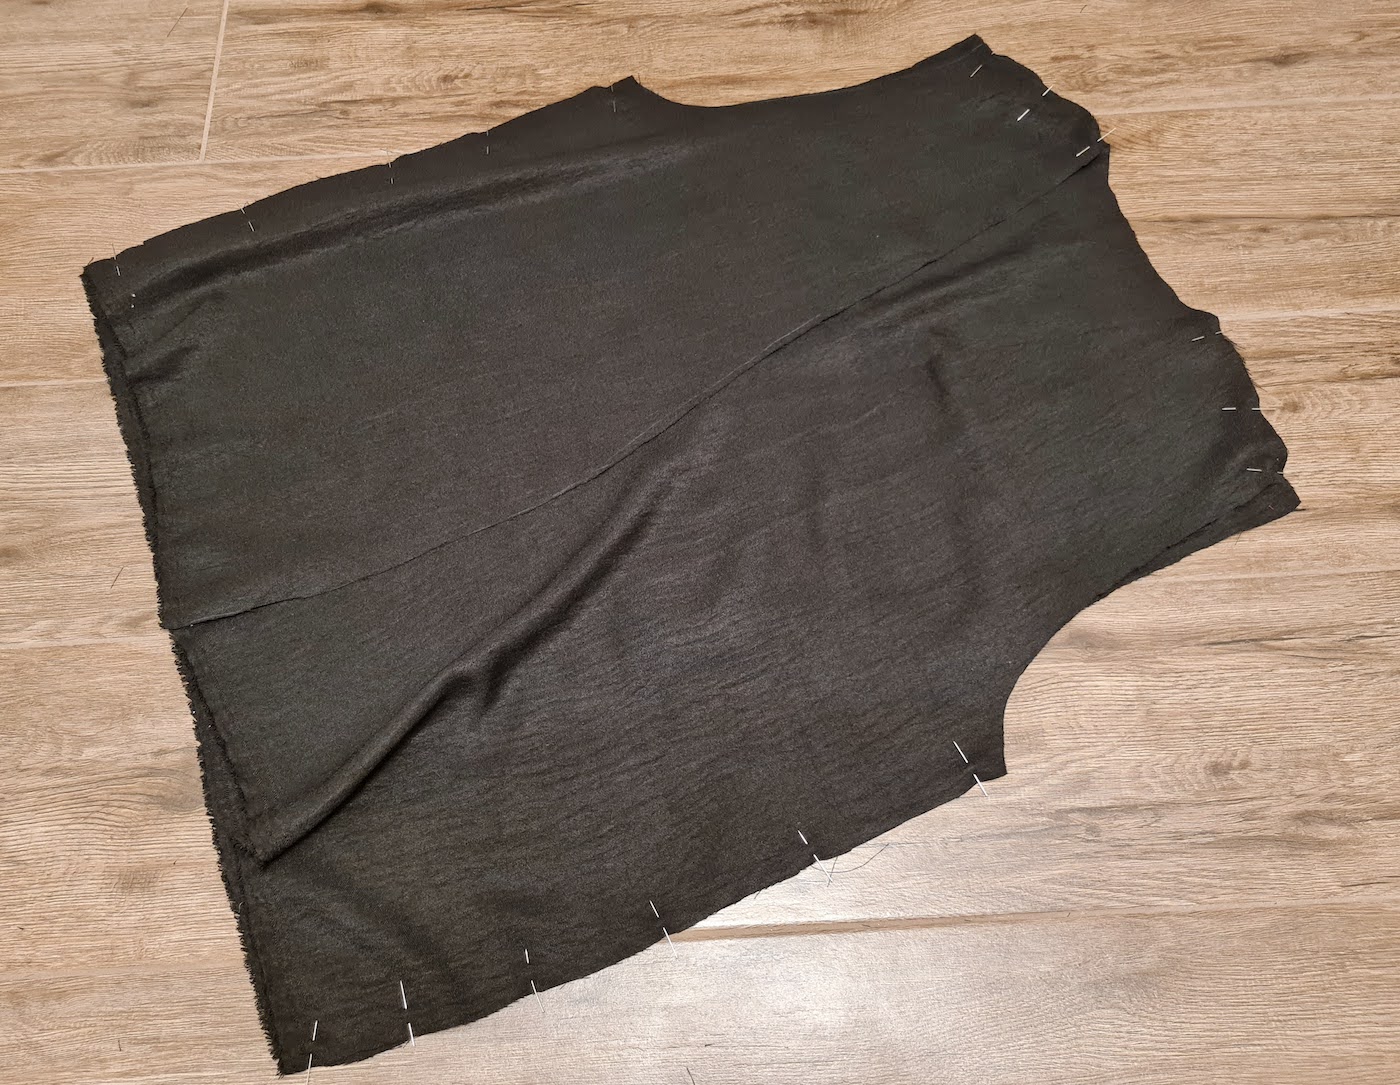
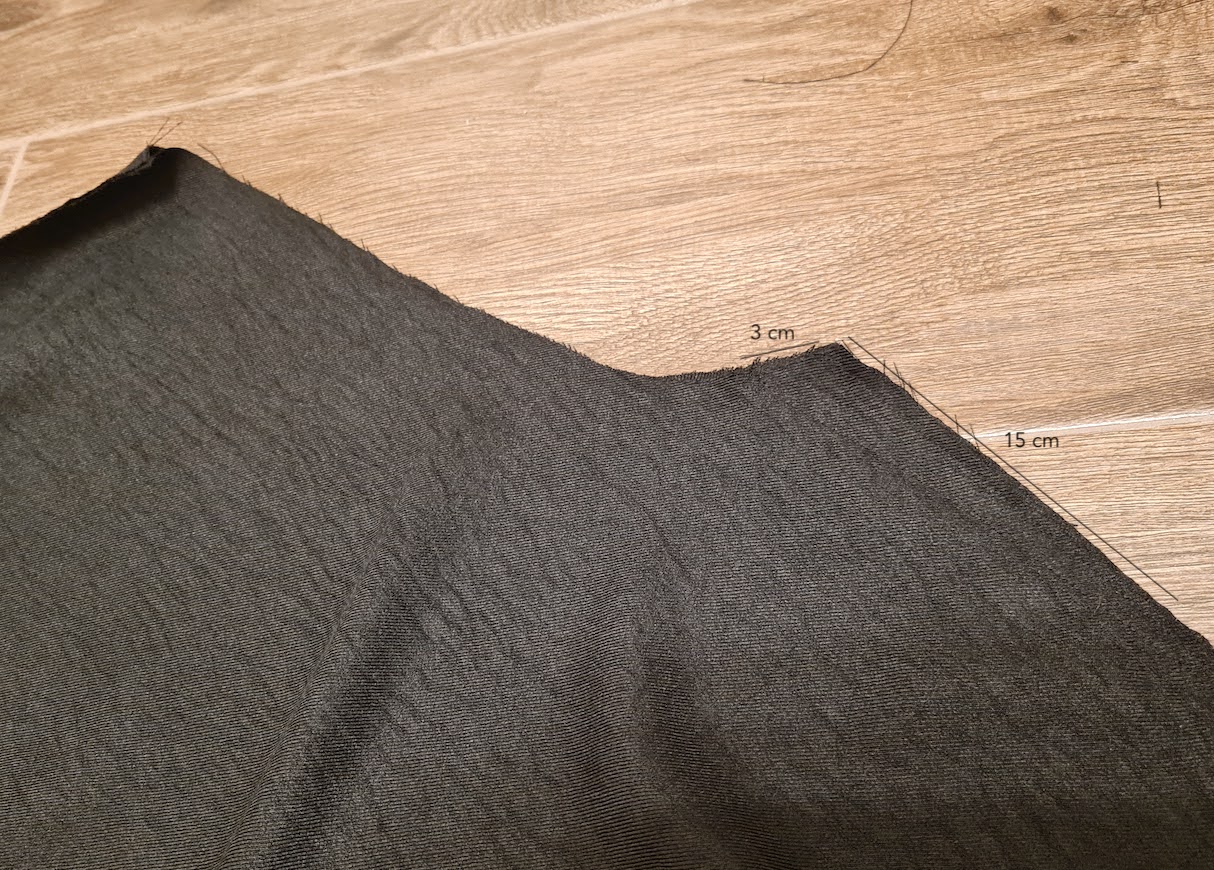
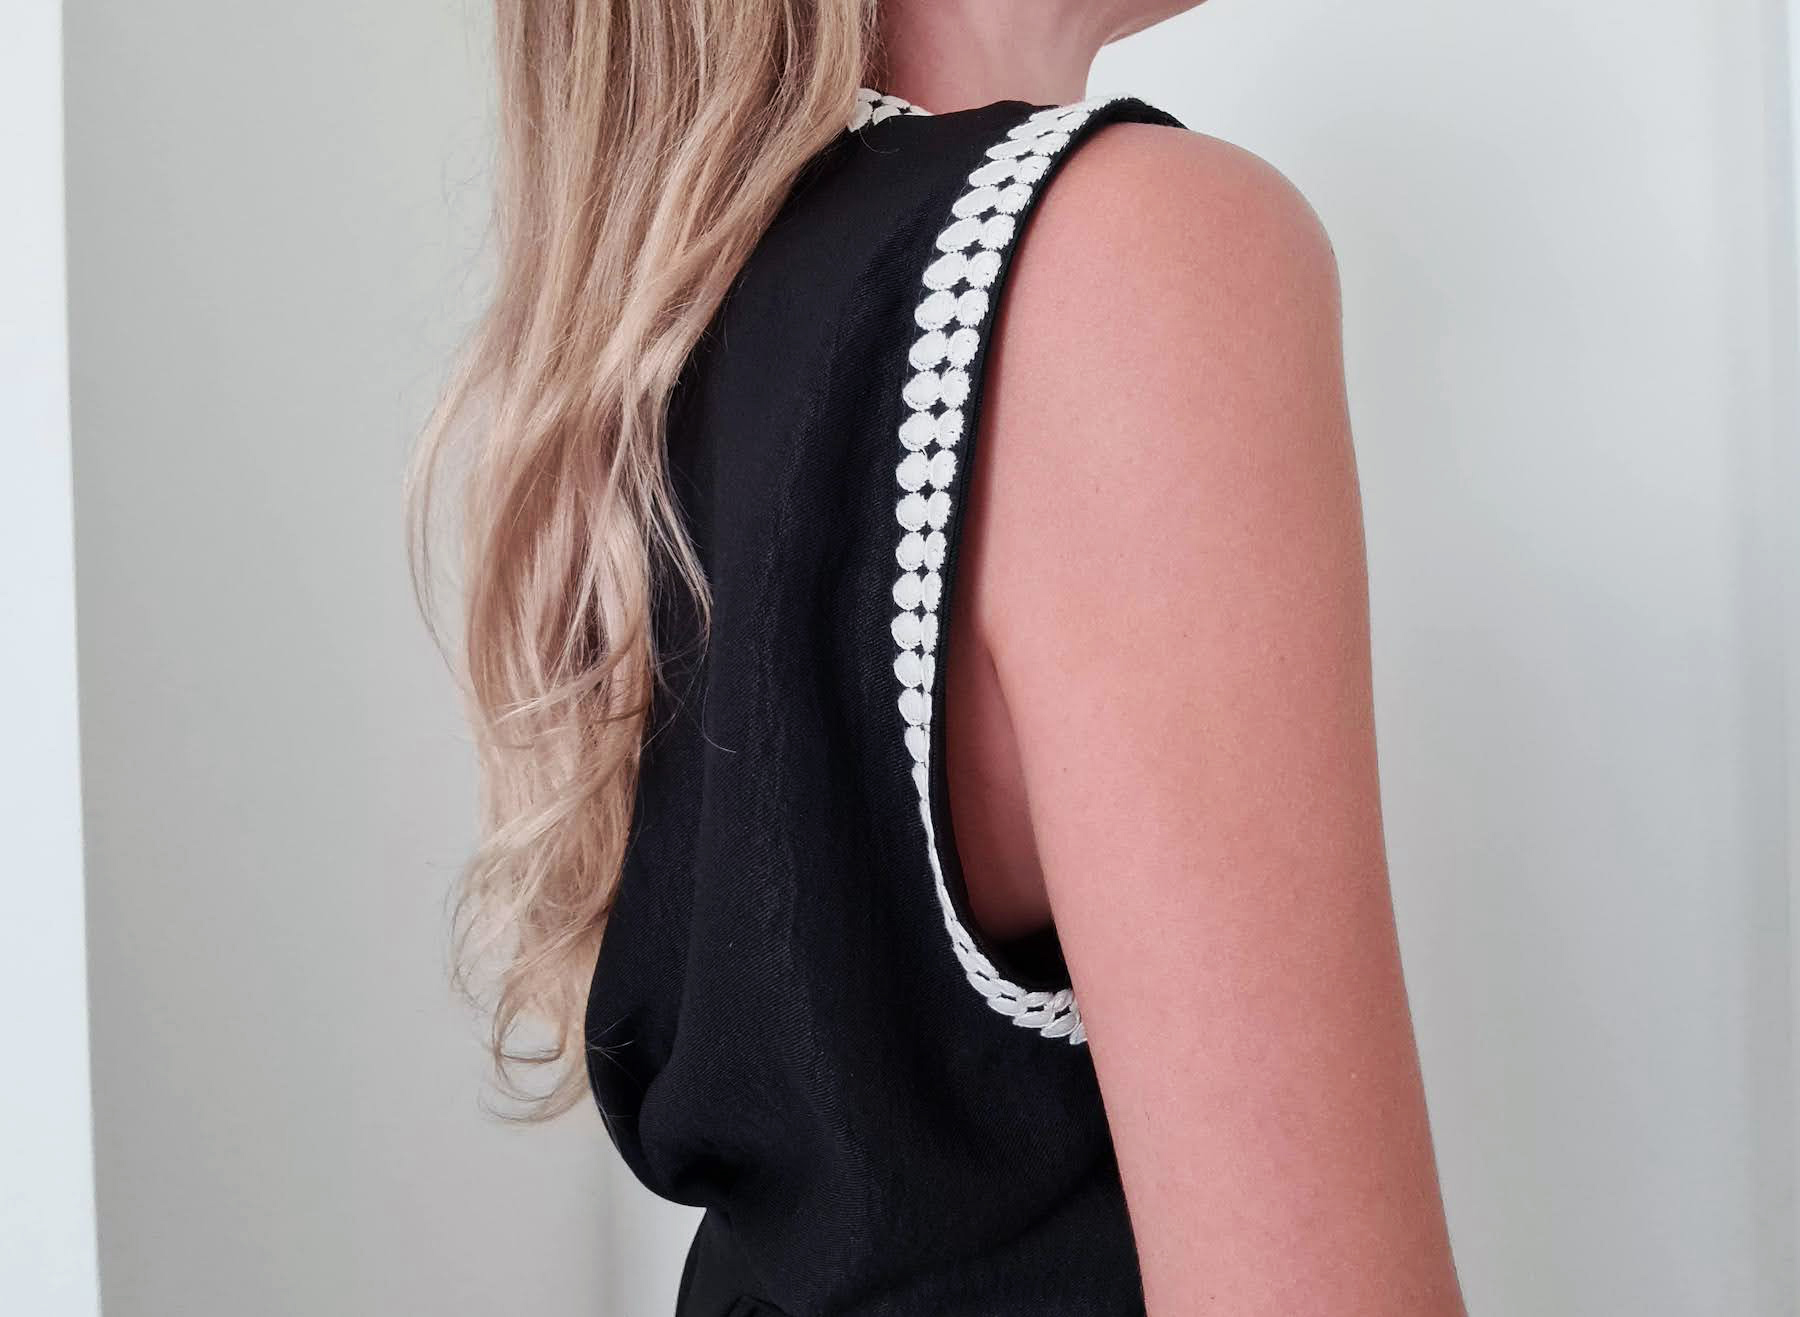
.. Then I tried the vest on, and made two small adjustments: 1) Took in the seam at the arm pits by about 3 cm, easing into the side over 15 cm. Depending on the size of your bust, you may not need to make this adjustment, and/or you may need to add darts to get the right fit. 2) I trimmed about 2 cm off the ends of the shoulder line, grading into the armscye.
III. Next I proceeded with normal French seam steps. If doing regular, non-French seams, start previous step by pinning right sides facing, take in at arm pits if you need to, and finish the seams with a serger or a zig-zag on your machine, depending on your tolerance of non-perfect guts:) I also pressed my seams flat and top-stitched them on the right side.
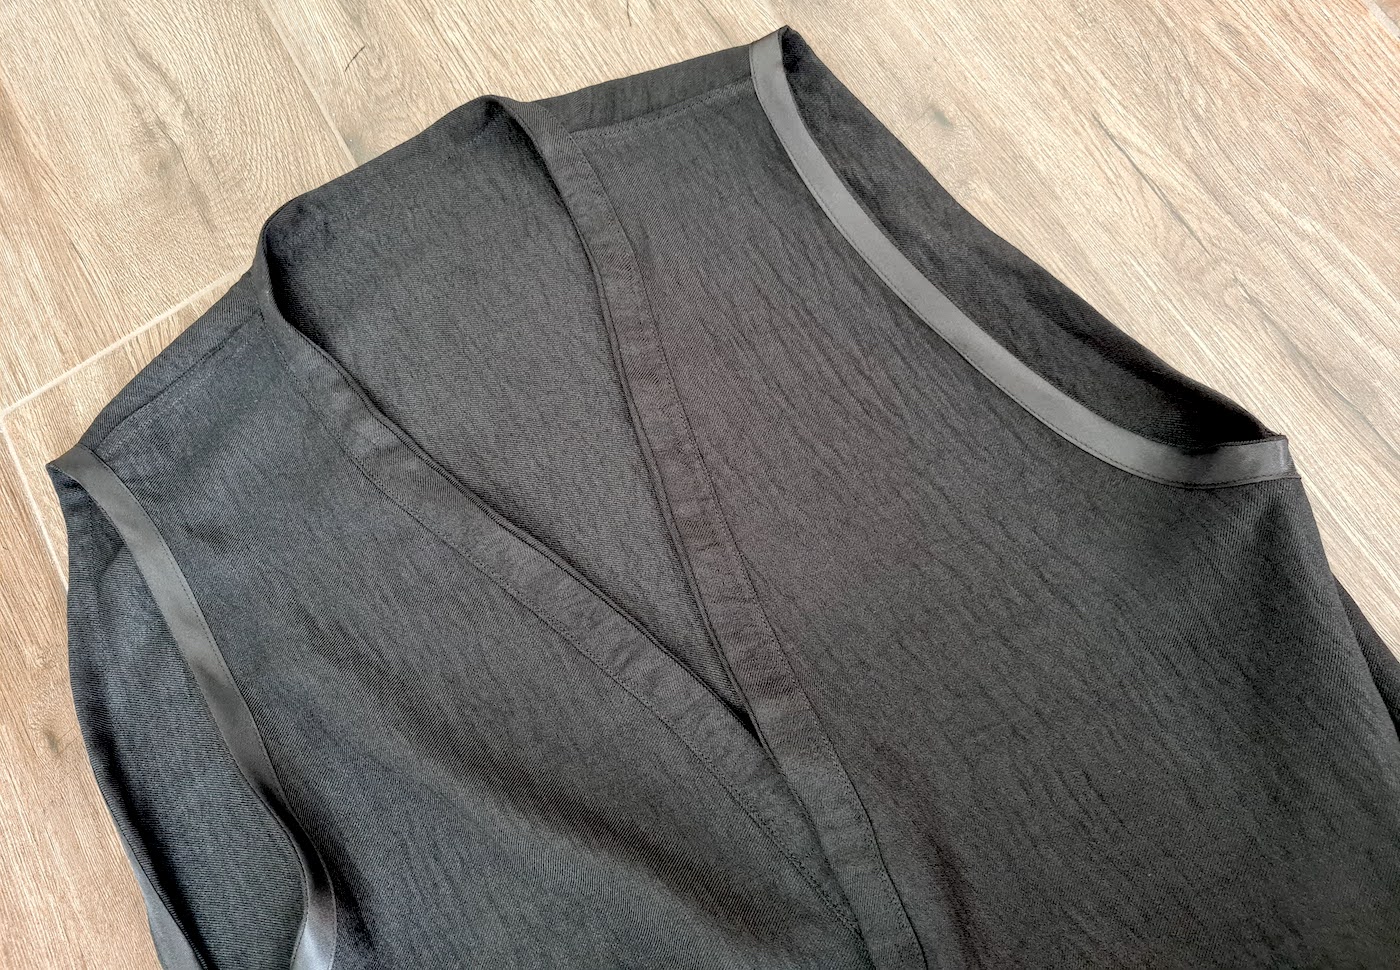
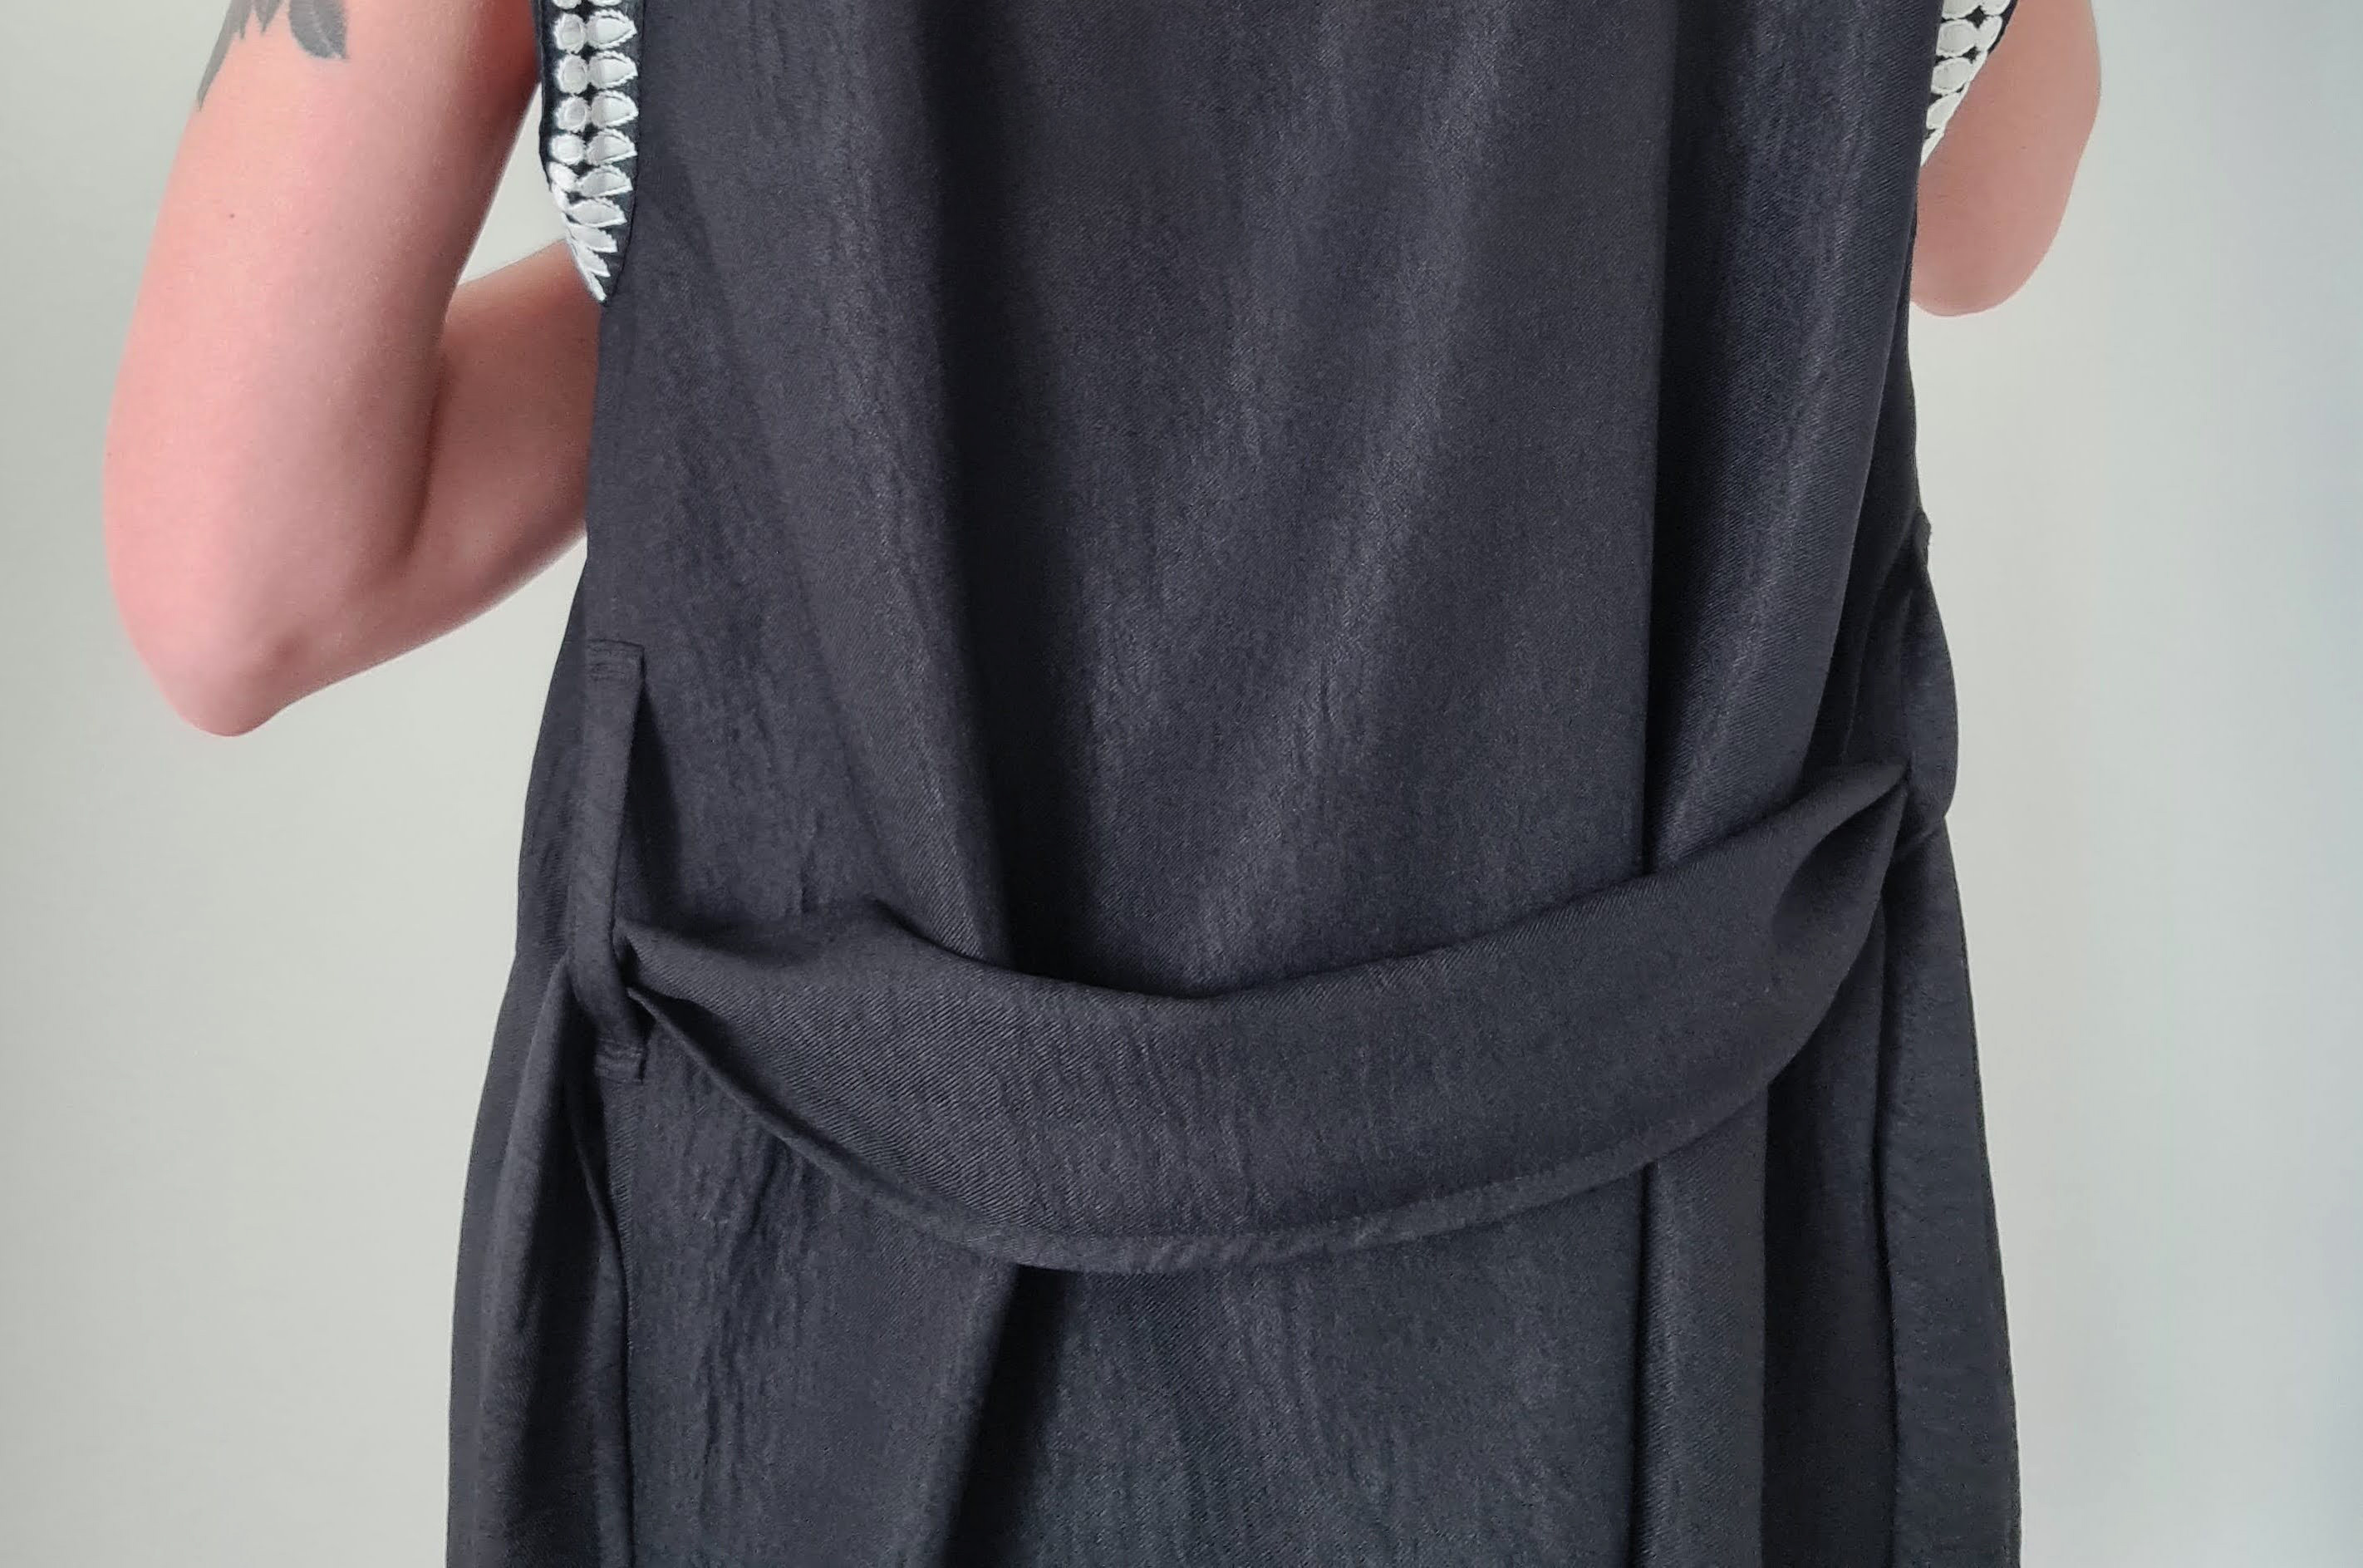
IV. To finish constructing the base vest all that's left is to finish the raw edges. I finished the arm holes with bias tape, but the one I had was a bit shiny, so I didn't want it showing in the front when I wear the vest open. So for the front I made a wide bias tape out of my fabric. Here's a video on how to use bias binding to create arm hole facings - and the same logic applies to binding any part of a garment with bias tape. The hem of the vest I finished with a double fold.
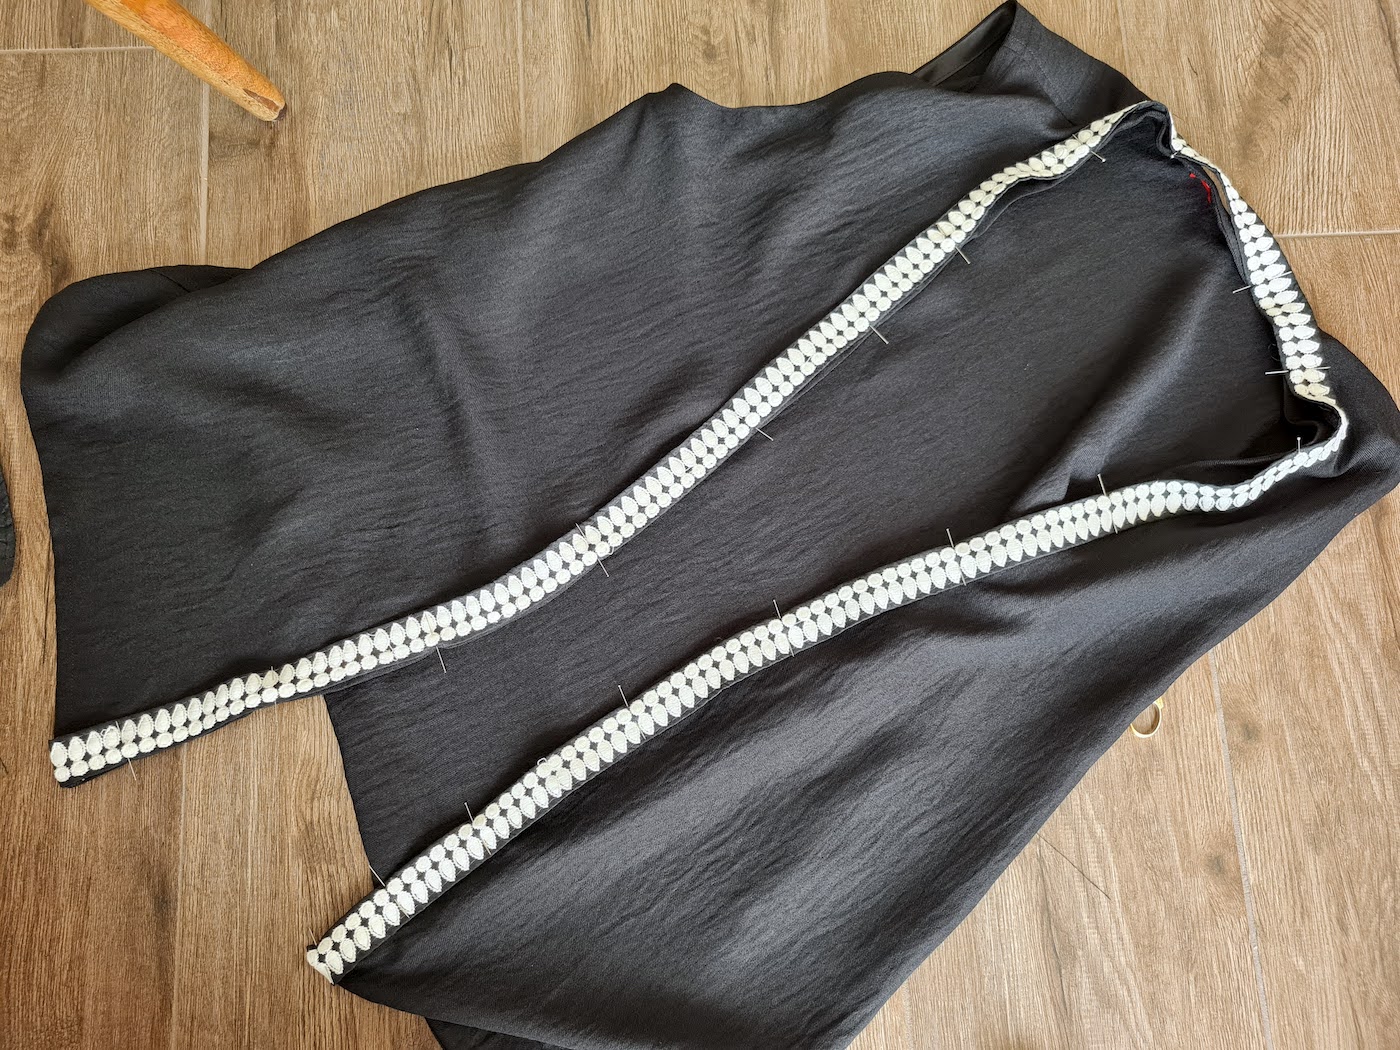
V. Ready to add the trim. Starting at the hem in the front, fold the trim under itself and pin all around, folding again under as you arrive at the hem on the other side. Sew in place right at both edges of the trim.


Gorgeous 😍😍
ReplyDeleteIt suits on you.
ReplyDeleteAs a pair this looks like a cute romper, with added functionality and wearability of being separates! So cute
ReplyDeleteGreat step-by-step guide! The added measurements make it so easy to follow along. Perfect for sewing beginners like me. At eclergys, we also focus on detailed designs, so I really appreciate how clear this tutorial is.
ReplyDelete