
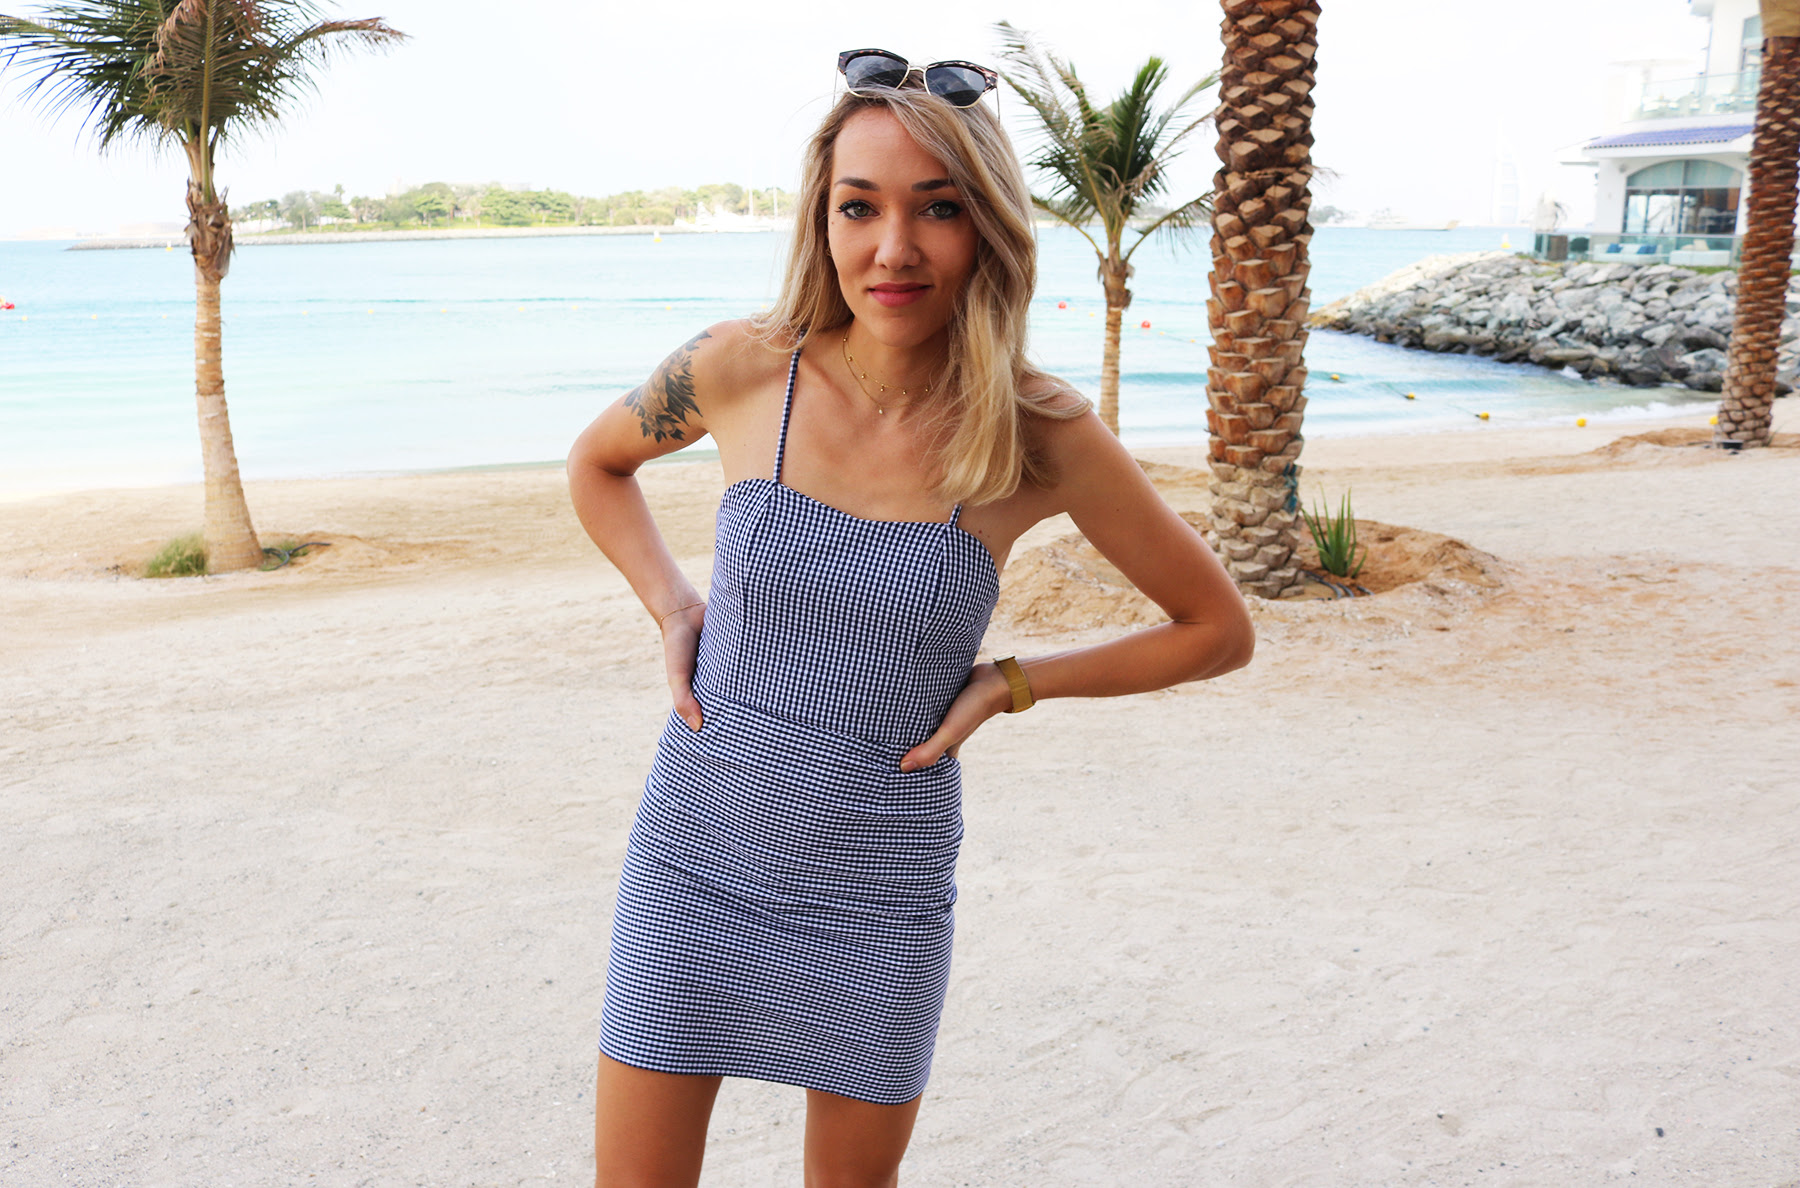
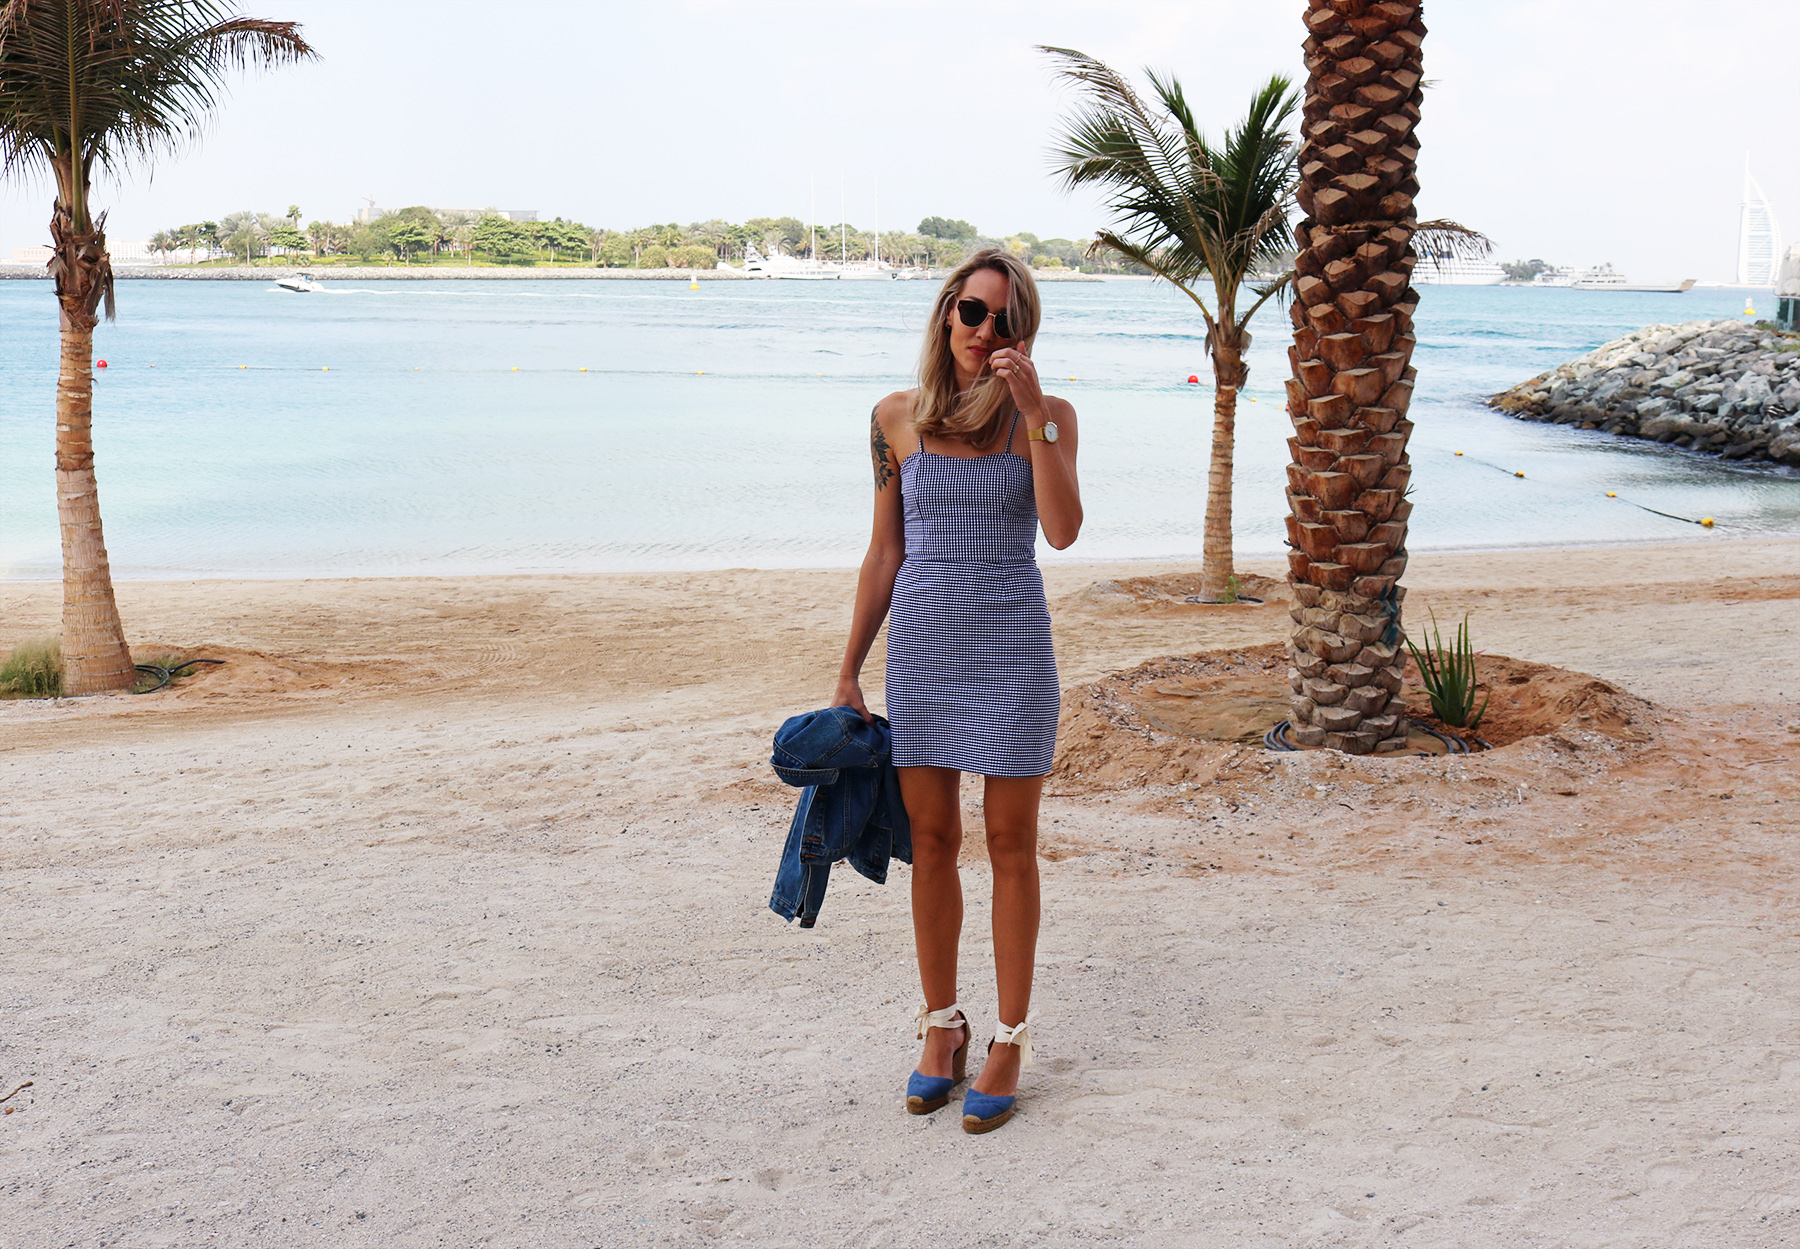
This is a very close copy of a tie-back top I made from the same fabric just a while ago - more detail on the process of making the top in this post.
Tutorials take a lot of time & effort to create, and I choose to make mine available for free. If you enjoy this guide, you can support me with a donation that feels right for you, here.
TOOLS:
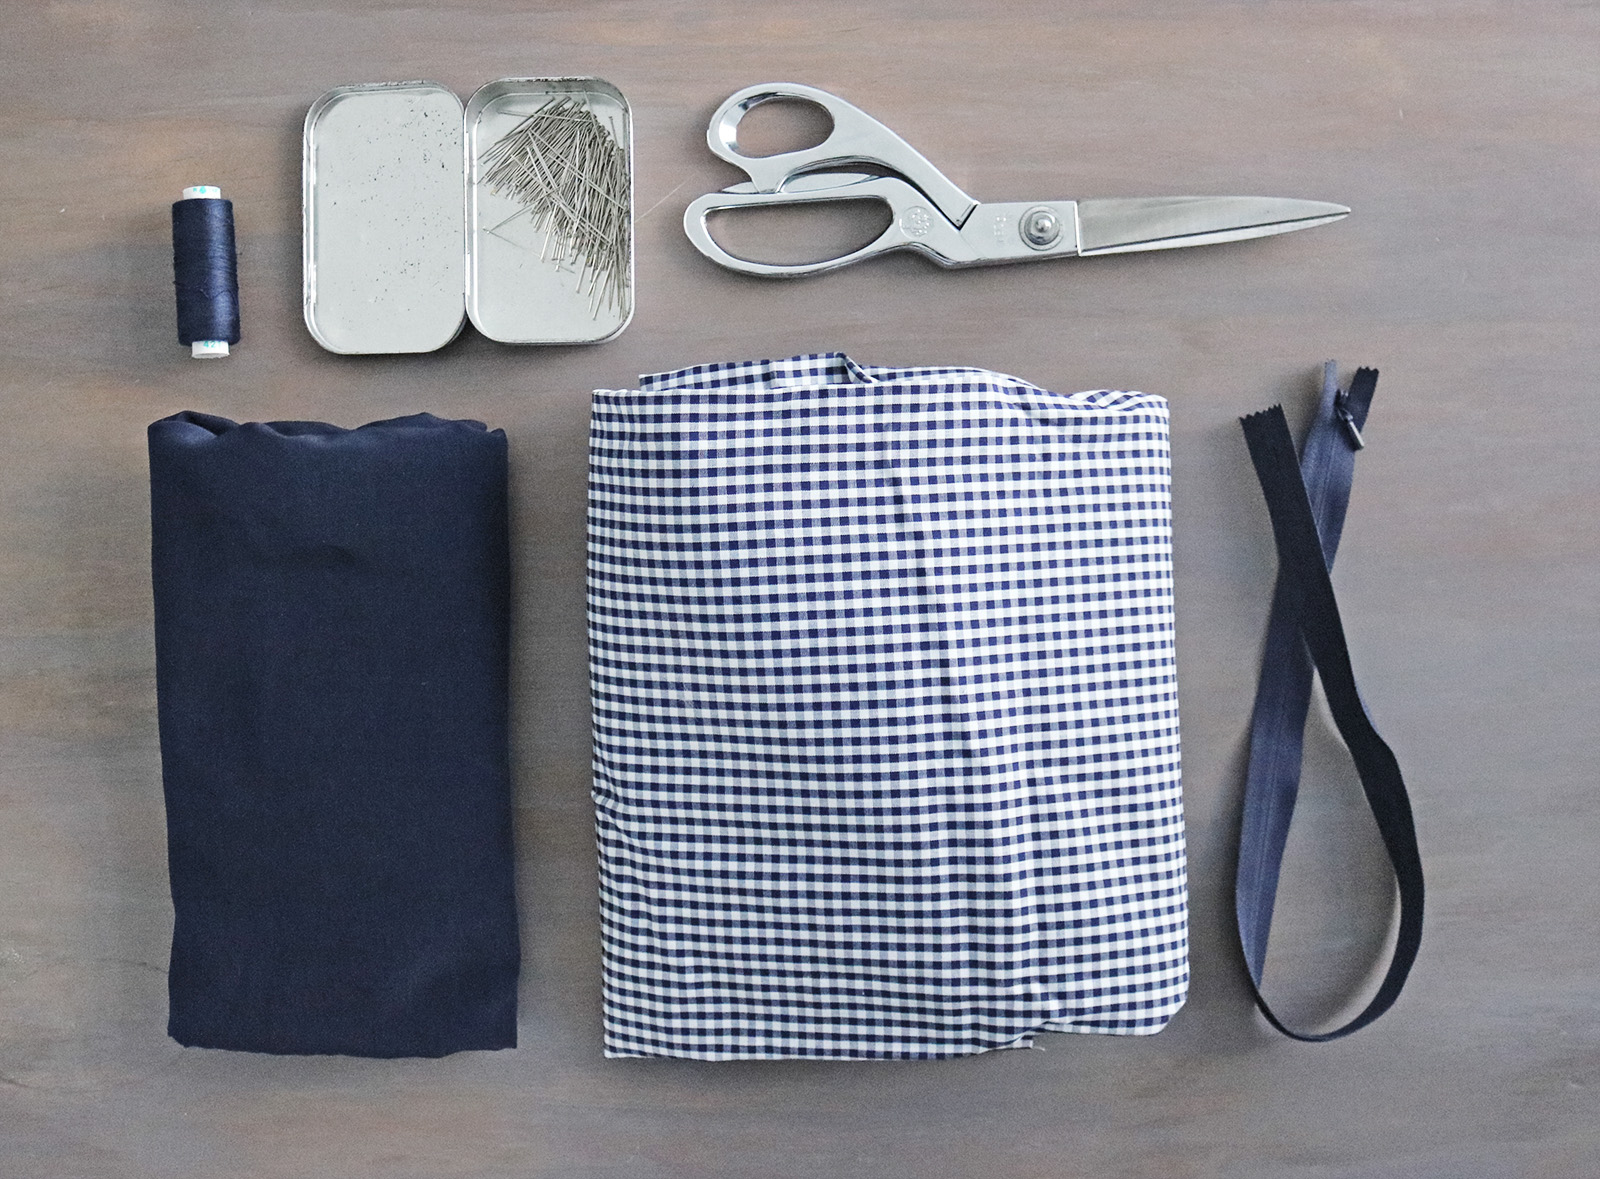
Fabric, 2 m (I used 100% cotton, ignore the other fabric.. I thought I would do a lined skirt but my main fabric ended up being fine without) | Invisible zipper (30 cm) | Scissors | Pins | Thread & Sewing machine
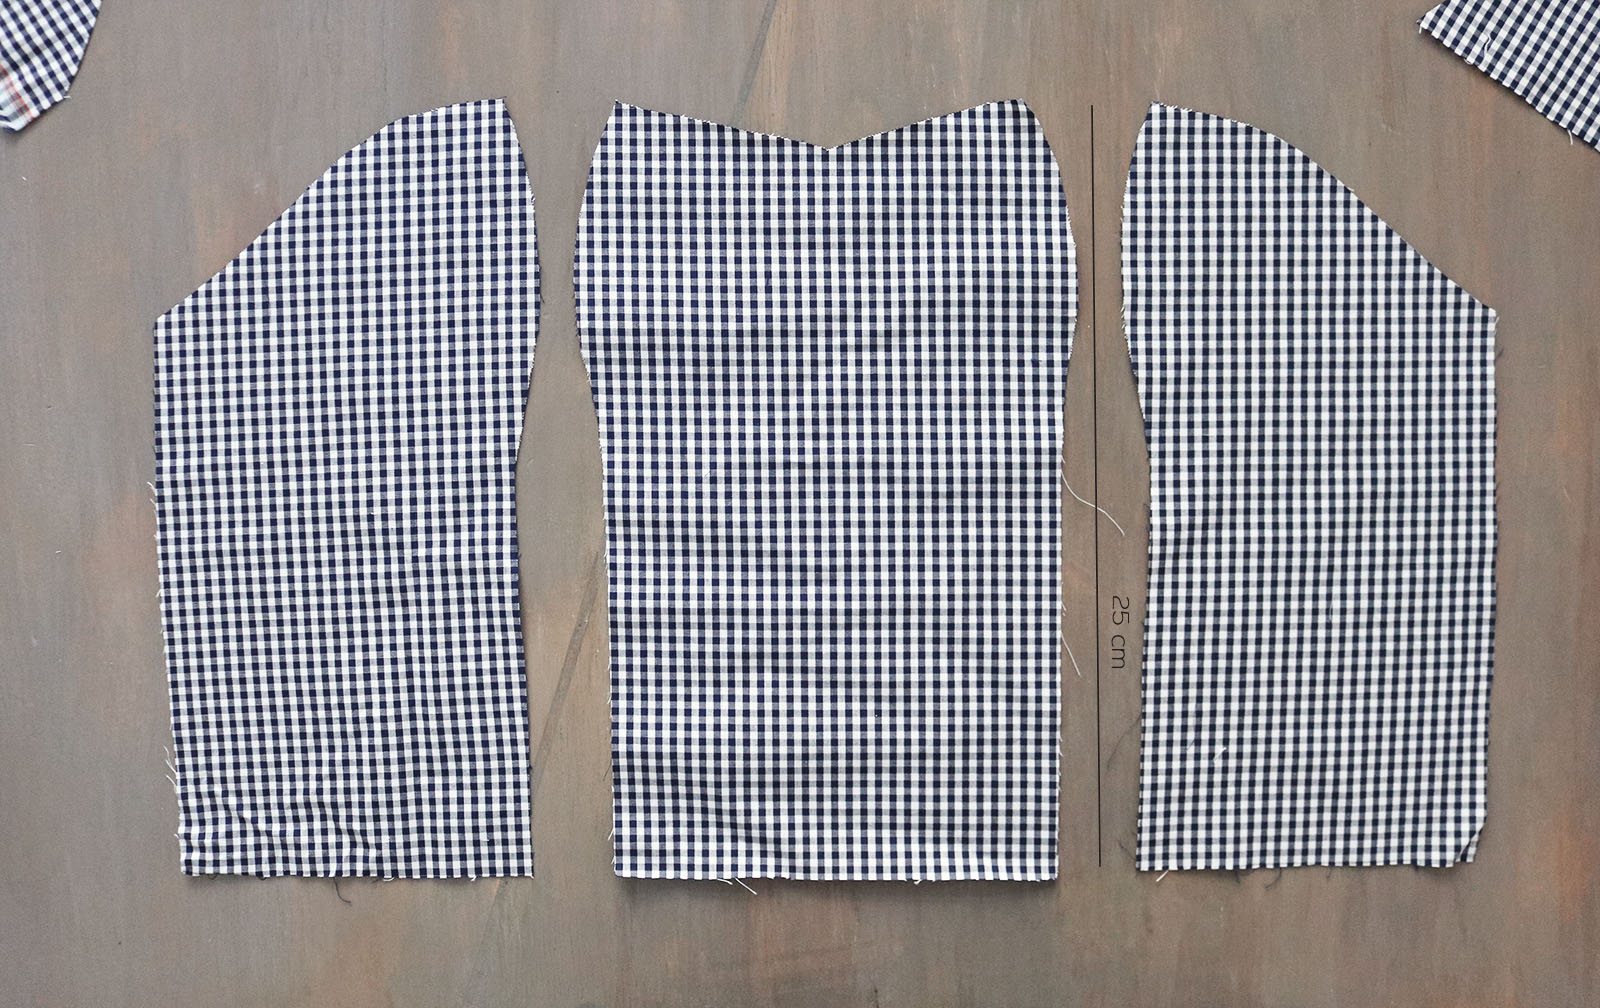
I. First I cut out my pieces just like for this top, the only difference being this one was longer. More precise measurements in that post. Two sets of pieces like below.
II. Pinned and sewed the 3 pieces together to form the double-sided bustier.
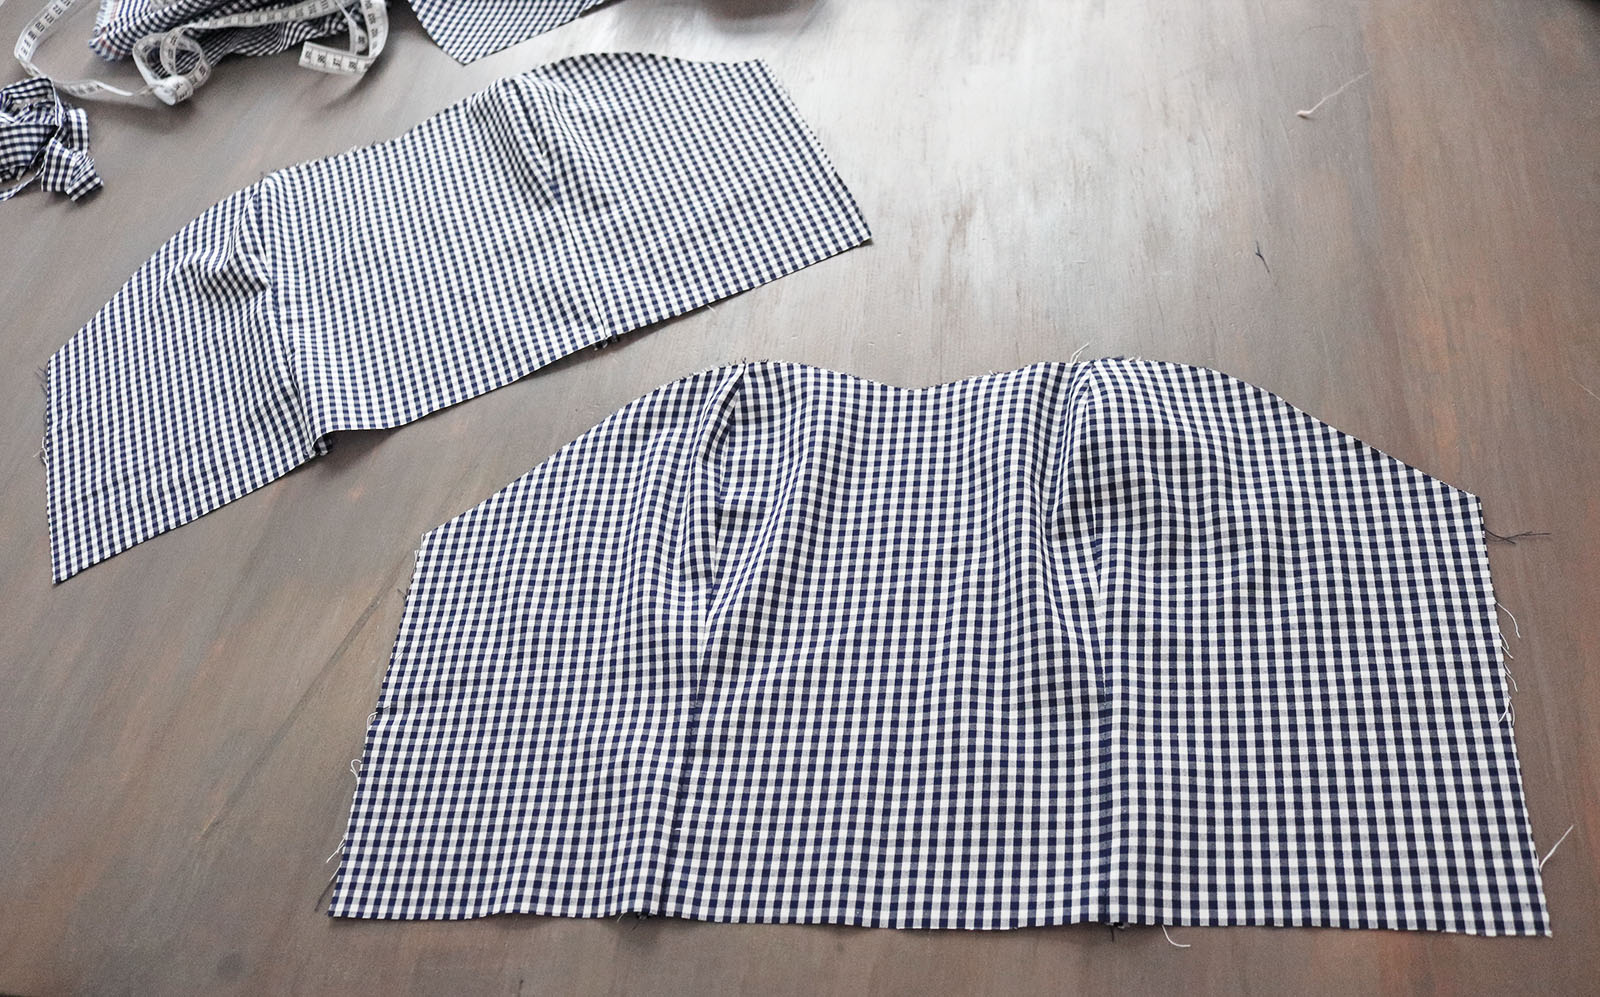
III. Then I cut 2 pieces for the back, slightly curved top edge.
IV. Sewed the back pieces onto the front pieces, making sure they were attached to opposite sides.

I added some shape by making the side seam a bit curved to sit against the waist.

V. Then I took my shoulder straps (making of those in this separate post), and pinned them at the two front seams, sewing a couple of stitches to keep them in place.
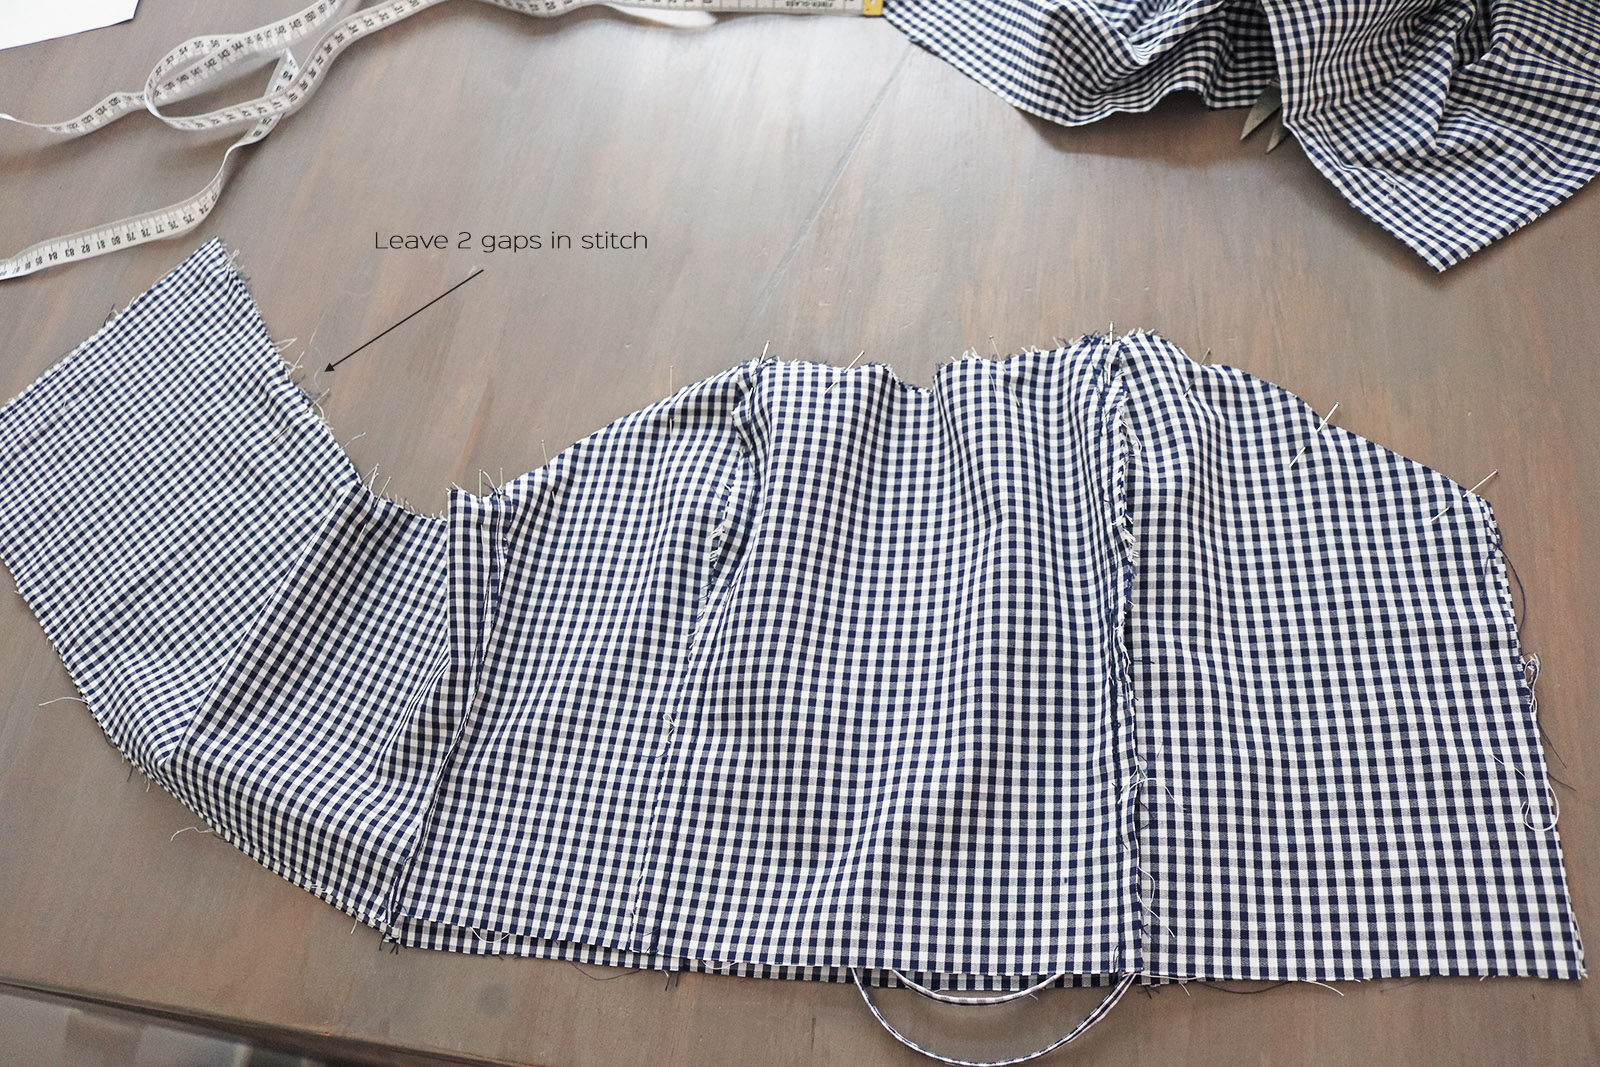
VI. Next I placed the two pieces right sides facing, pinning the upper edge together, and sewing all the way across. I never attach my shoulder straps at the back without confirming the right length on myself, so I leave two gaps in my stitch at the back to add them later.
VII. Before turning over, make sure you notch any curved edges and if there is a small v shape at the front, make a notch there too.

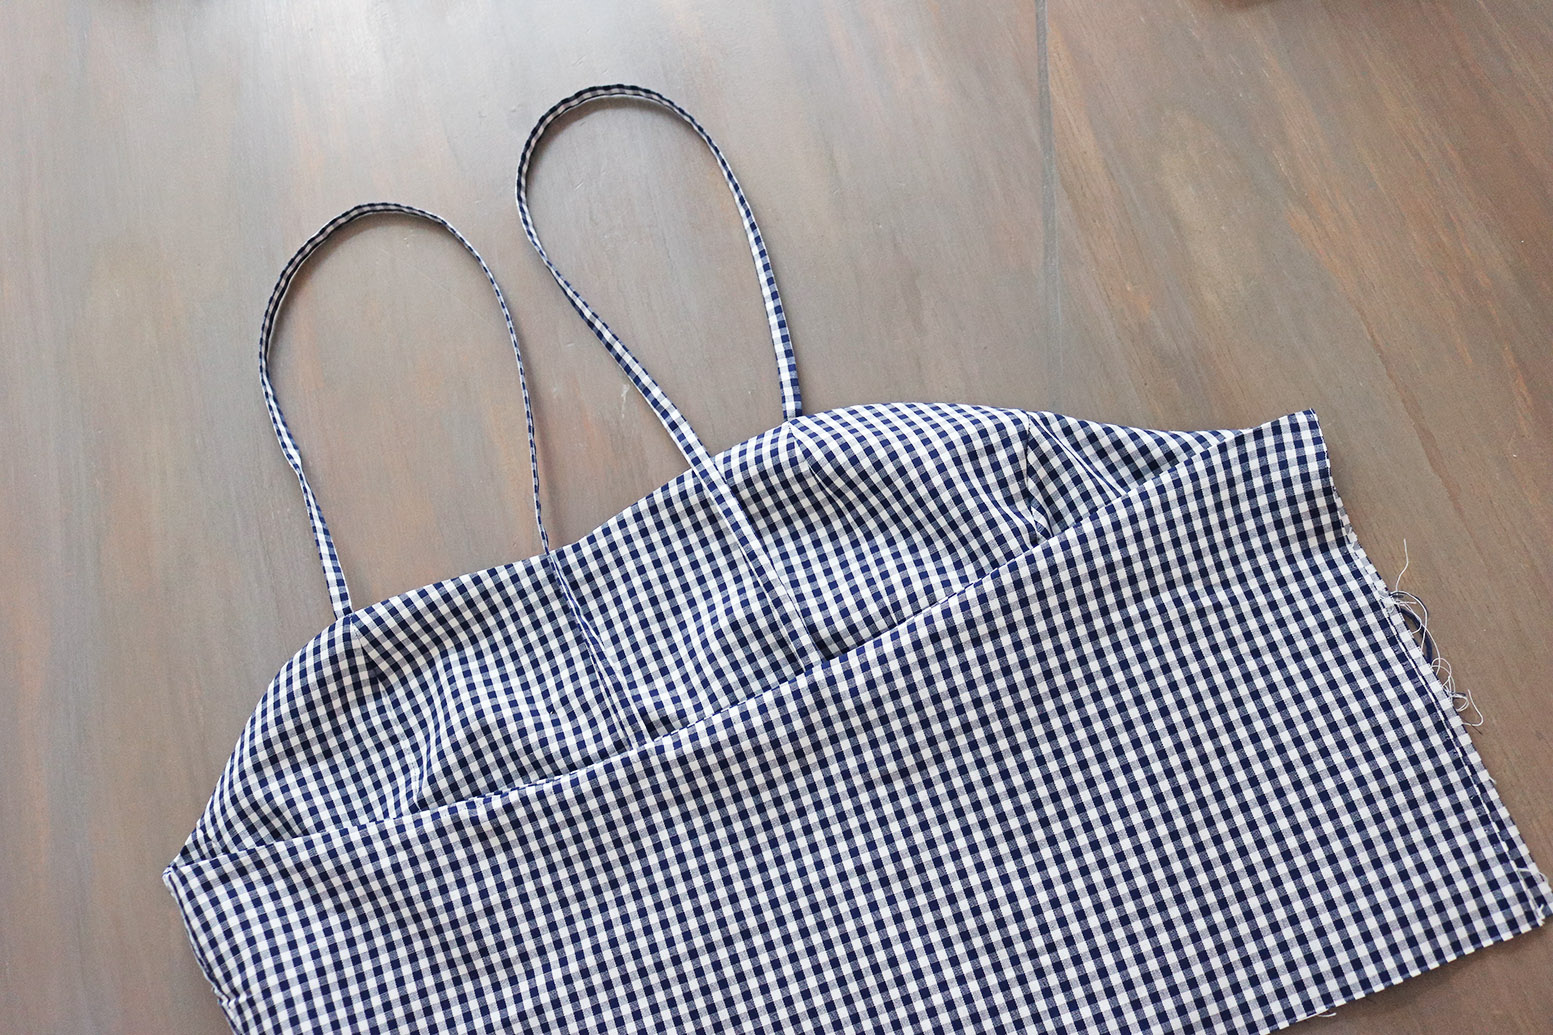
VIII. This is what I had after turning the top right side out, confirming the length of my straps, pulling them through the gaps in the stitch and completing the stitch. And of course pressing the whole thing.
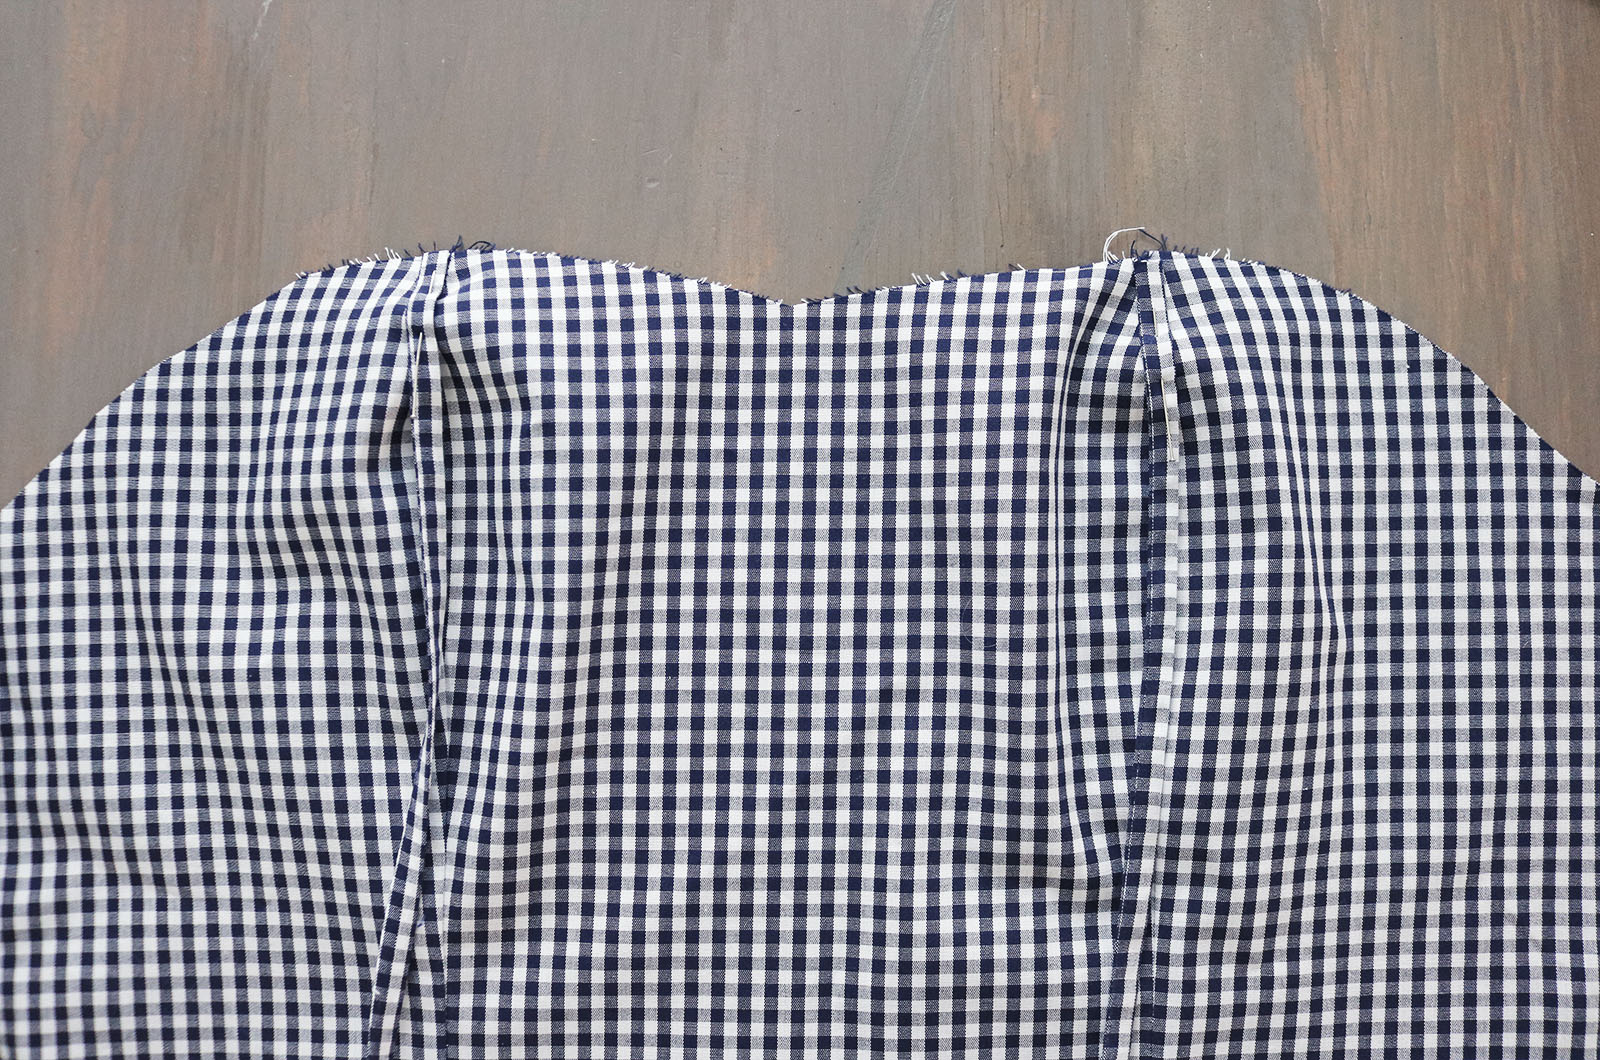
IX. I then finished the sides by flipping the whole thing right sides facing again, and completing the side seams, clipping the corner, and pressing again. At this point when trying on I noticed there was room for improvement in fit around the bust, so I added another dart there on both sides.

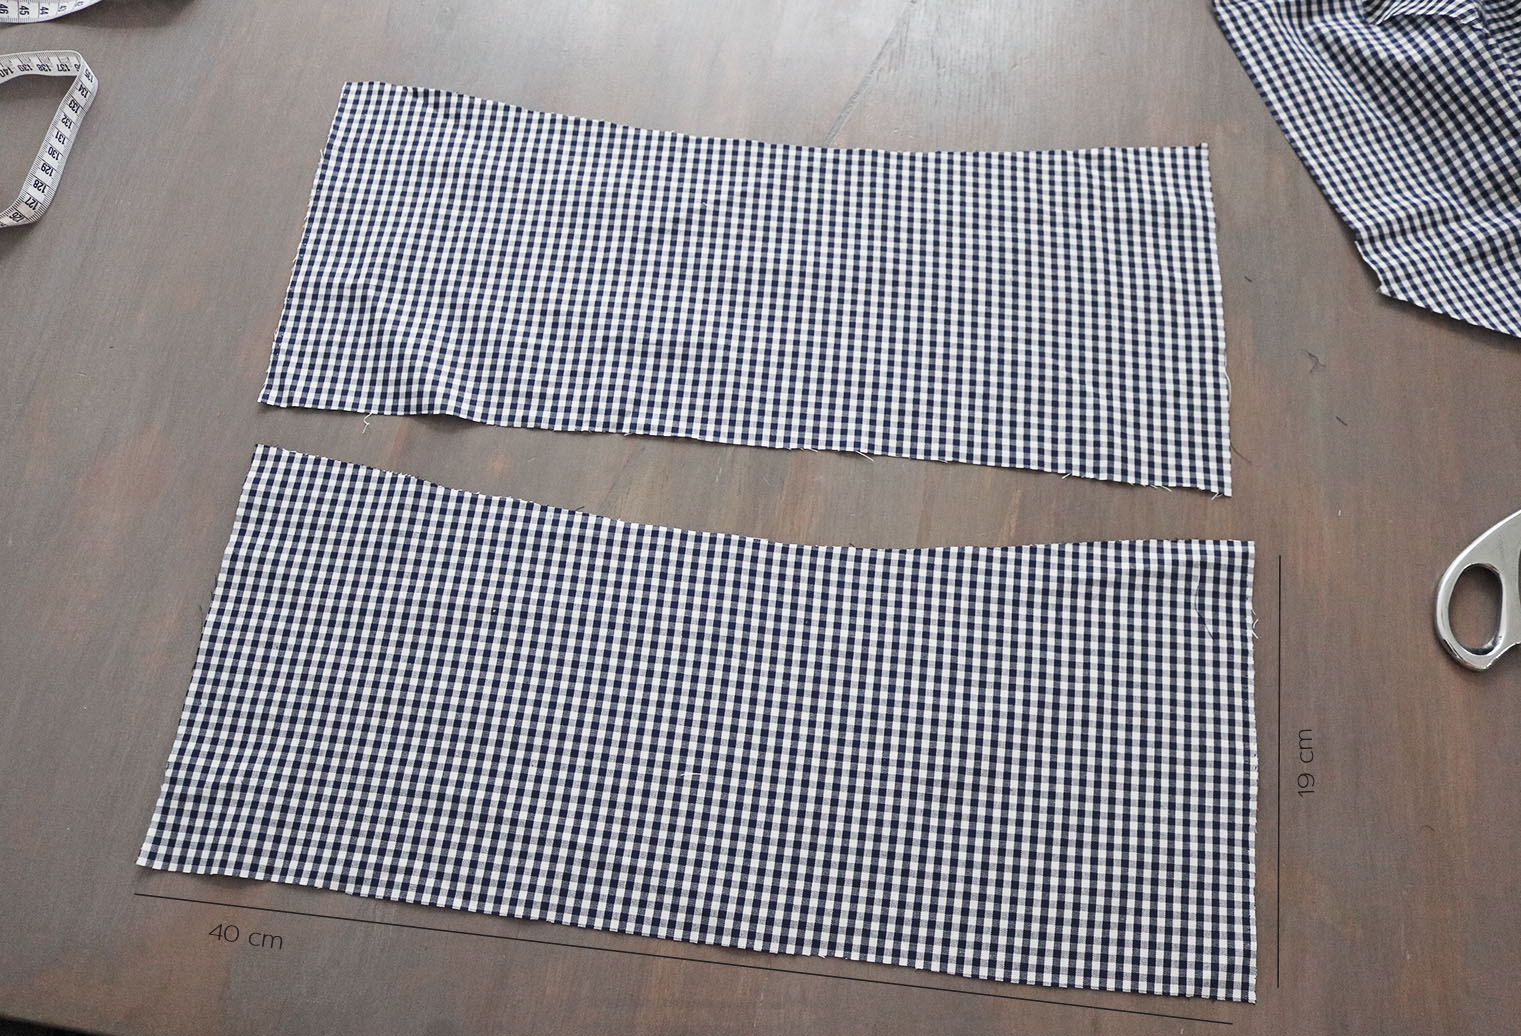
X. Now for the skirt part. I cut two pieces as follows.

Then added two darts at the waistline to both parts, aligning their positioning where the two front seams on the top part were. The completed one side seam on the skirt - important this is the same side as is closed on the top part.

XI. Then I pinned the skirt to the top, right sides facing, and sewed the two pieces together.

XII. This is what I had on reverse after finishing all raw edges with my serger.
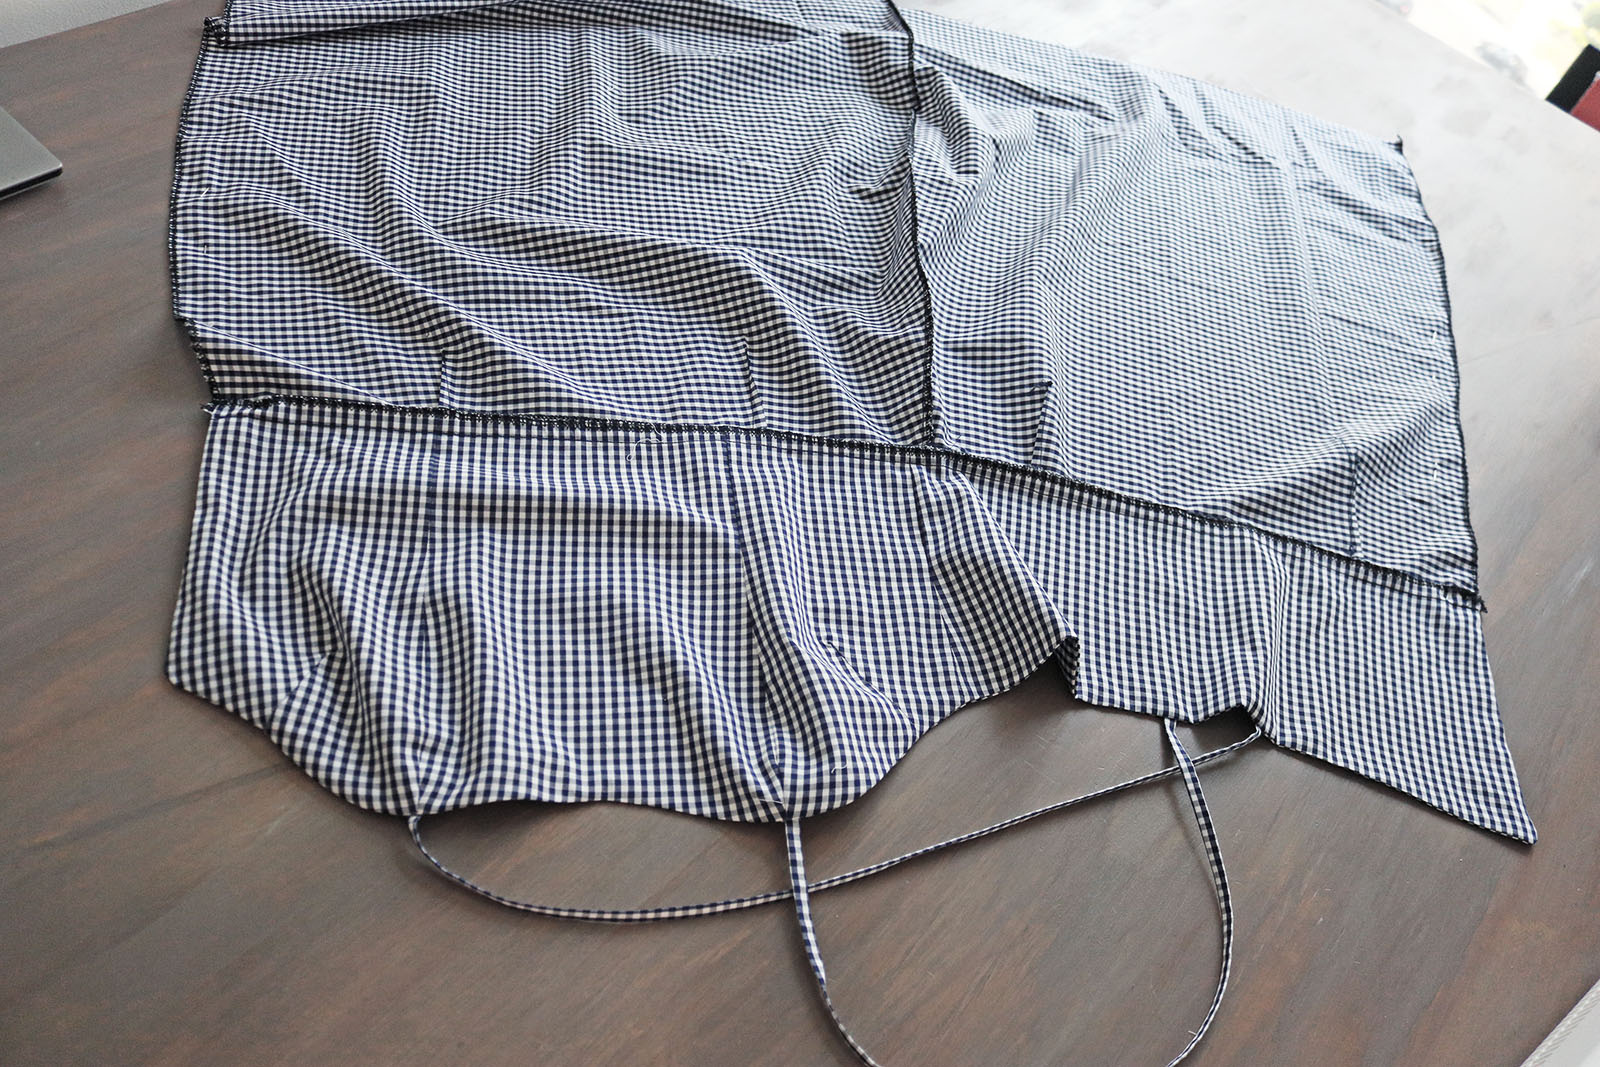
XIII. The last bit was to add my invisible zipper to the open side, and complete the side seam down to the hem.

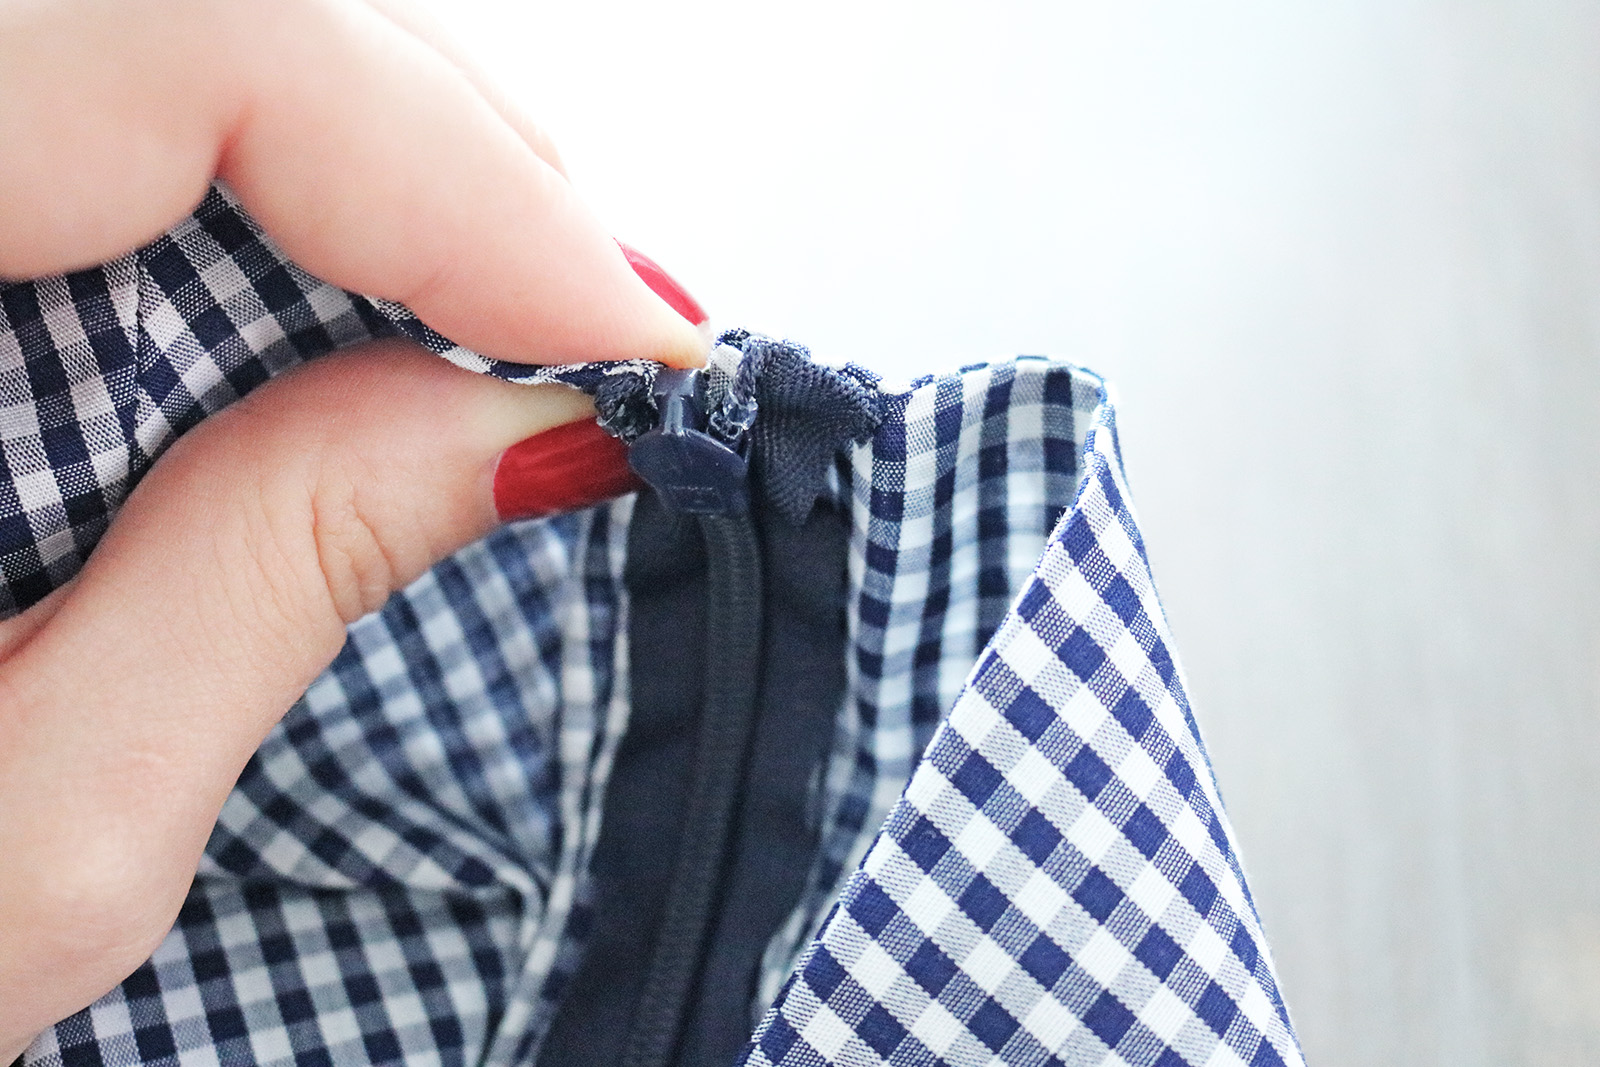
Finishing the zipper ends by folding them and hand-sewing flat.
Last, a quick double-fold at the hem.


xo,
Julia


Looks good on you.
ReplyDelete