

Tutorials take a lot of time & effort to create, and I choose to make mine available for free. If you enjoy this guide, you can support me with a donation that feels right for you, here.
TOOLS:

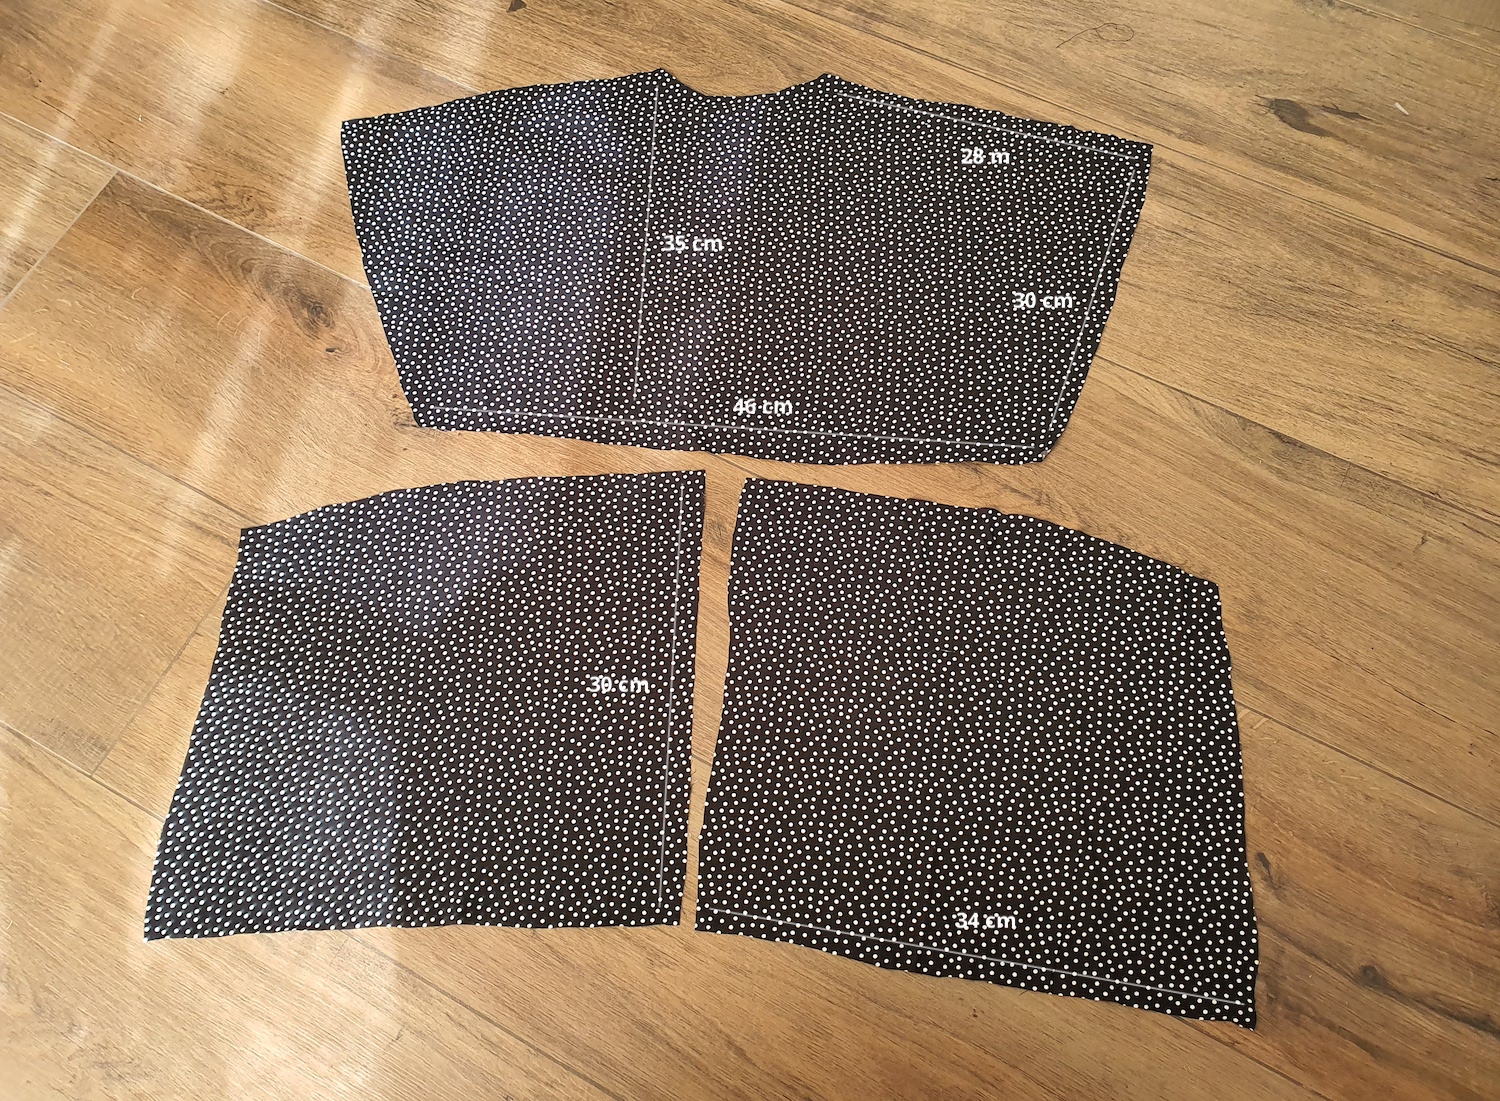
Fabric (I used a full-width cotton, only just over a meter but 1.5 m is safer) | Scissors | Thread, sewing machine | Pins | Not pictured but optionally small piece of bias tape for back of neckline


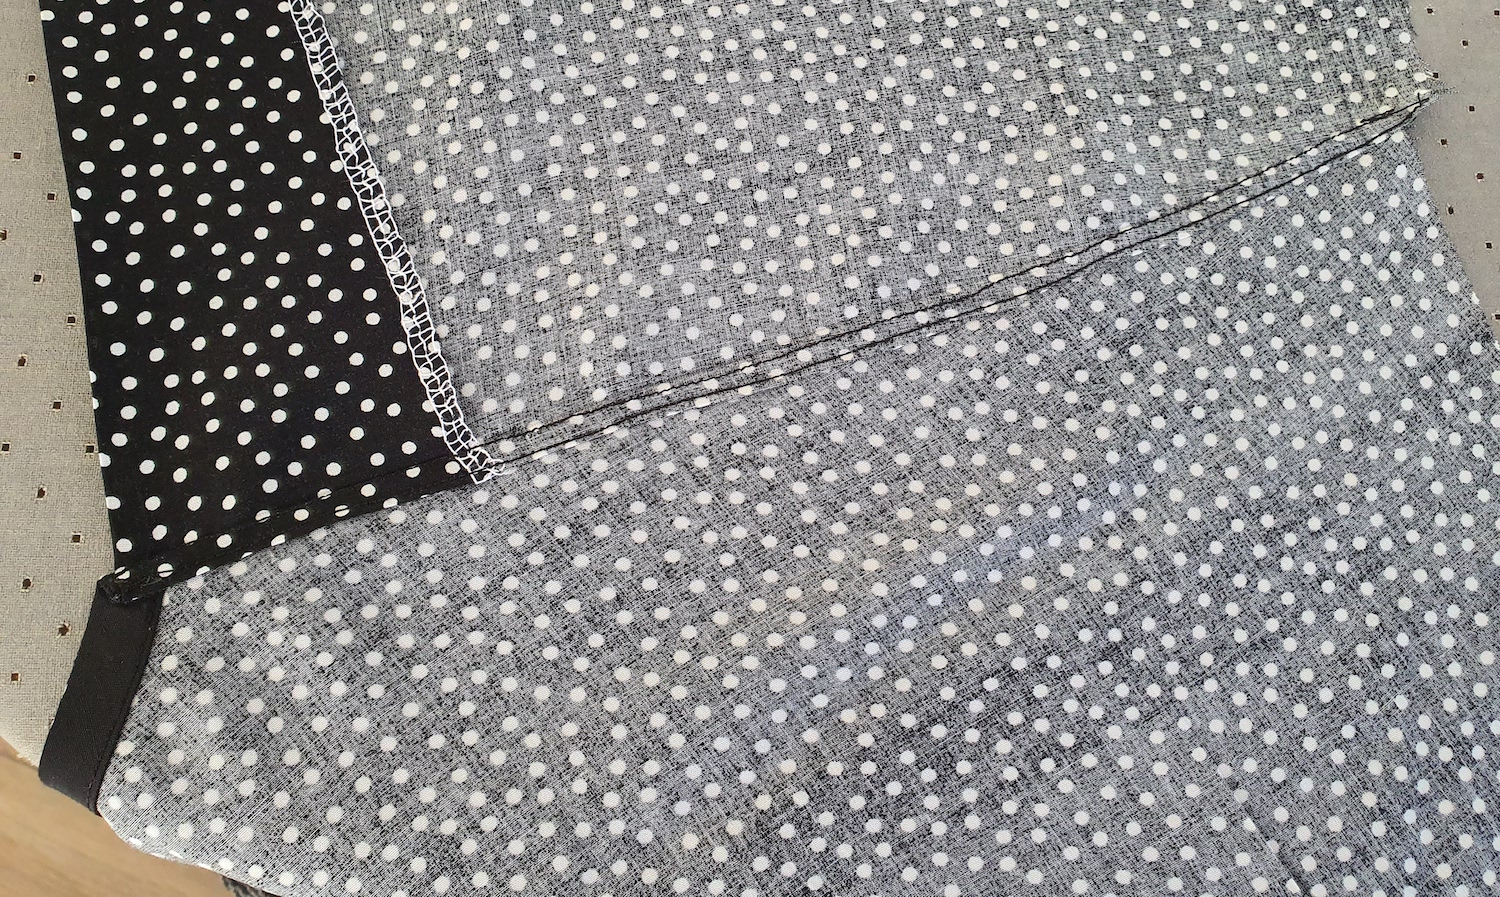
.. Folded the wider seam allowance over the narrower one (with the help of my iron) and stitched to secure flat.
V. To finish the sleeves, I stitched the back and front together by just 3 cm or so from the bottom, and then did a double-fold on the rest:

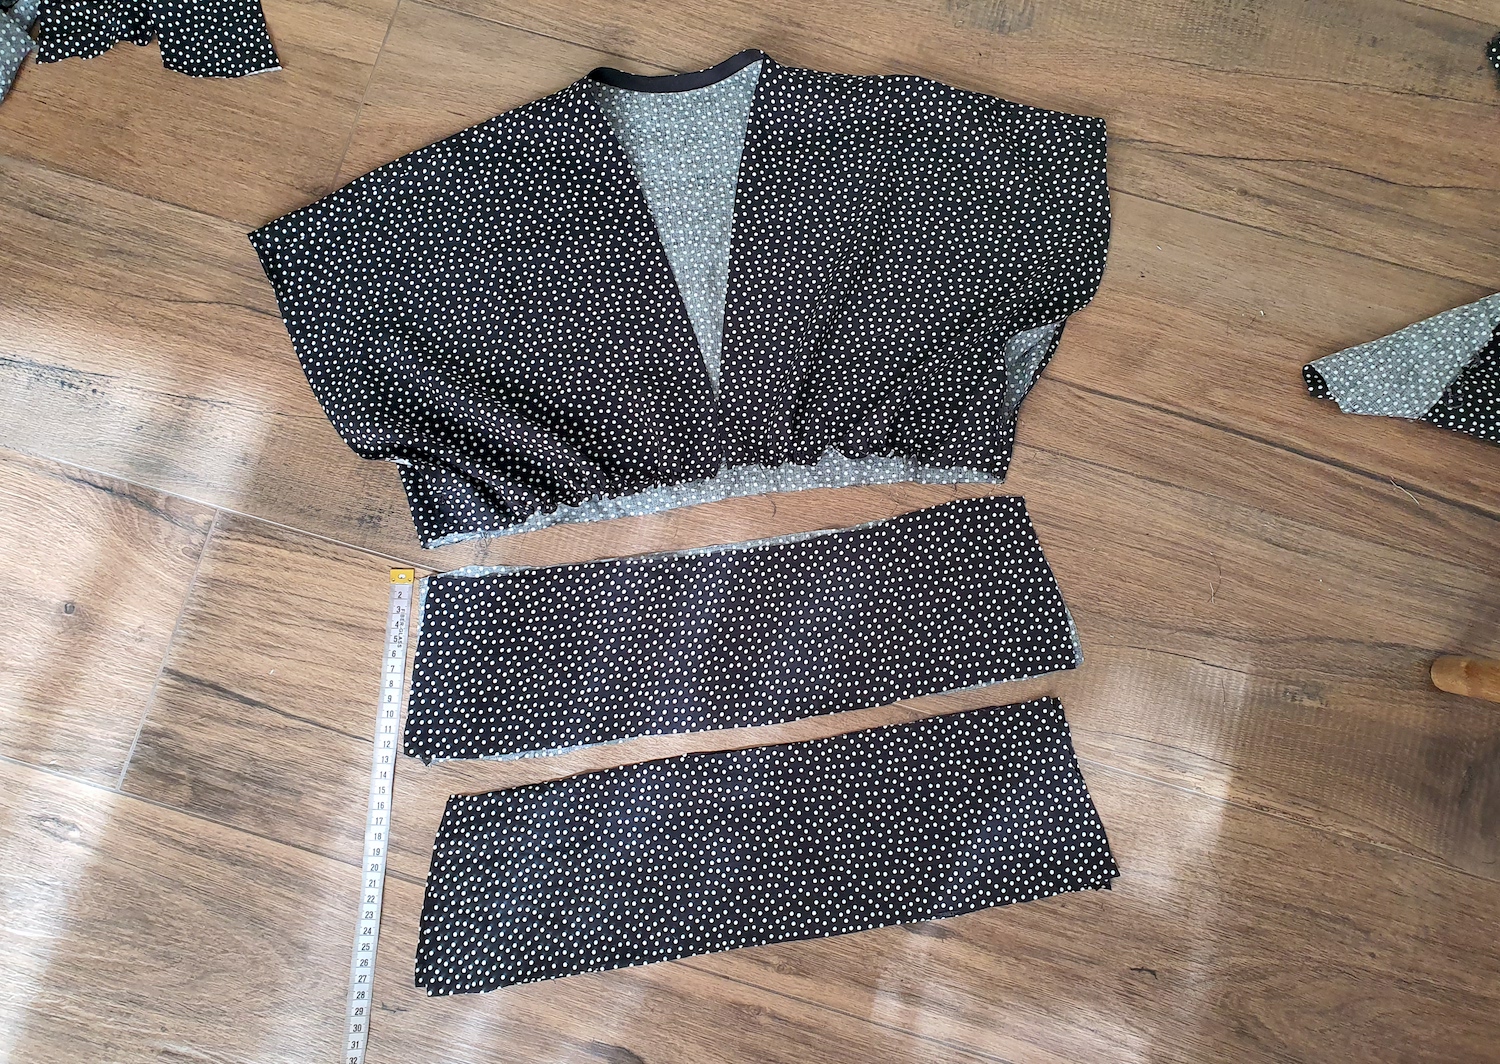
VII. At this point I still wasn't sure if I was making a top or a dress, so I first added enough to make a top. I cut 4 pieces as wide as the top and about 12 cm long - 4 because I wanted this part lined, to create a clean join at the bottom of the V neck. I cut the pieces at a slight A-line..
.. And sewed the pairs together at the sides, right sides facing..

.. So I could then pin the outer layer to the top, right sides facing, and the inner layer with right side facing reverse of top, so the top got sandwiched in between. Sewed all around.

And so I had a top.

Here's the reverse. Thanks to the double layer, a clean finish.

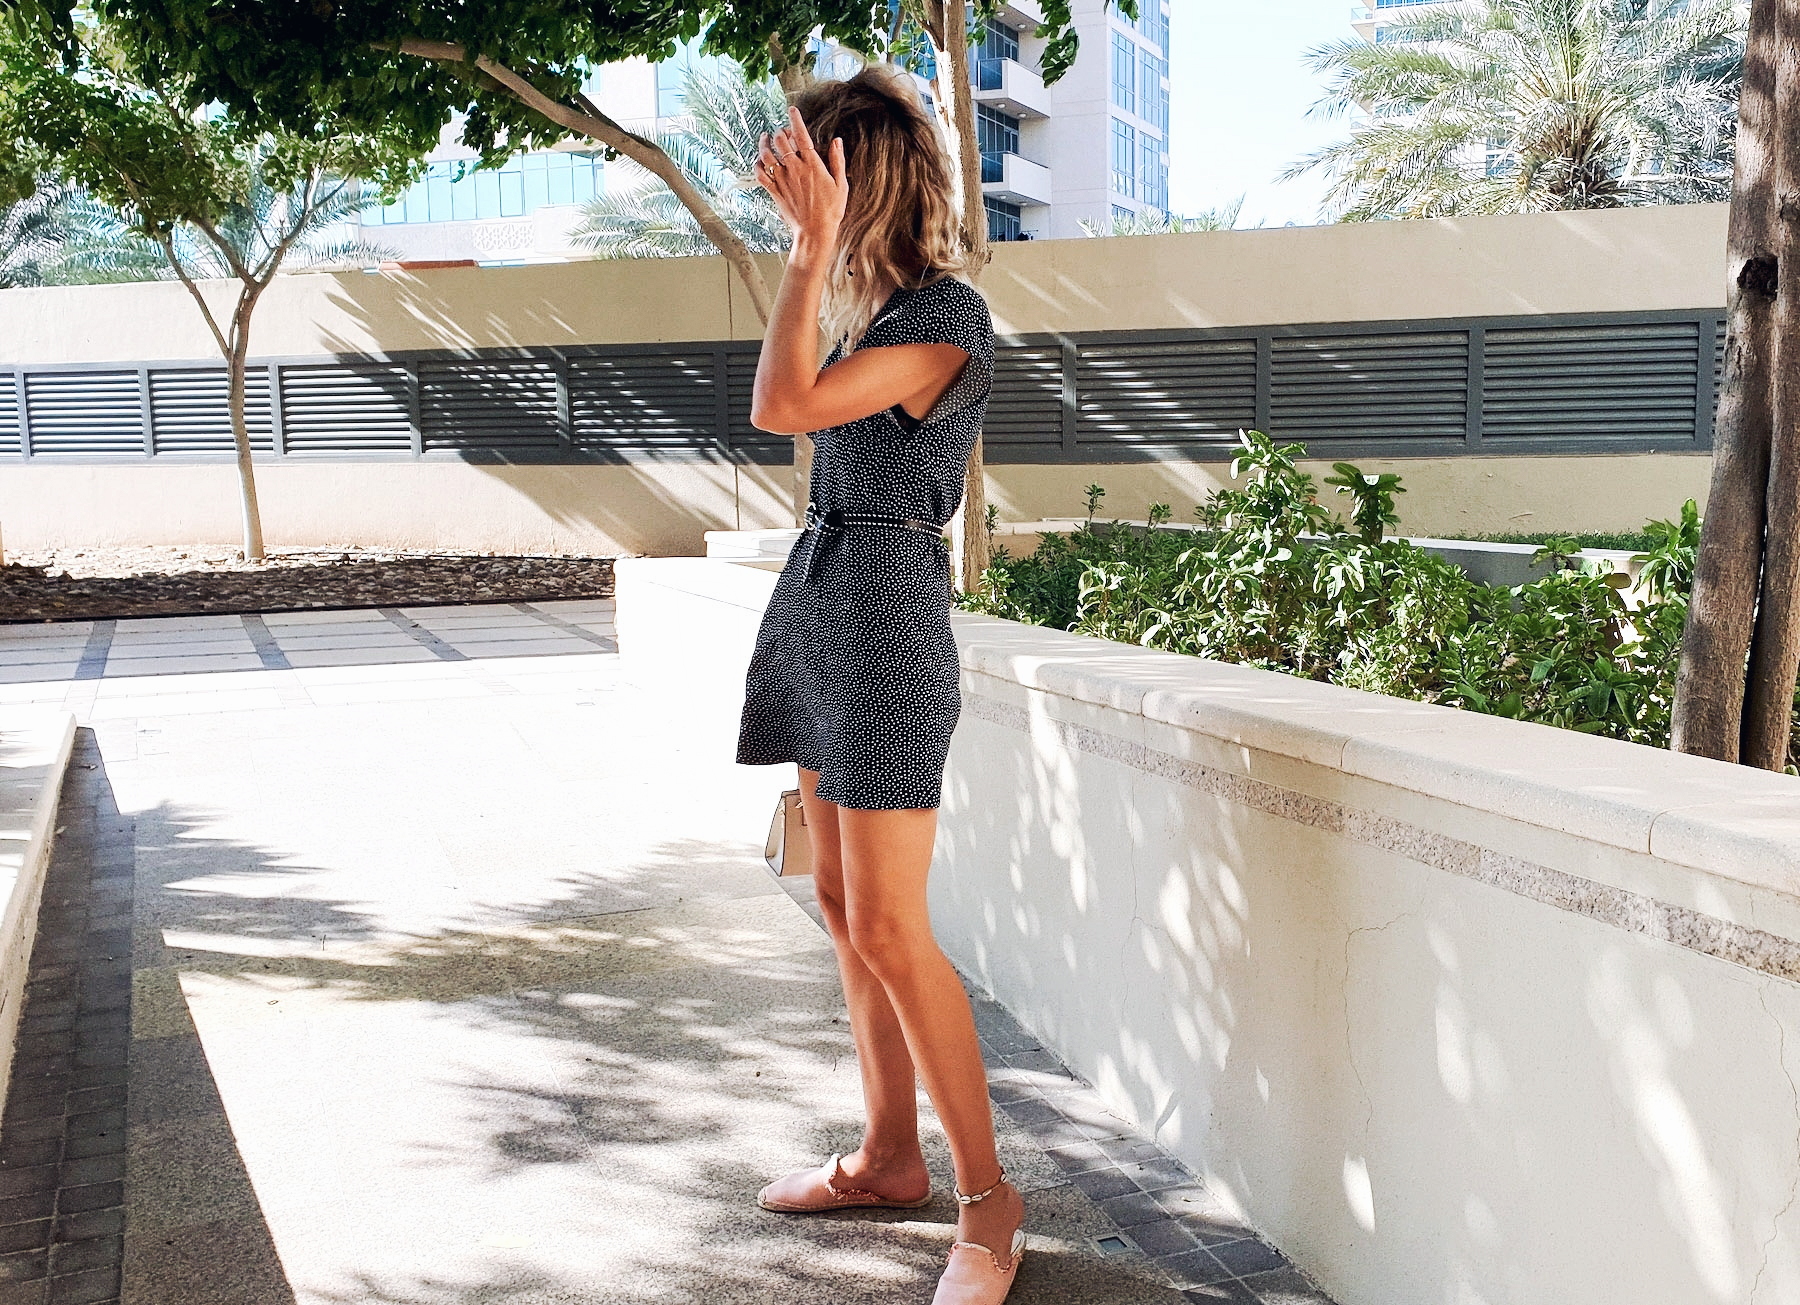
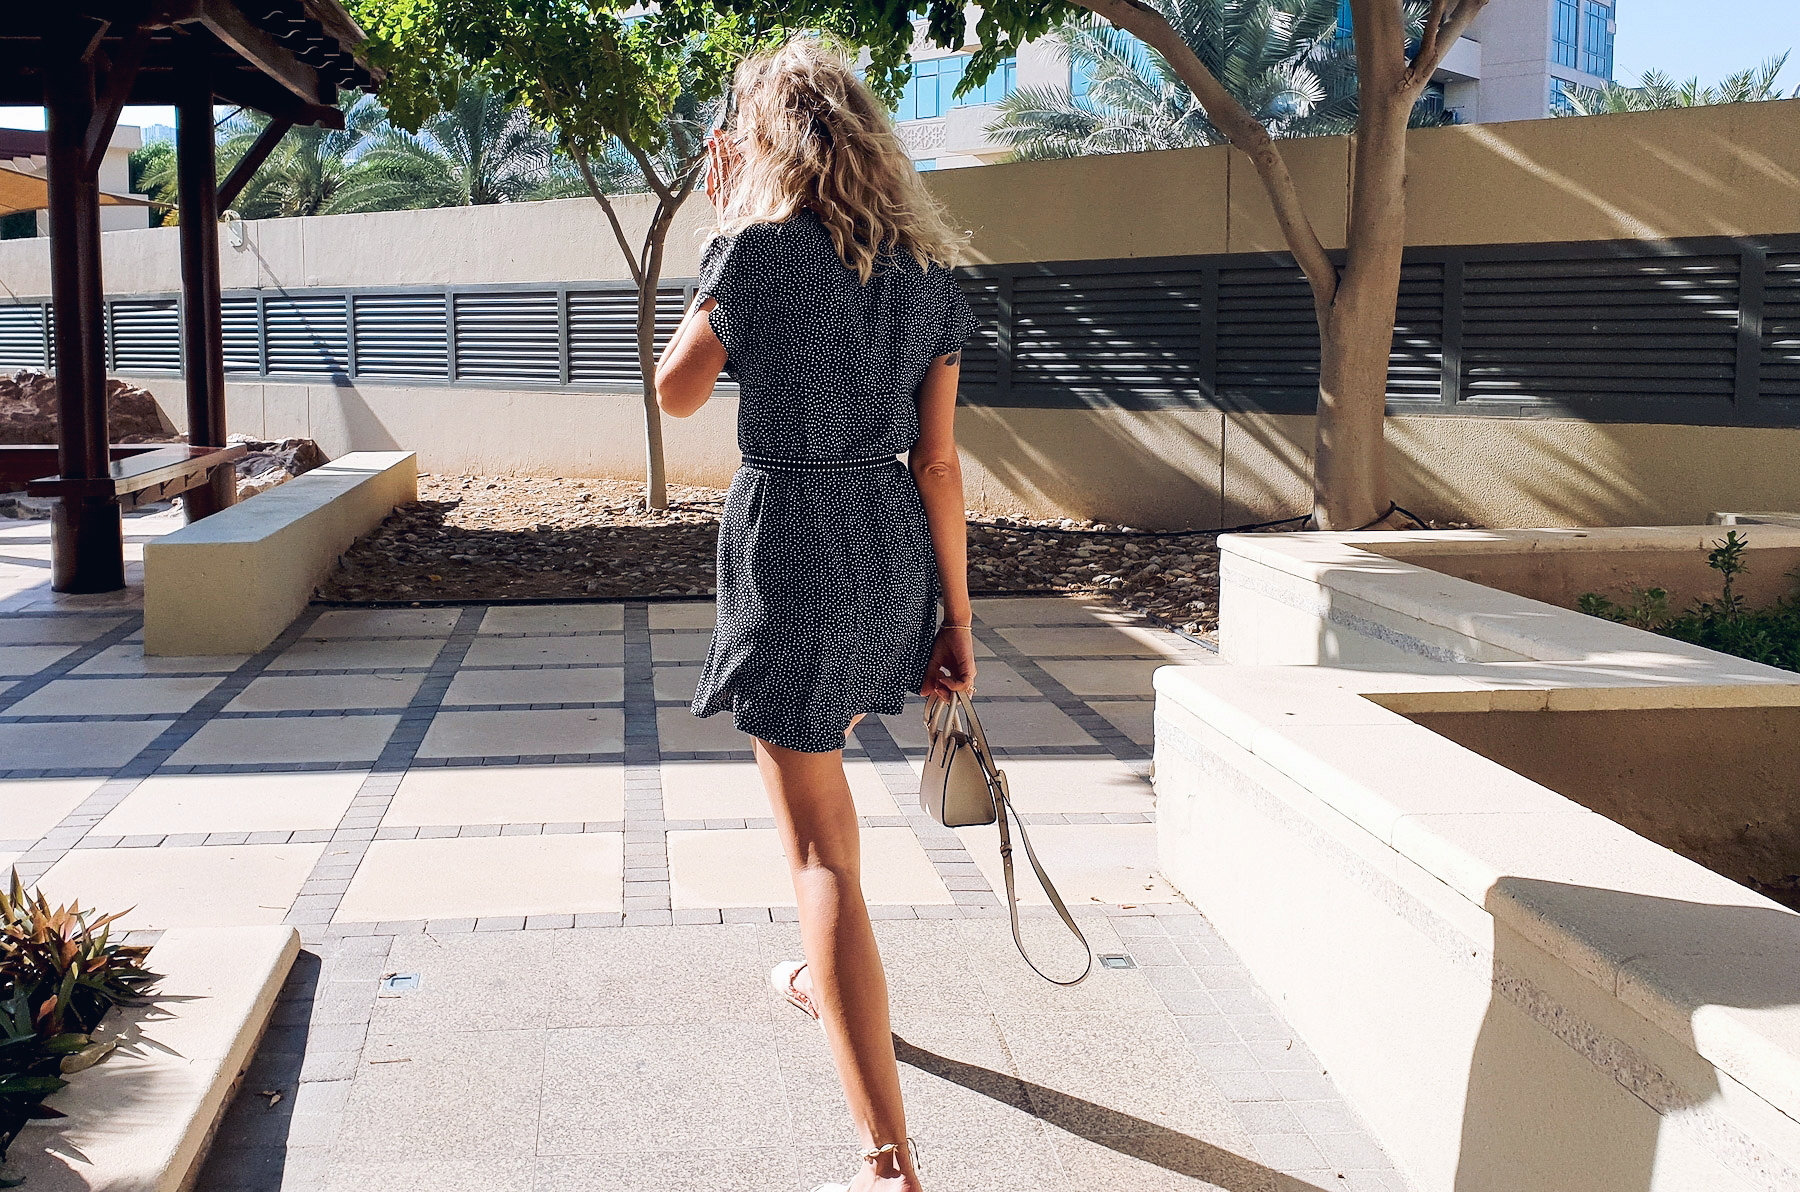
I almost left it as is, but decided this fabric would be better over a larger area. So I (still don't know how, as I did not have enough fabric) made a skirt from a few scrappy pieces, and sewed onto the top to create a dress.

If I'm honest, I wasn't crazy about how this turned out when I first put it on. But it kind of grew on me since. I'll definitely be using the same technique to make a top, but with less gathering in the front and probably longer front pieces (more plunge).


xo,
Julia


0 comments:
Post a Comment
I would love to hear what you think and learn about your DIY adventures! If you use one of my tutorials, tag me on social @contour_affair, I'd love to see!