

But just like everything else, shirring has gone around and come around for me. Especially in sleeves.
Tutorials take a lot of time & effort to create, and I choose to make mine available for free. If you enjoy this guide, you can support me with a donation that feels right for you, here.


TOOLS:

Fabric (I used a printed crepe) 1.5 m x 1.5 m | Scissors | Pins | Small piece of matching round elastic + shirring elastic | Button | Thread & sewing machine (I also used my serger to finish seams | Not in image but about 25 cm of double-sided bias tape if you want to finish shoulder seams nicely
I. Here are the measurements of my cut front and back pieces (on top of each other) - I am EU36/US4 and wanted a semi-loose fit.

The only adjustment I made to the front piece was to cut the neckline a bit lower:

I also chopped the back piece in half along the middle, and finished the edges with my serger.

II. Then to create the keyhole, I sewed the two pieces back together, leaving about 15 cm from the top unsewn. Then I pressed the seam allowance as below, and sewed around the keyhole on the right side with a straight stitch.

III. To finish the neckline nicely, I cut two pieces matching the curve, about 4 cm wide and pinned along the edges, right sides facing like so, and sewed along the curved neckline.

Then I flipped the lining pieces on the reverse and used my iron to fold them so I had this:

Before sewing, I created a little loop from my matching elastic, and hand-sewed it at the fold:
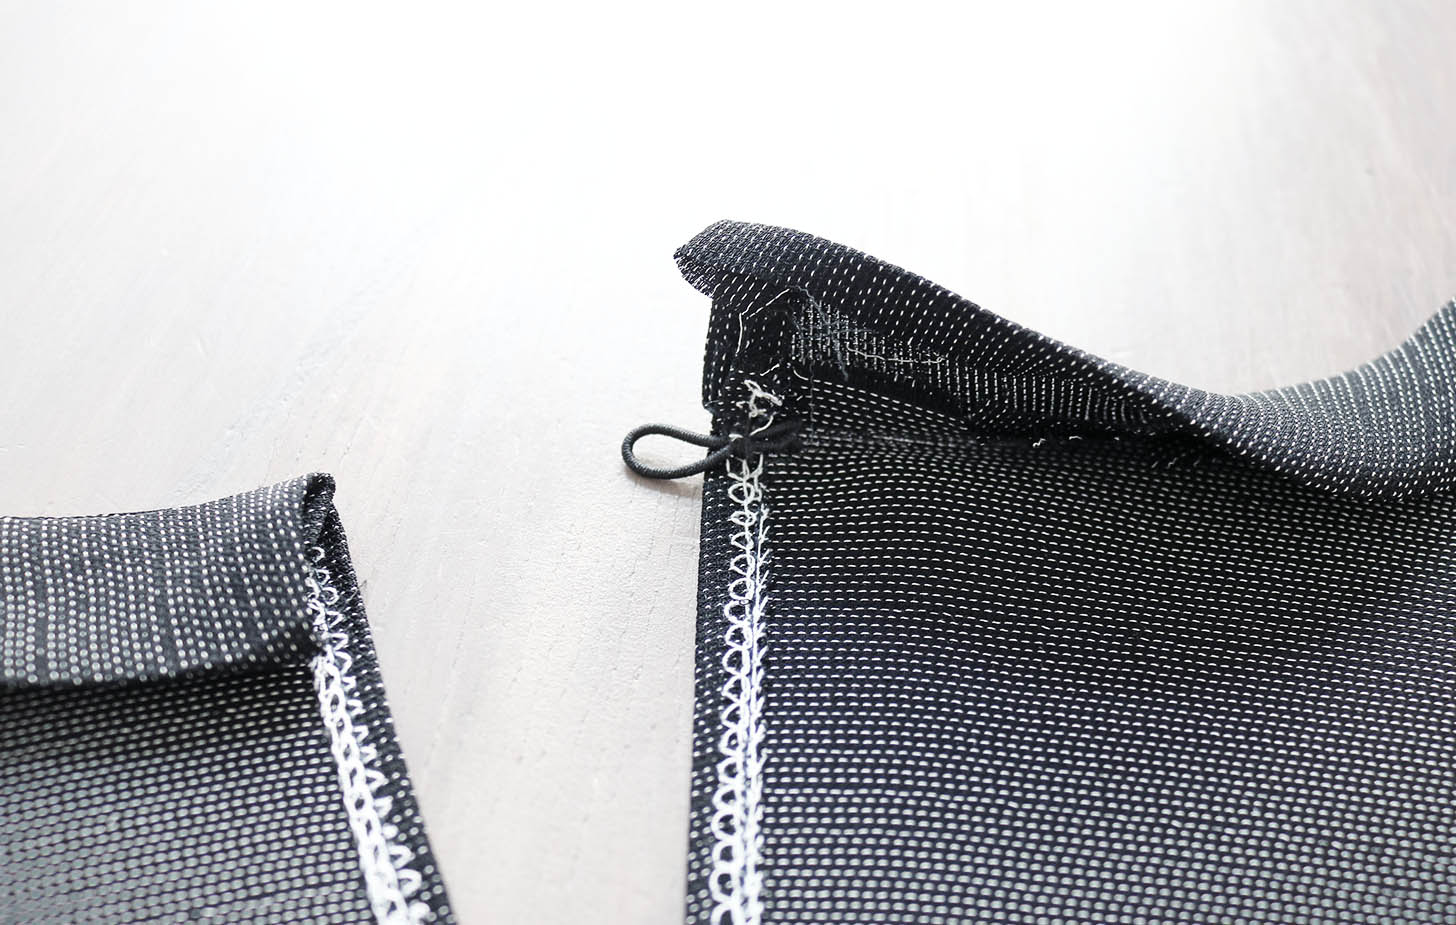
And then sandwiched the elastic in between, hand-sewing the lining piece to the top to avoid having a visible stitch on the right side.
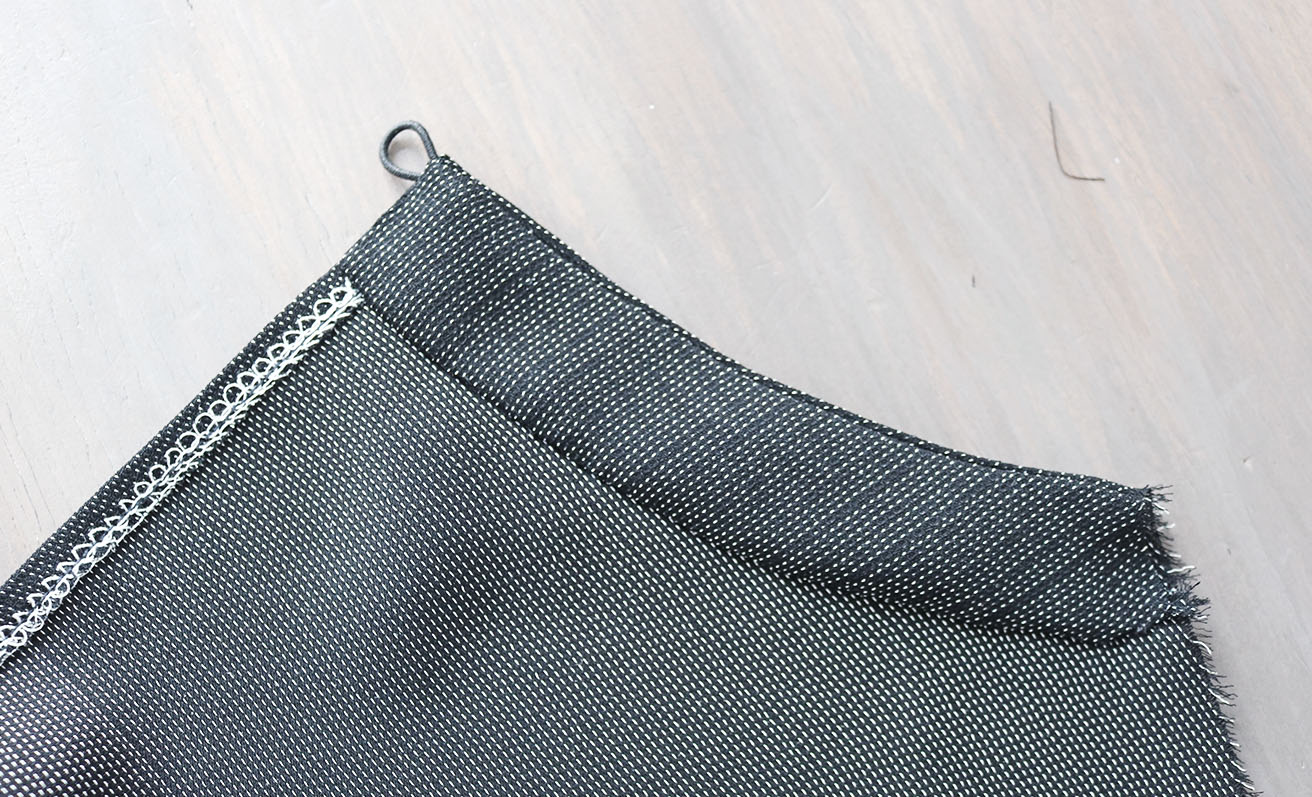
Finally I hand-sewed my button on the other side of the keyhole.

IV. I repeated the same thing for the front piece neckline with a single lining piece.

V. The shoulder seams I finished with bias tape, like I did in my previous dress here.

VI. Then I cut my sleeves, by using the top's arm hole as guidance. Some measurements below:

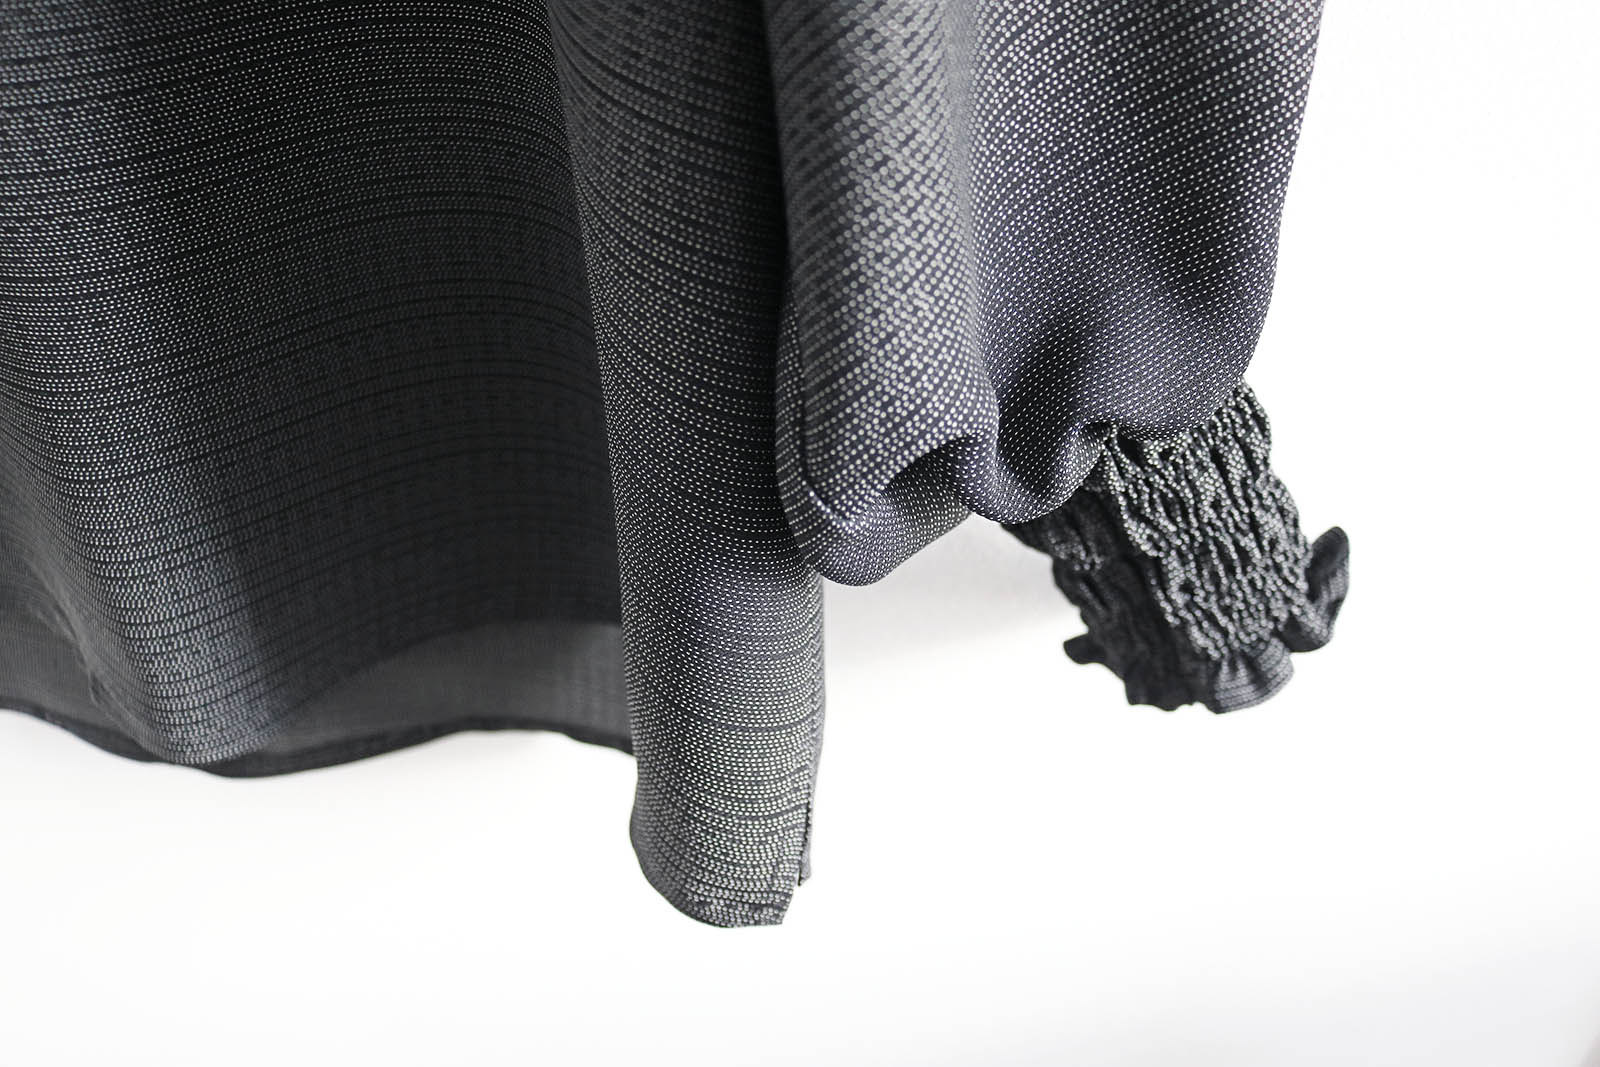
I first finished the sleeve ends with a double fold:

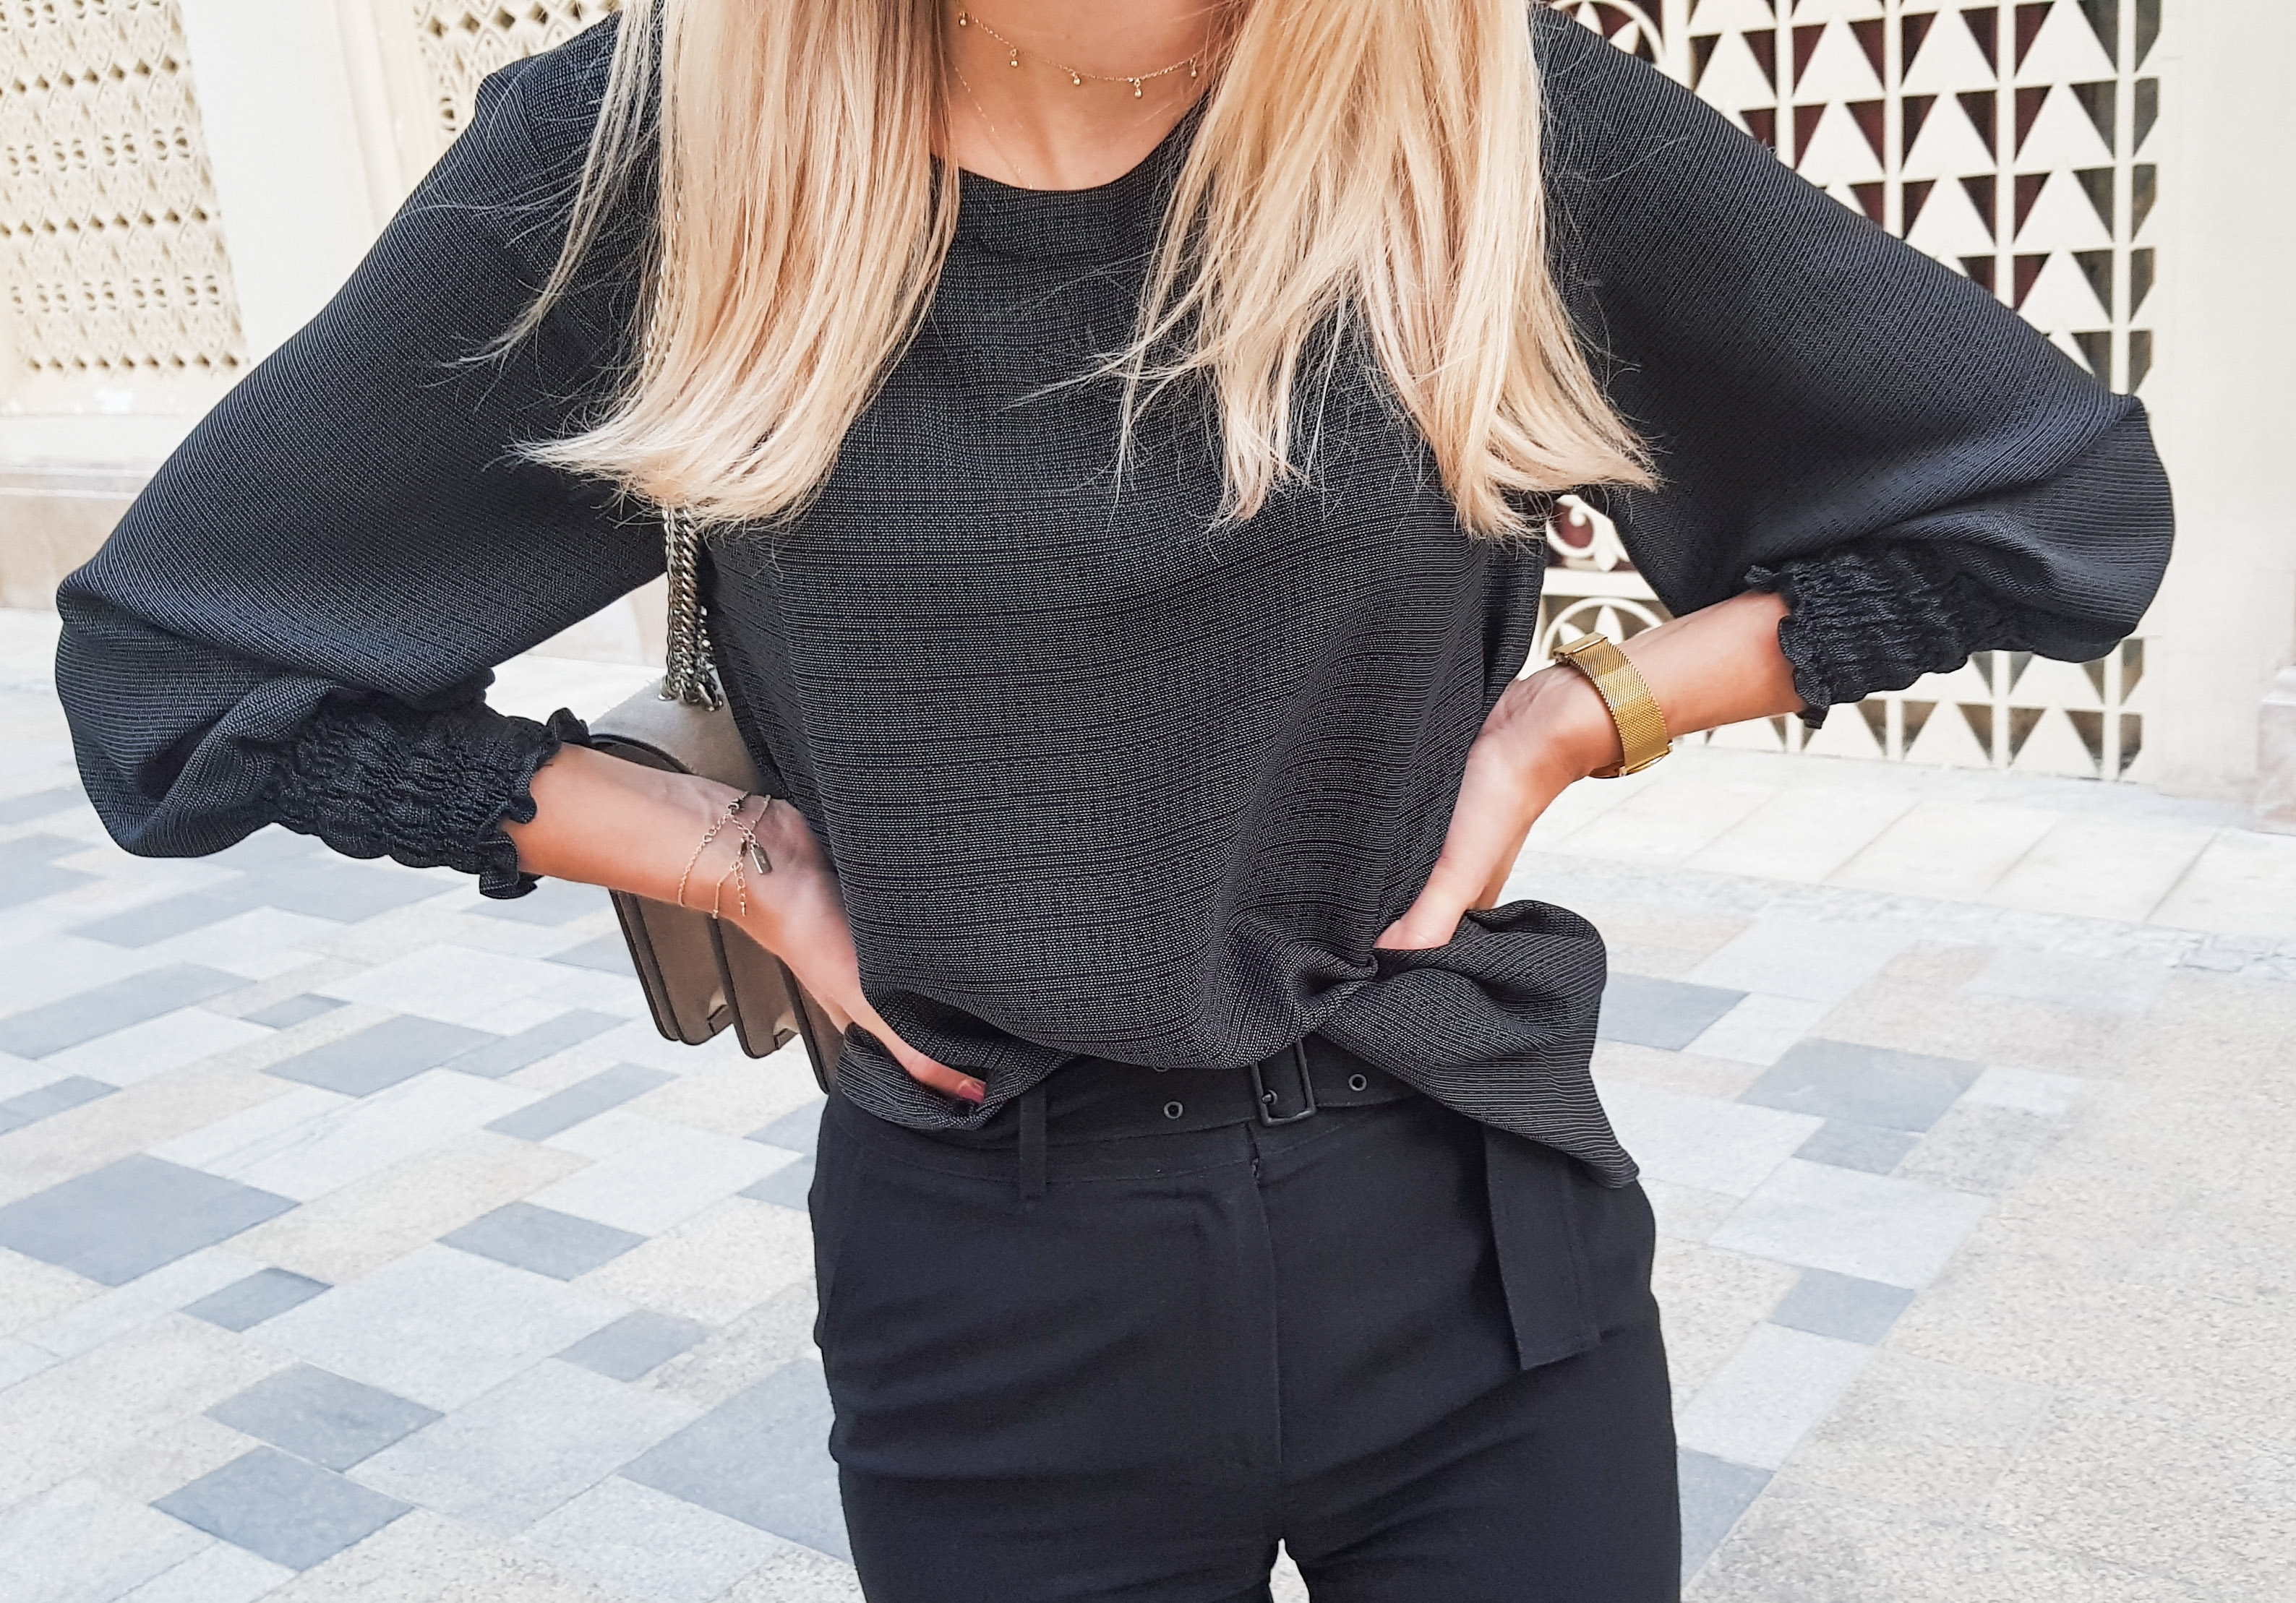
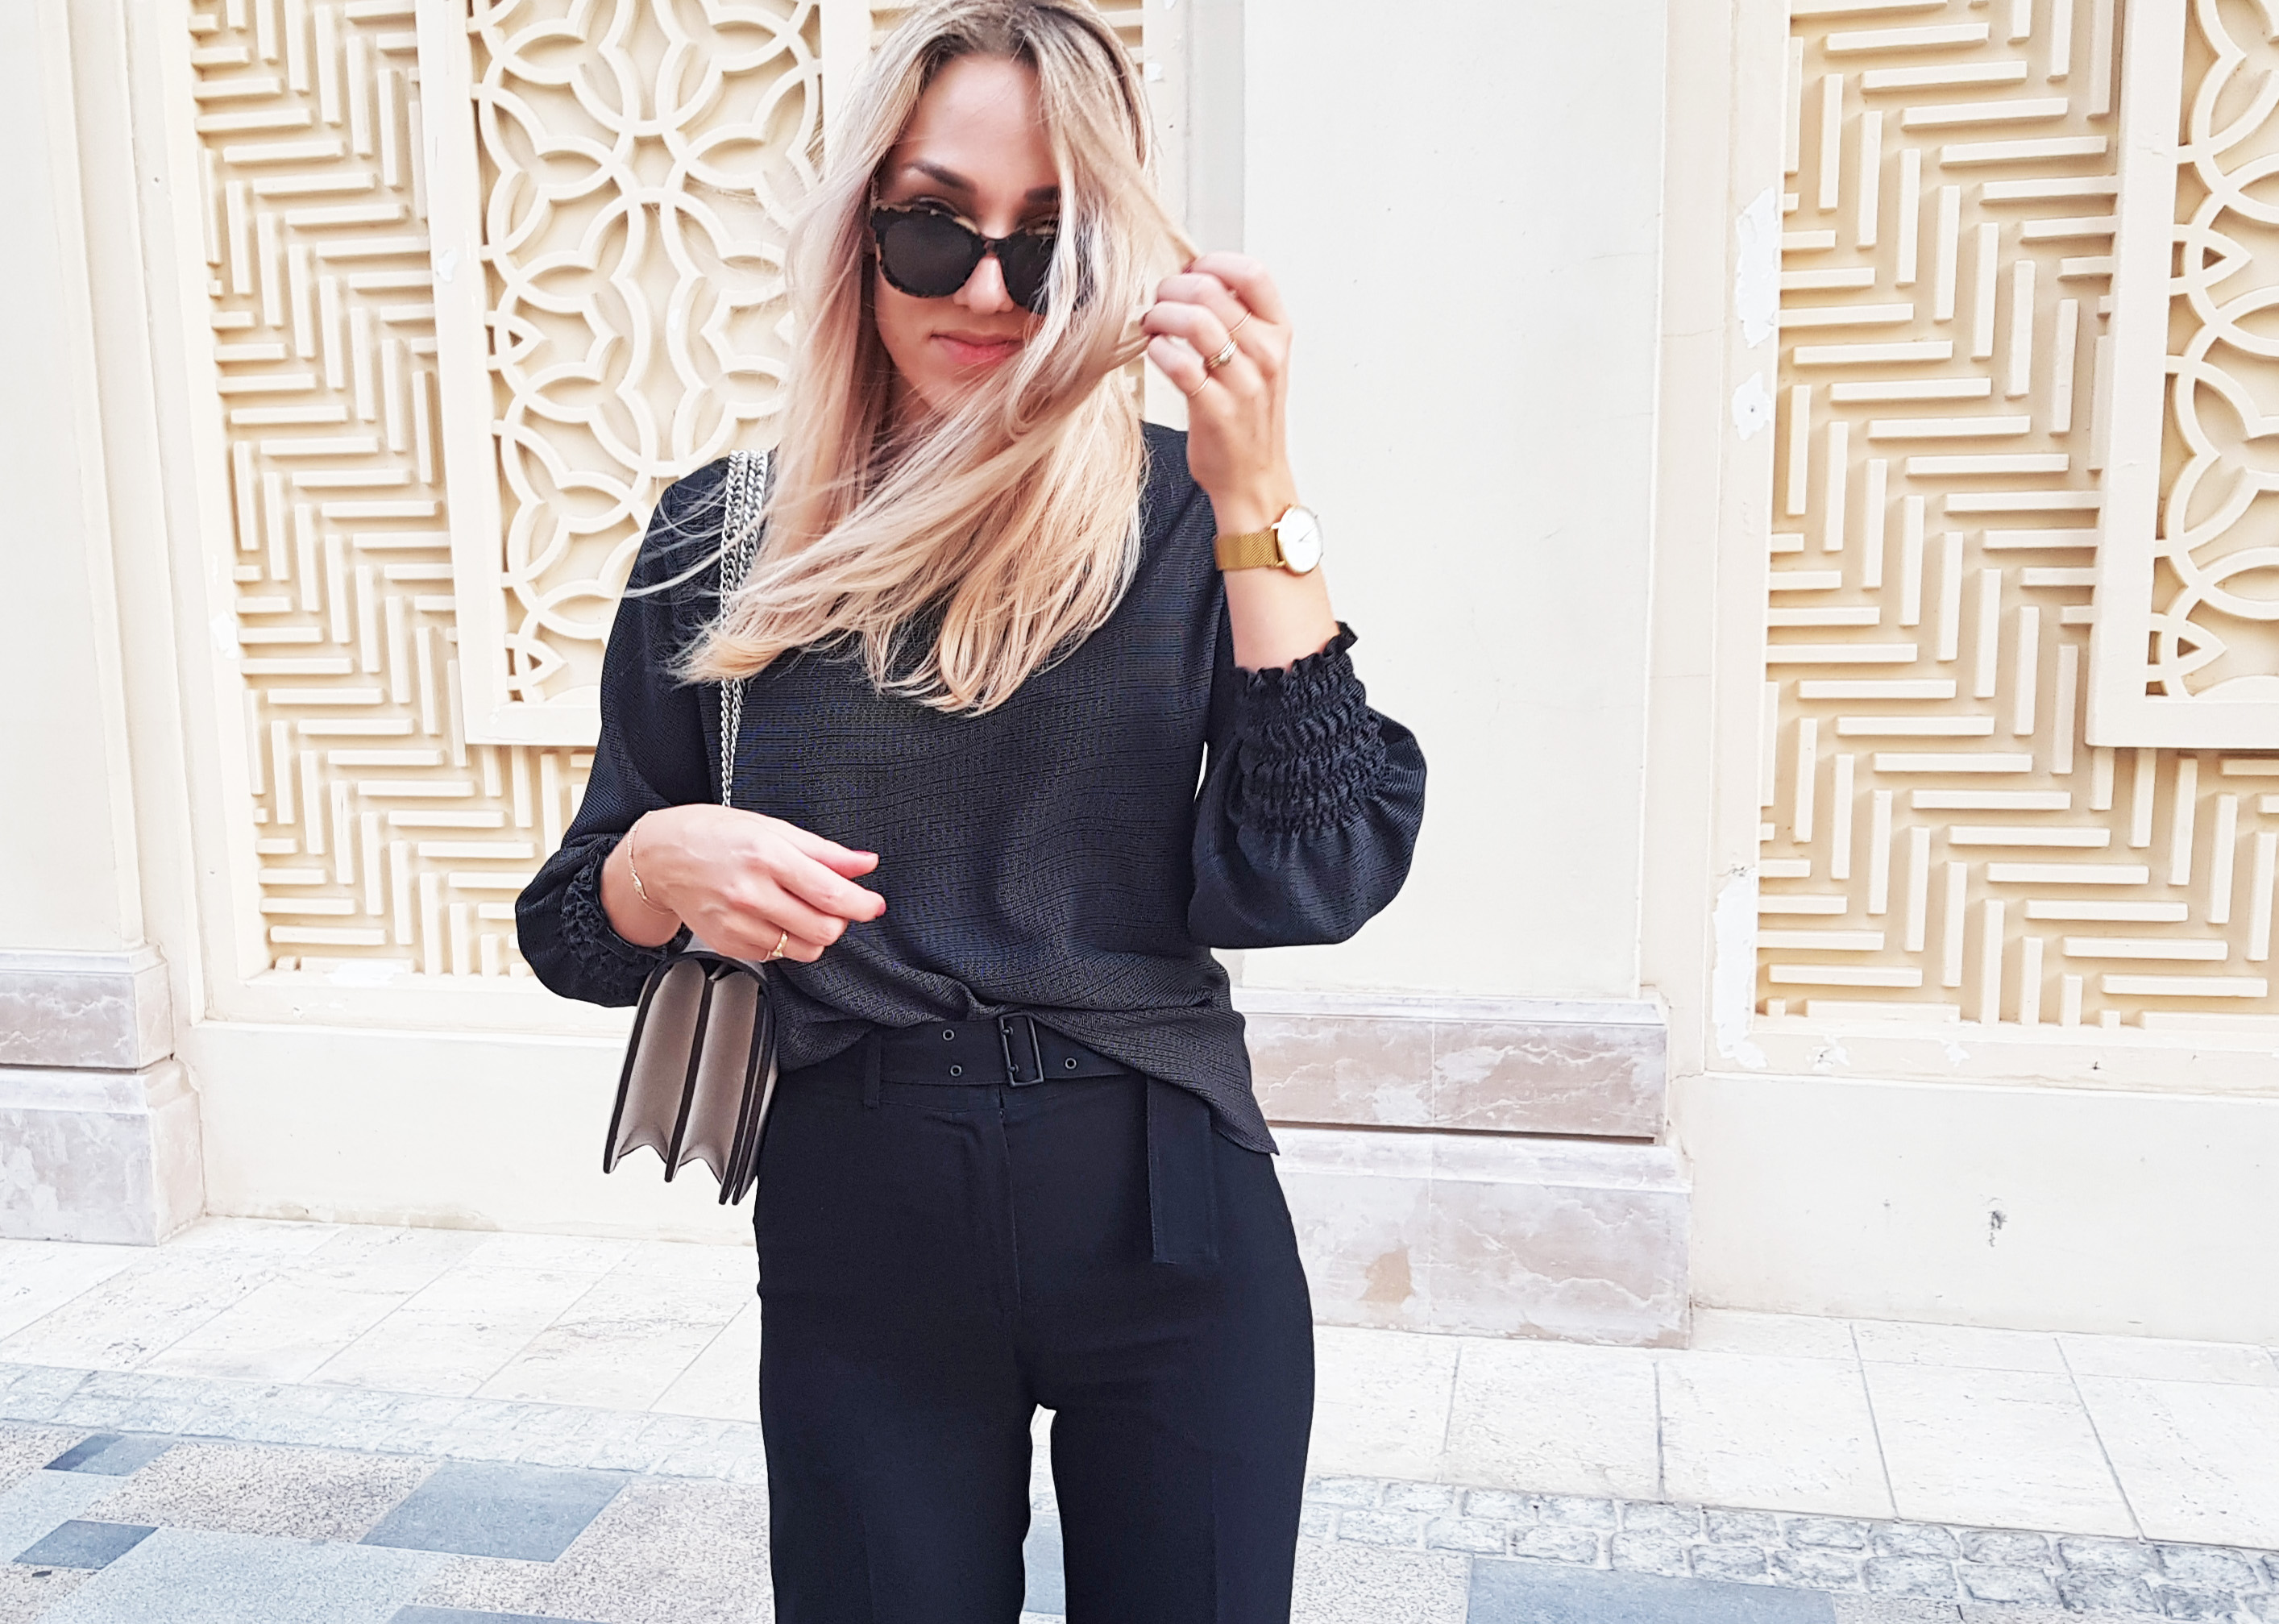
VII. Next came the shirring. Here is a very clear video showing the process. My shirring elastic was a bit loose for my tastes, so after sewing in the stitches (which you can see from below I did in pairs, with about 1.5cm in between) I pulled on the elastics to gather the shirring even more. Until I had this:

After doing both sleeves, here's what they looked like.

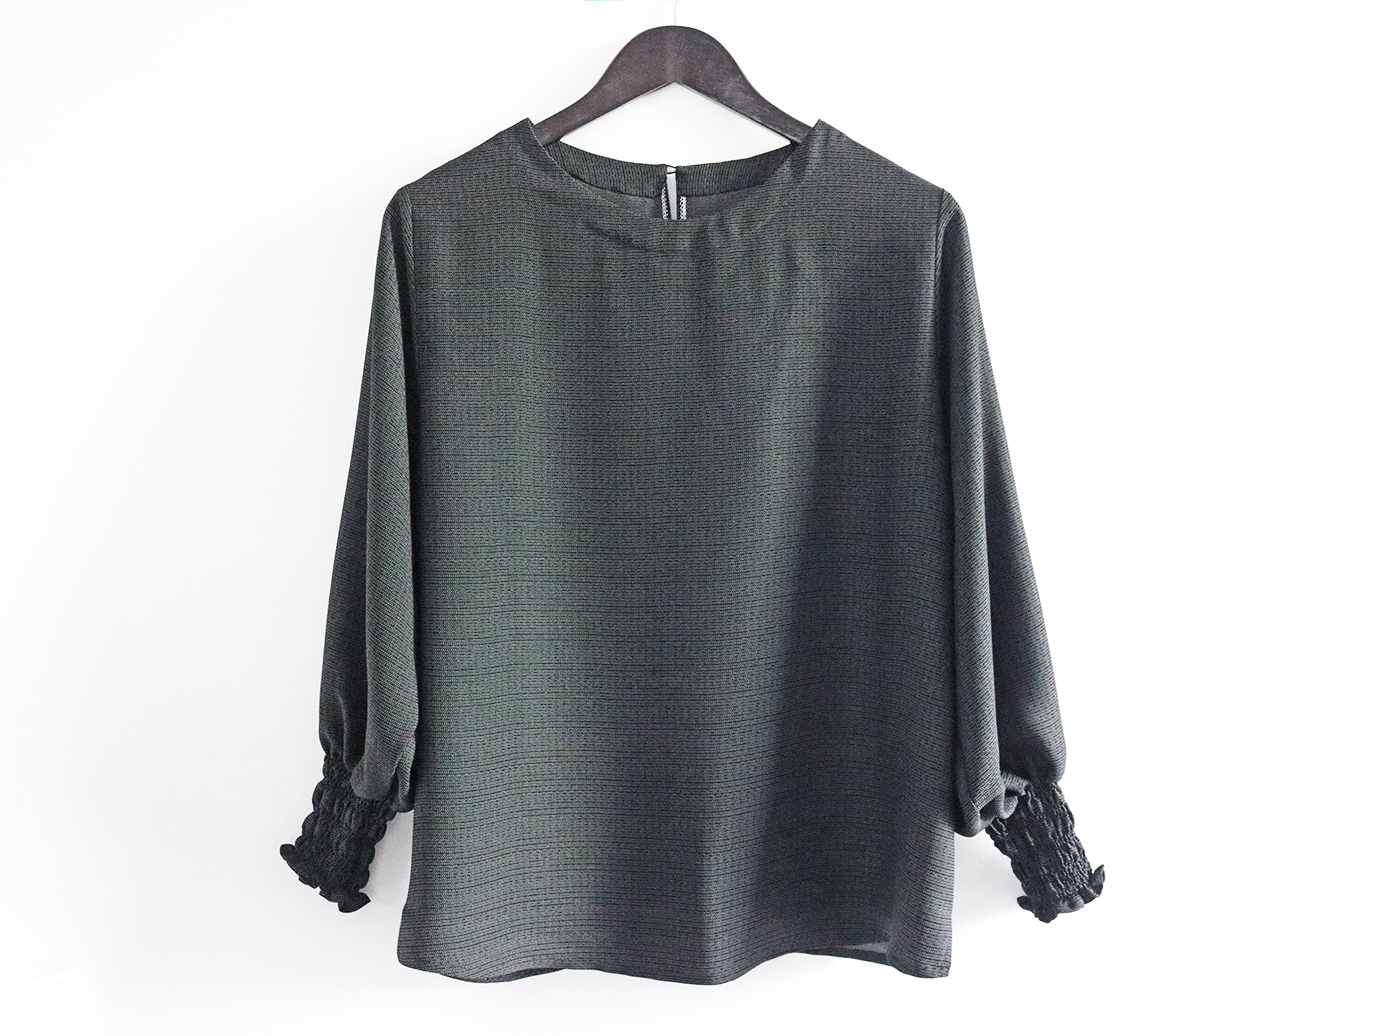
VIII. Next I just attached the sleeves to the top, and completed the sleeve under seam and top side seams. I left small slits at the hem on both side seam.

After hemming the top it was done!
I still can't believe I have this amount of love for something shirred. How life can change.


xo,
Julia


Julia, I just now discovered your blog and was so fascinated with all your skills(design, fabric choice, sewing, great taste) that I went to the beginning and viewed all your posted blogs. Love everything you do and look forward to trying some of your designs. You are very inspiring! Yvonne
ReplyDeleteThanks so much Yvonne, what lovely words! You have certainly made my day and so happy you found something helpful here:)!! I would love to see your applications of my projects!
DeleteJust found your blog and I love your style, think I may turn into a stalker! Thanks for all your tutorials, I may bed to make one or more of everything! 😂 x
ReplyDeleteThat should have said need not bed!
ReplyDelete