
Tutorials take a lot of time & effort to create, and I choose to make mine available for free. If you enjoy this guide, you can support me with a donation that feels right for you, here.
I. Once I had done my shoulder seams and neckline + attached sleeves, I cut two rectangles out of my fabric, about 40 cm x 25 cm. I twisted them over each other like this:

(My fabric was the amazing kind that does not fray when cut, so I did not finish these pieces edges in any way. Just folded the raw edges under like you kind of see above).
II. Then I pinned the ends to the sides of the dress, making sure the location was at the smallest part of my waist. I made the twist a bit shorter overall than the width of the dress, so it would give some shape when worn (due to my fabric being stretchy, my dress was a pull on kind of model, no zipper or other fastening, so it had to be a bit loose to go on). I sewed along both sides to secure the twist in place and cut off the excess.

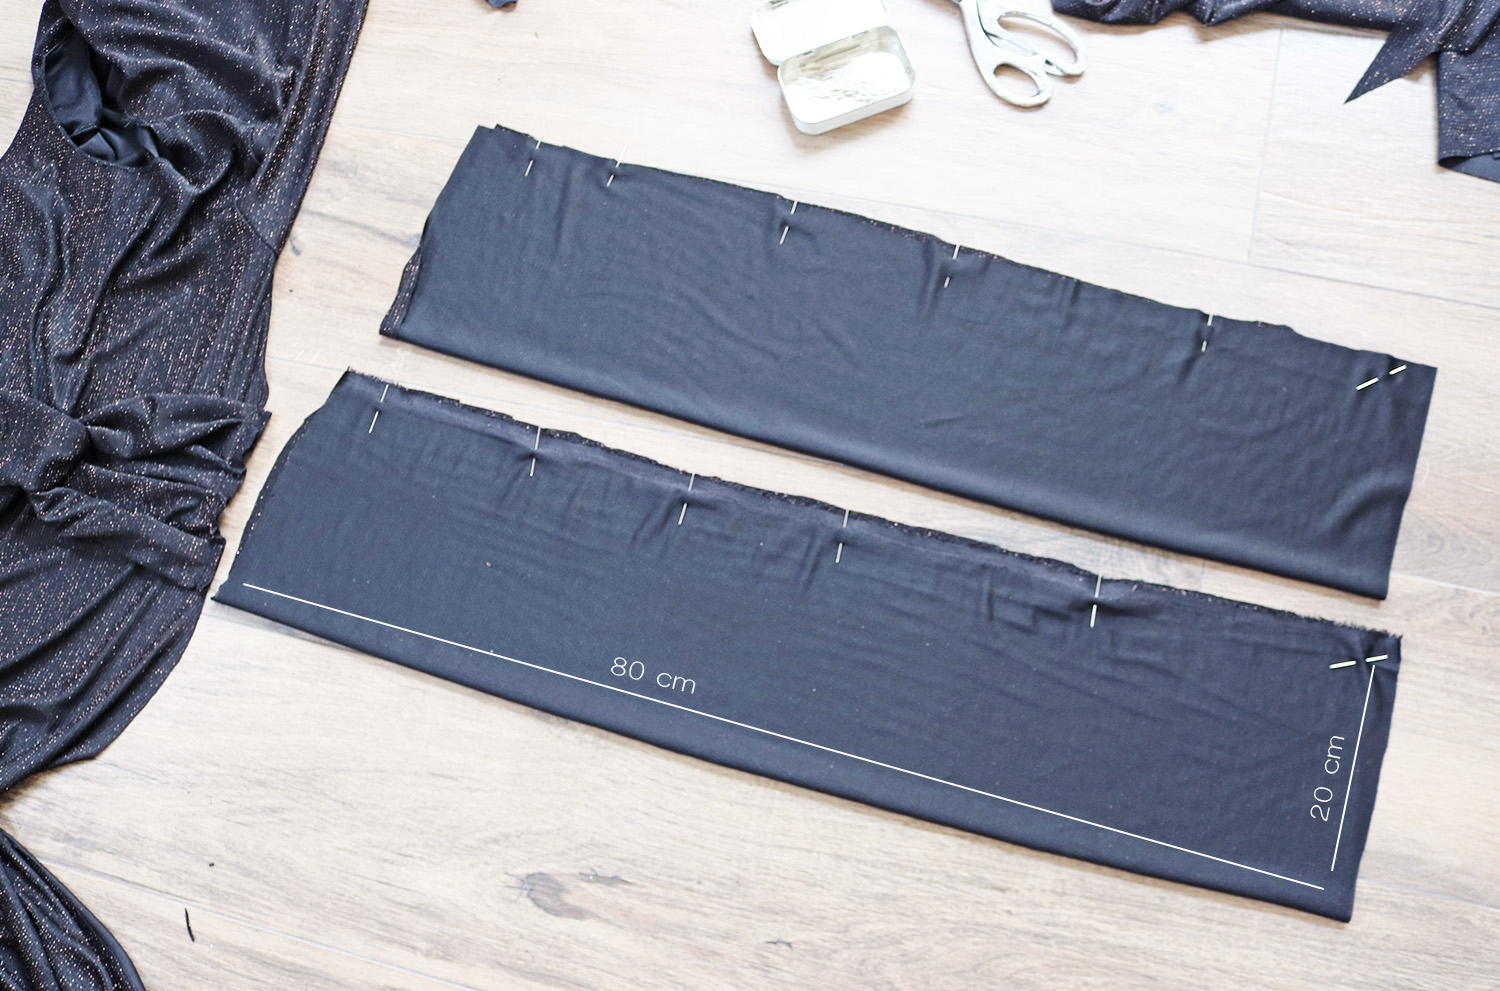
III. Then I made the belt pieces for the back - cut two pieces 80 cm x 40 cm each, folded in half width-wise, right sides facing, and sewed the non-folded edge and one short edge. Cut excess and corners, then pulled the right side out and pressed to make my belt piece.
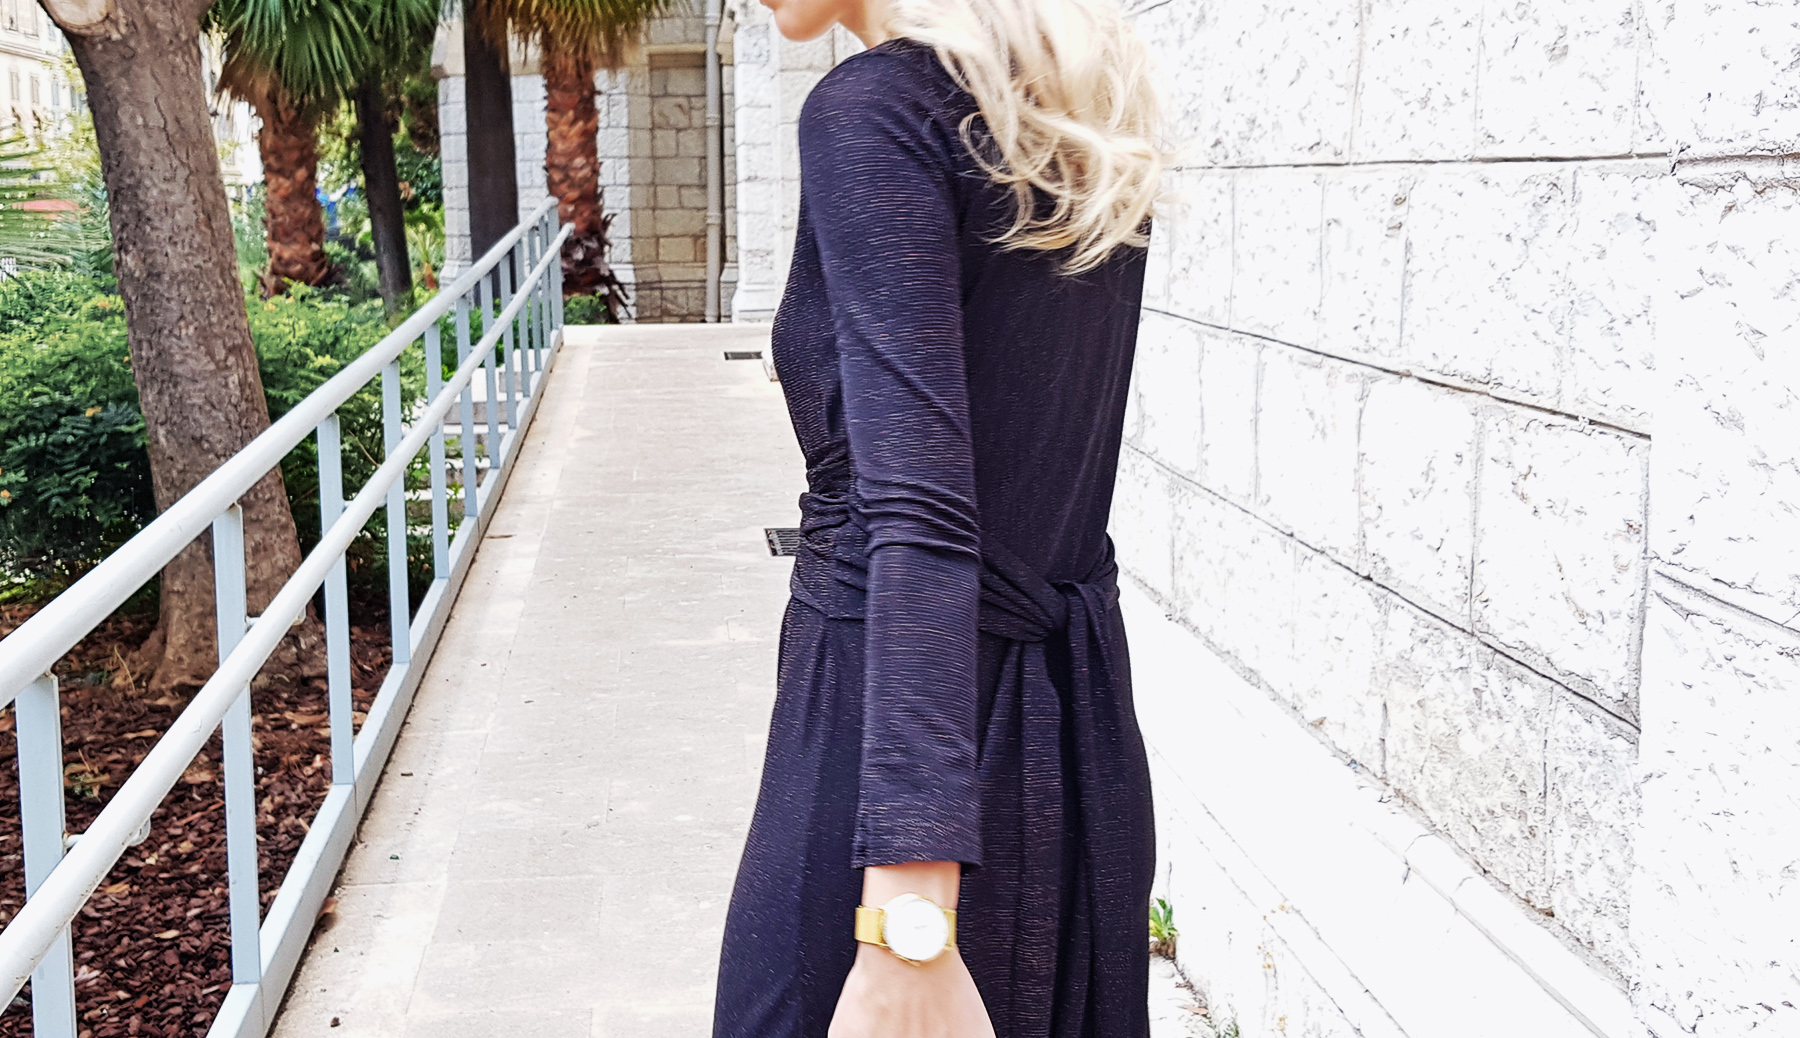
IV. I pinned the belt piece at the exact same spot on the back piece of the dress, as the twist was on the front piece (by measuring down from the arm pit). I made some irregular folds so the width of the belt was the same as the width of the twist, pinned in place, and sewed to secure. Repeated for other belt piece on opposite side.

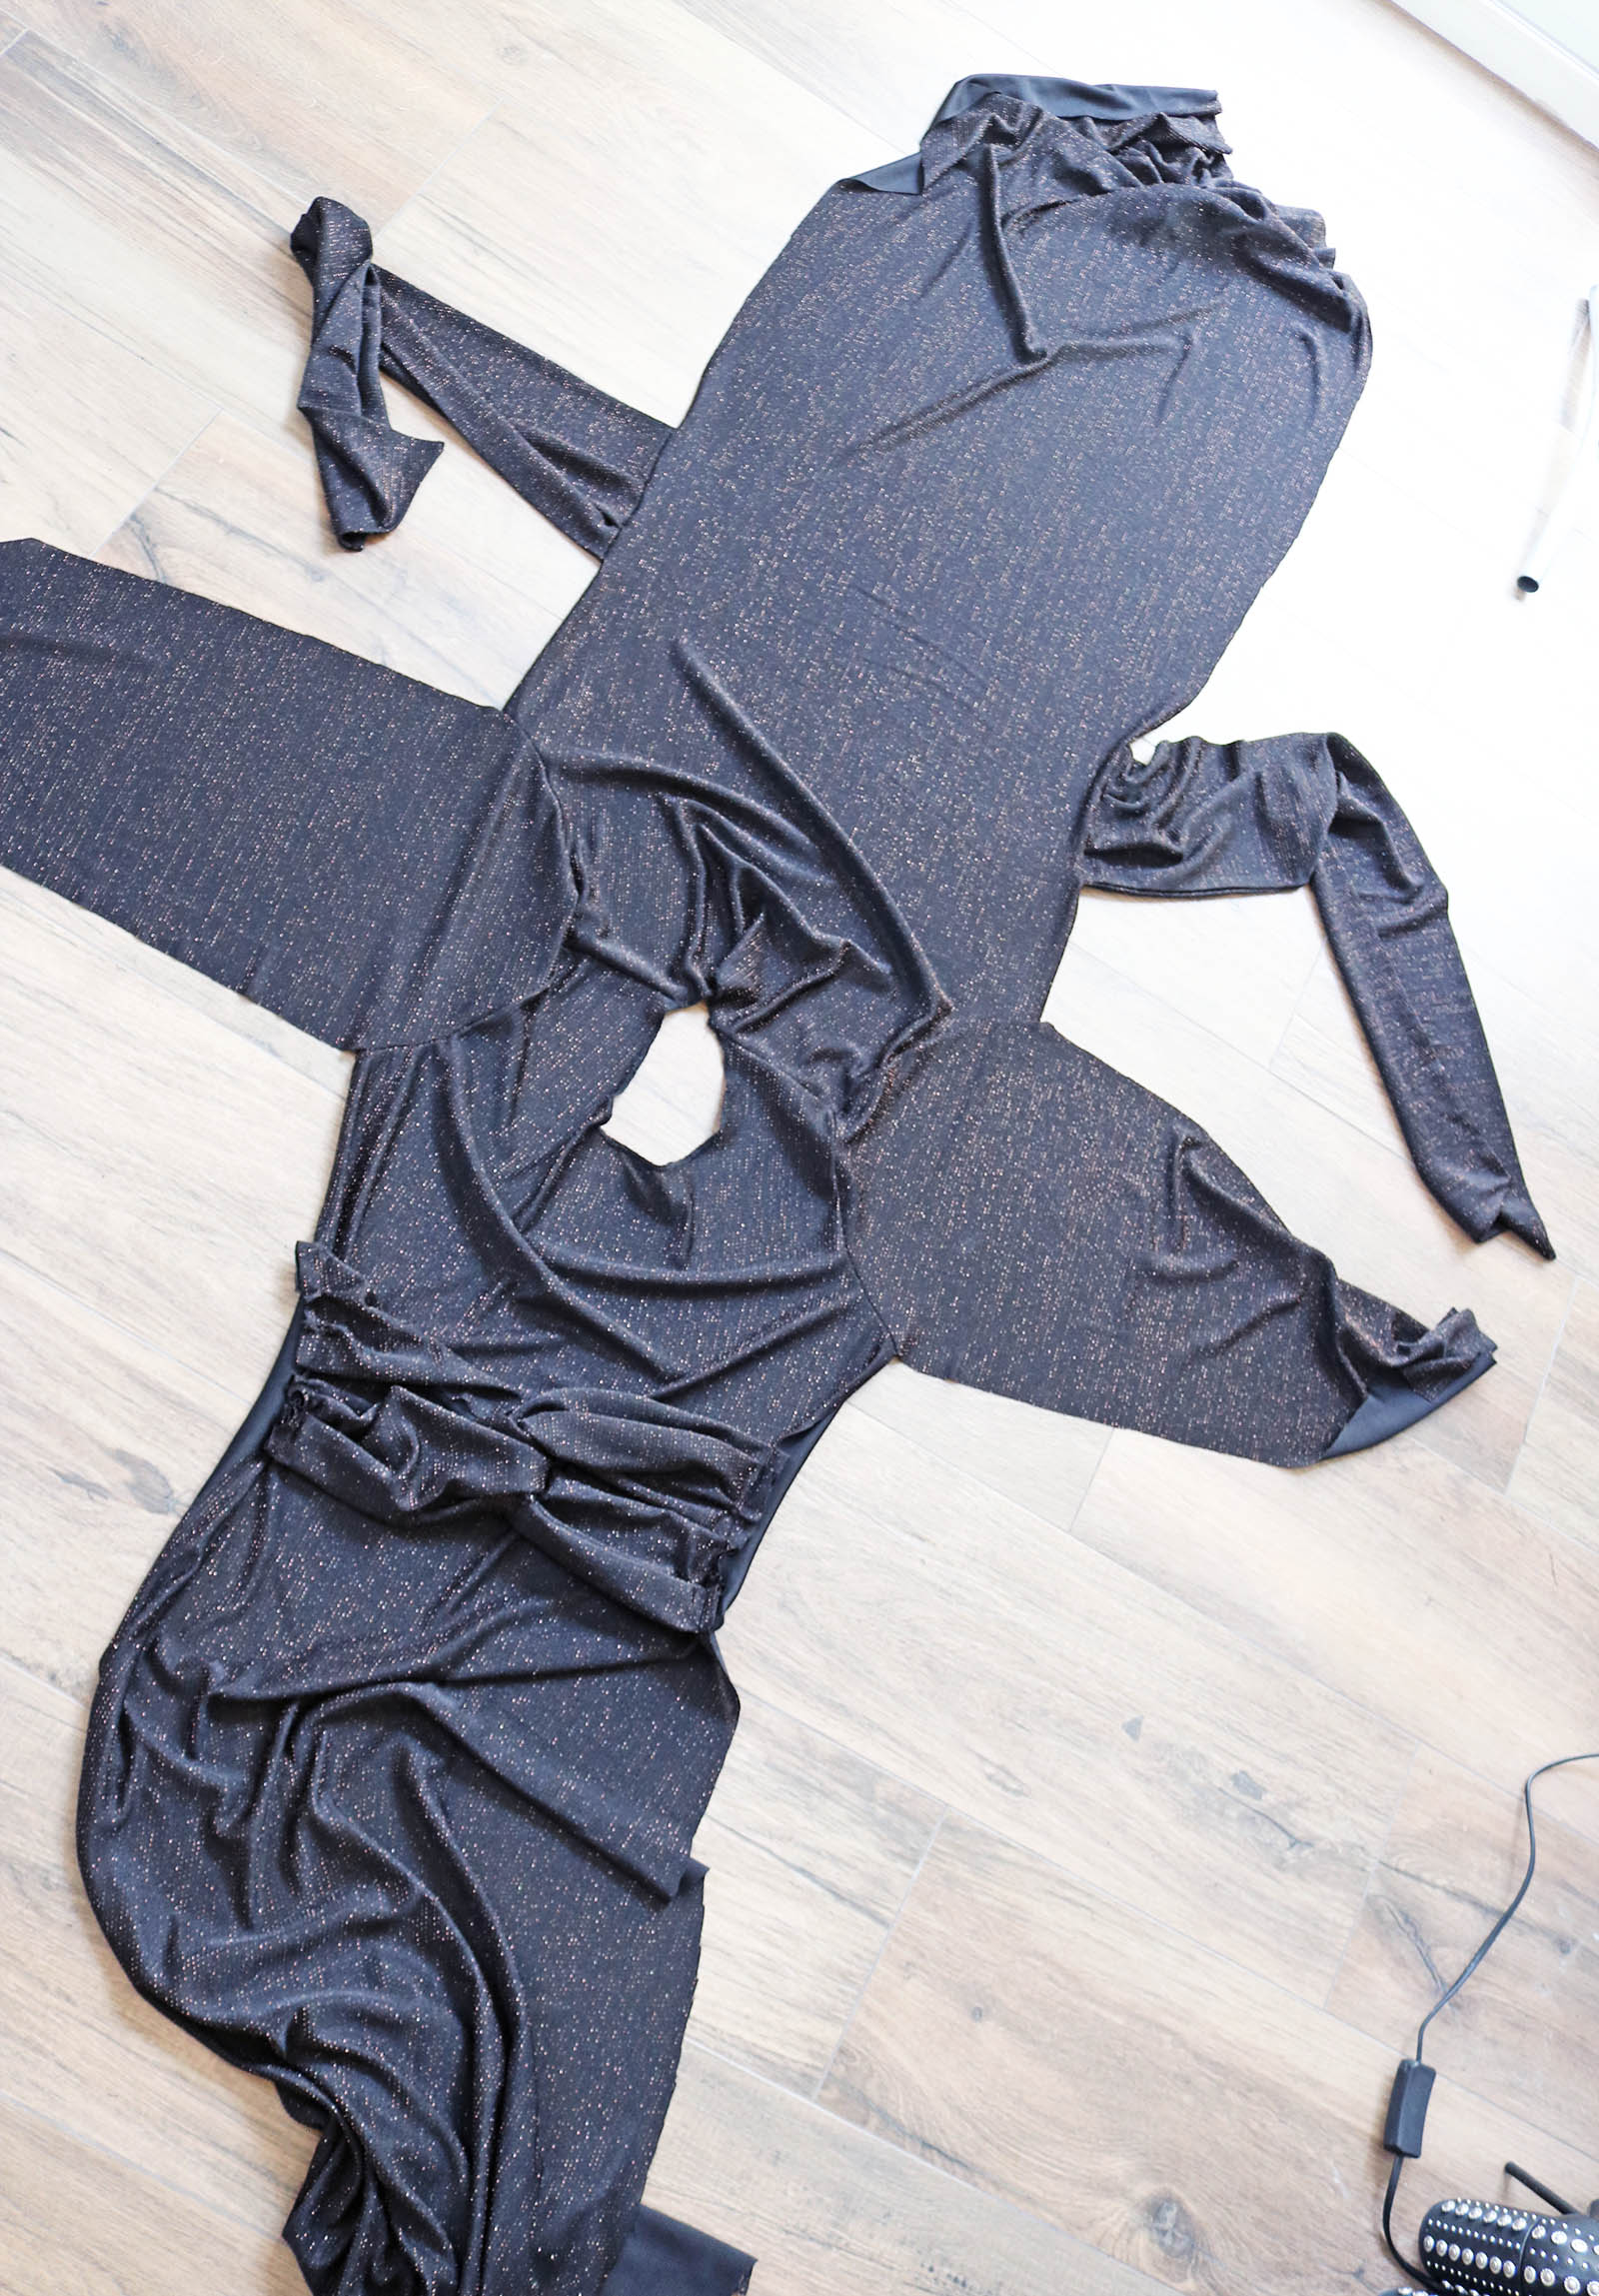
V. Then I had this. Front piece with twist attached, back piece with one belt piece per side. Last step was to finish sleeve underarm seams and side seams, and I didn't even do any hemming thanks to this magical fabric.
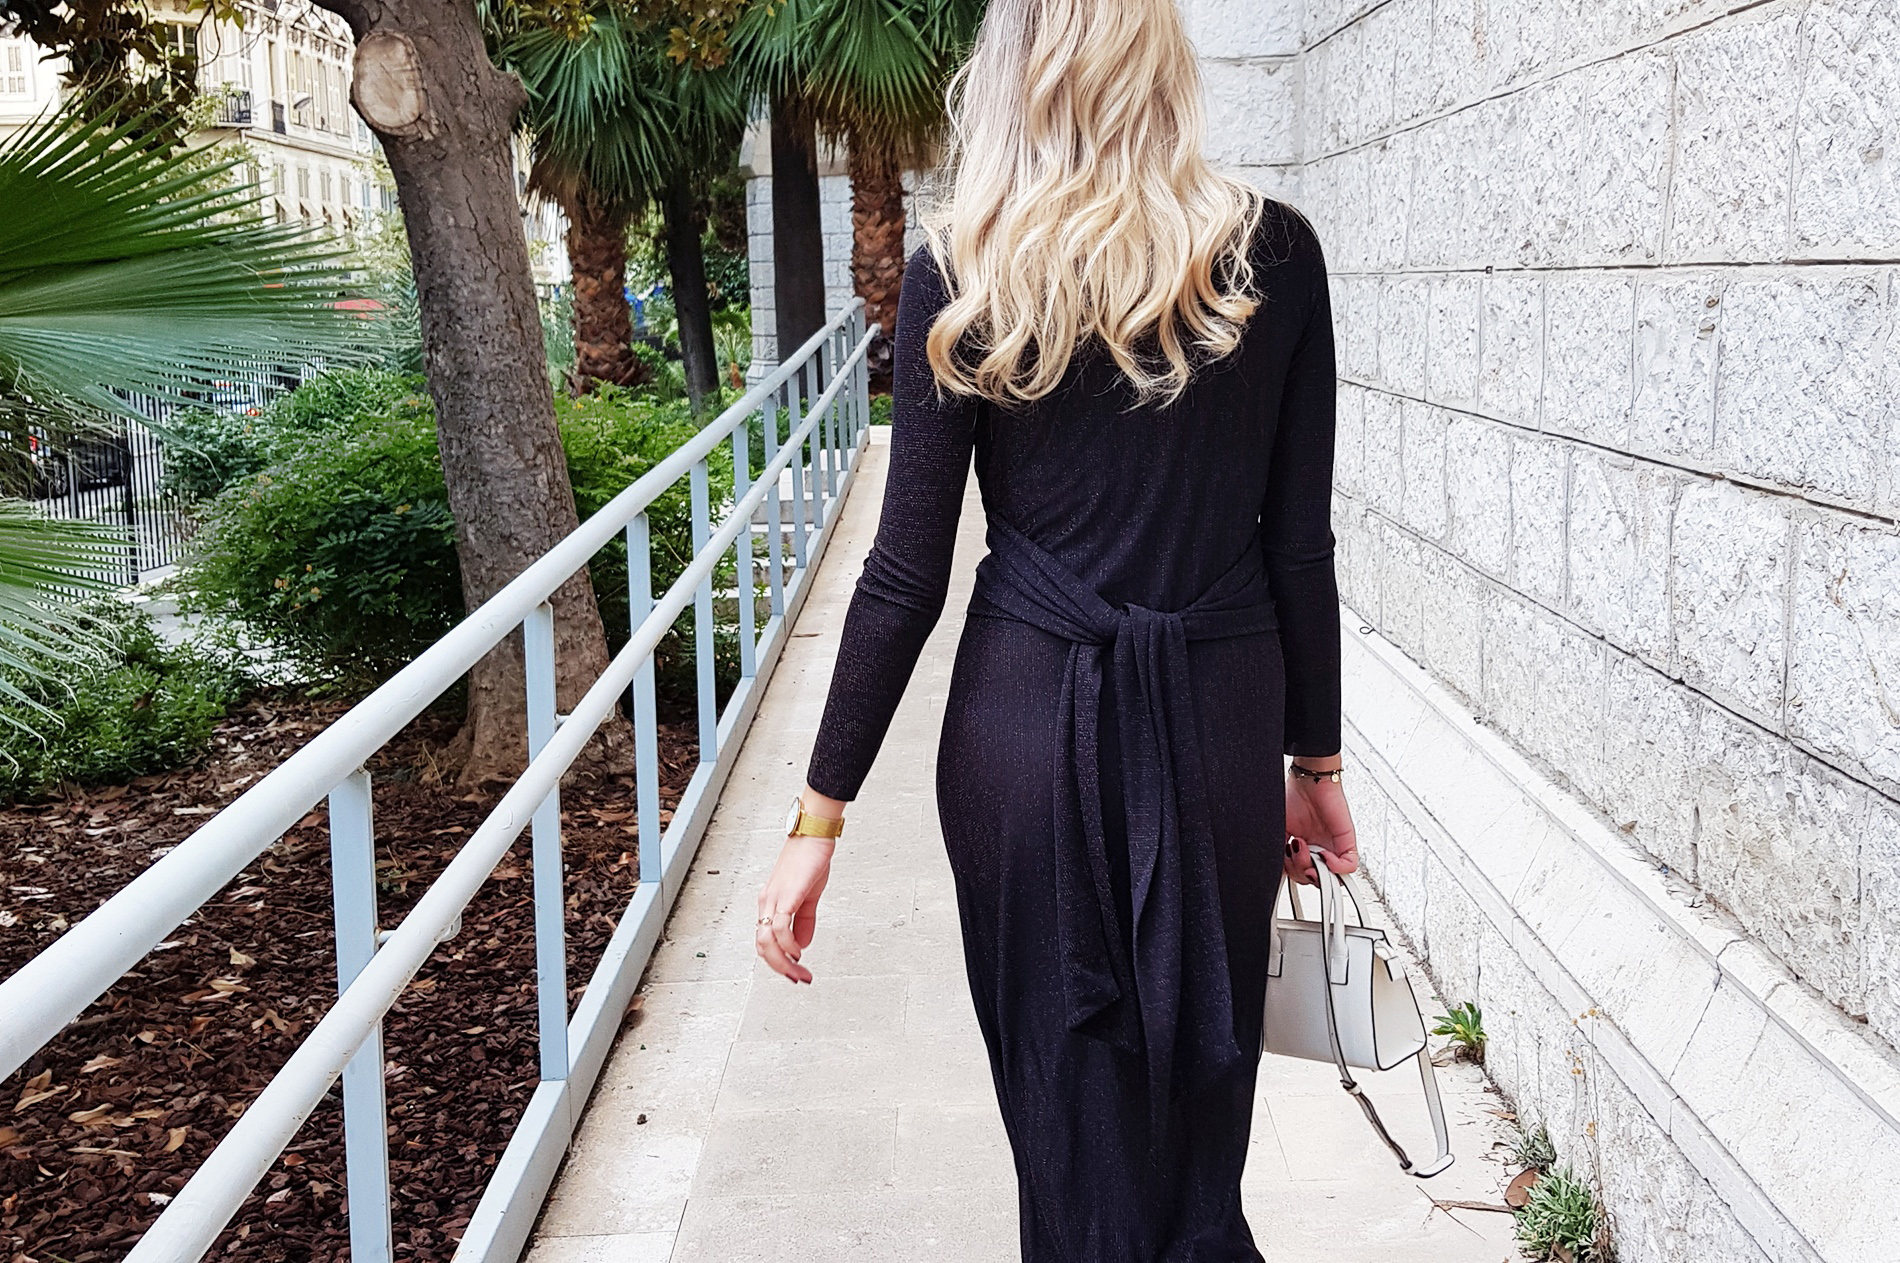
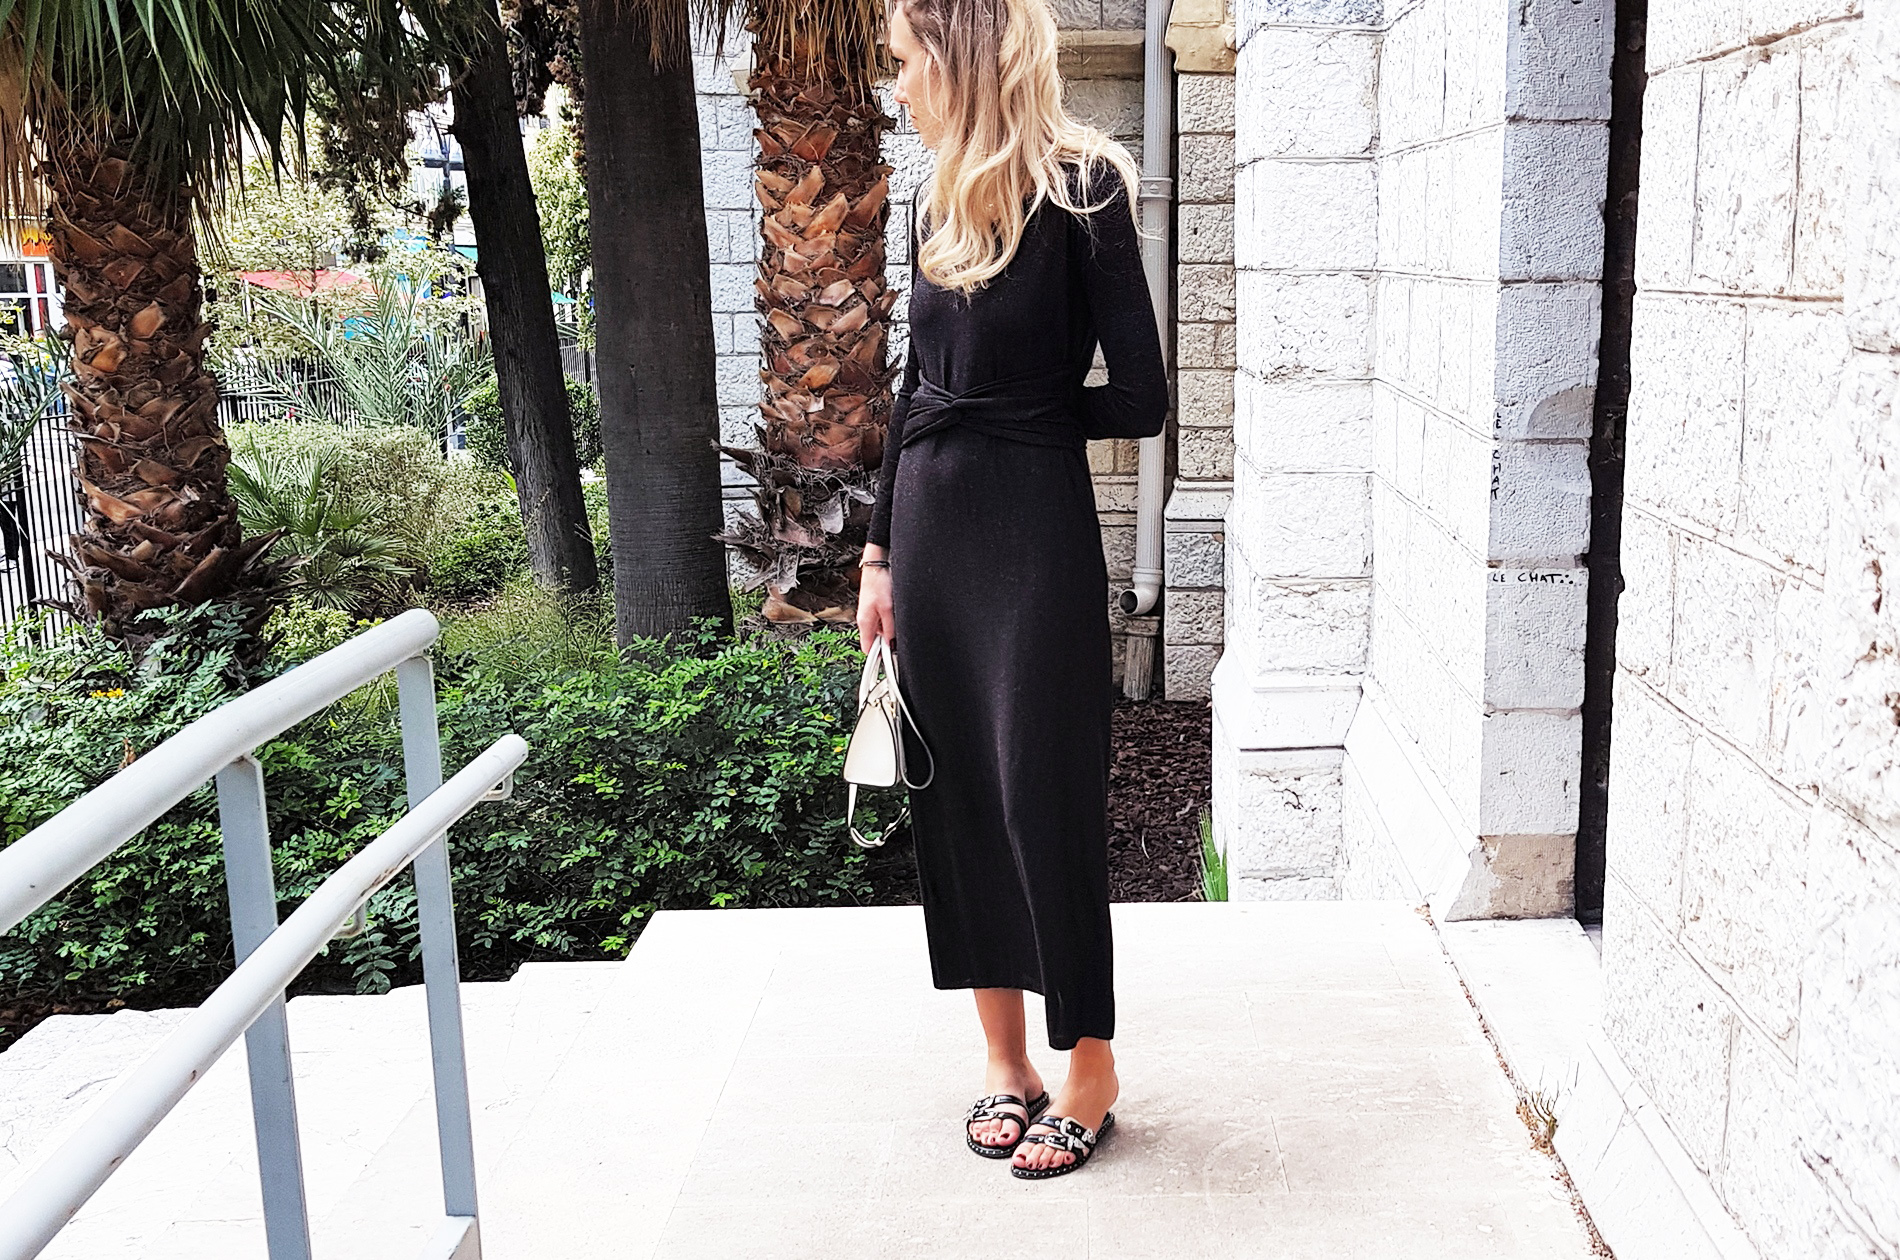
Et voilà.
xo,
Julia


0 comments:
Post a Comment
I would love to hear what you think and learn about your DIY adventures! If you use one of my tutorials, tag me on social @contour_affair, I'd love to see!