

So here's a basic, simple tank top, part of a 3-piece set that I can wear at home in peace.
The measurements below make a top with a semi-loose fit for my size EU36/US4, or a closer fit for a size up. You could also use an existing top you have to draft.
The measurements below make a top with a semi-loose fit for my size EU36/US4, or a closer fit for a size up. You could also use an existing top you have to draft.
Tutorials take a lot of time & effort to create, and I choose to make mine available for free. If you enjoy this guide, you can support my work with a donation that feels right for you, here.


 After those adjustments I liked the fit better:
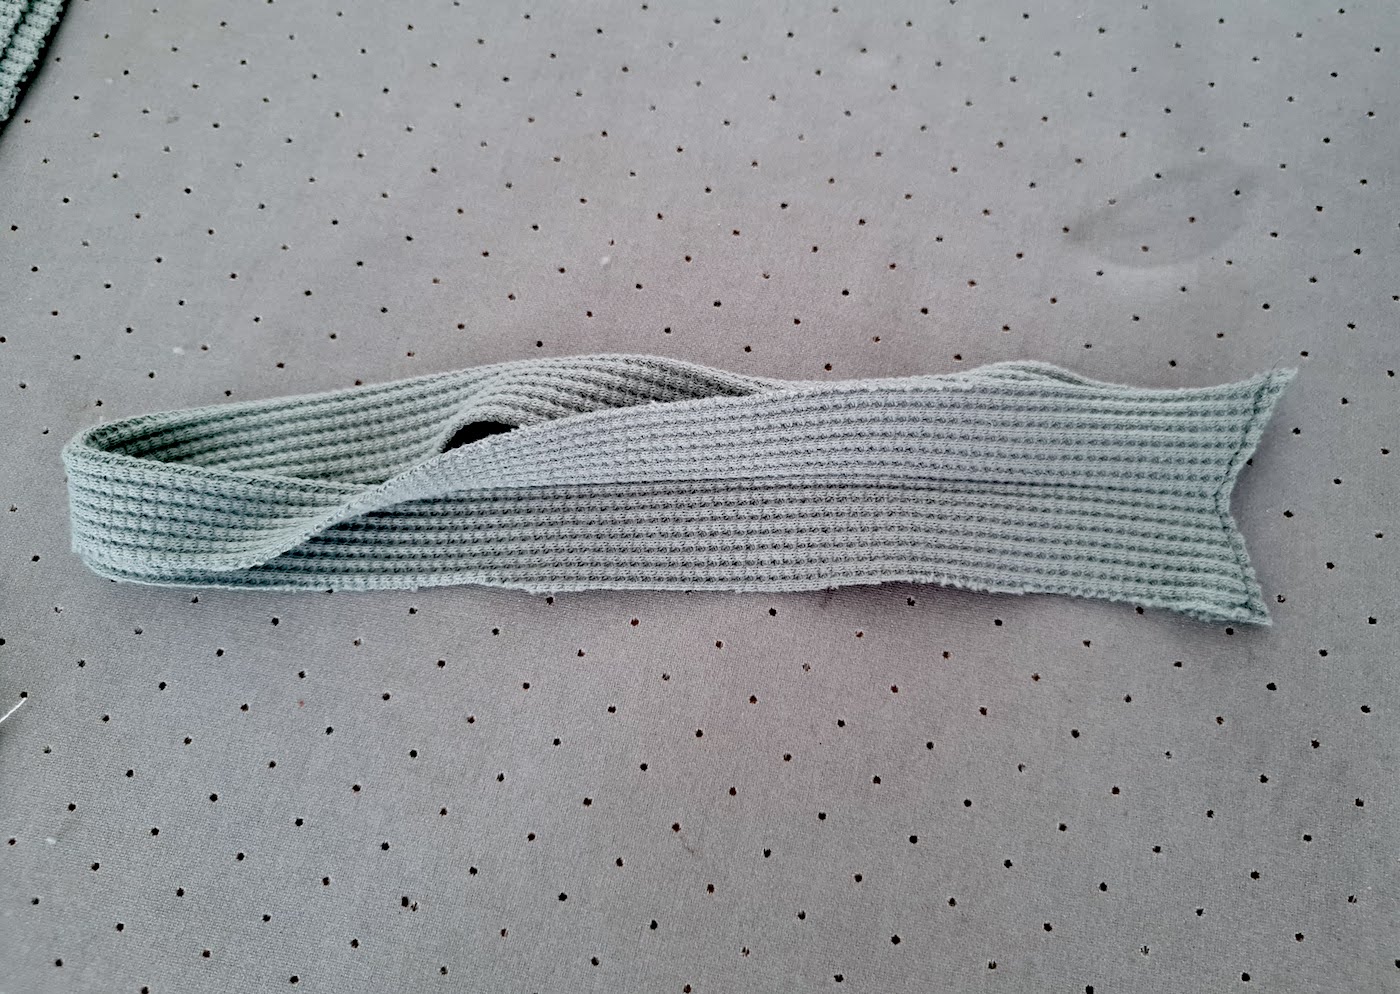
 I have more detail on this process in this post, but the key when sewing your trim ends together is to sew a triangular stitch like so:
 This creates the right shape to lay flat under the arm.
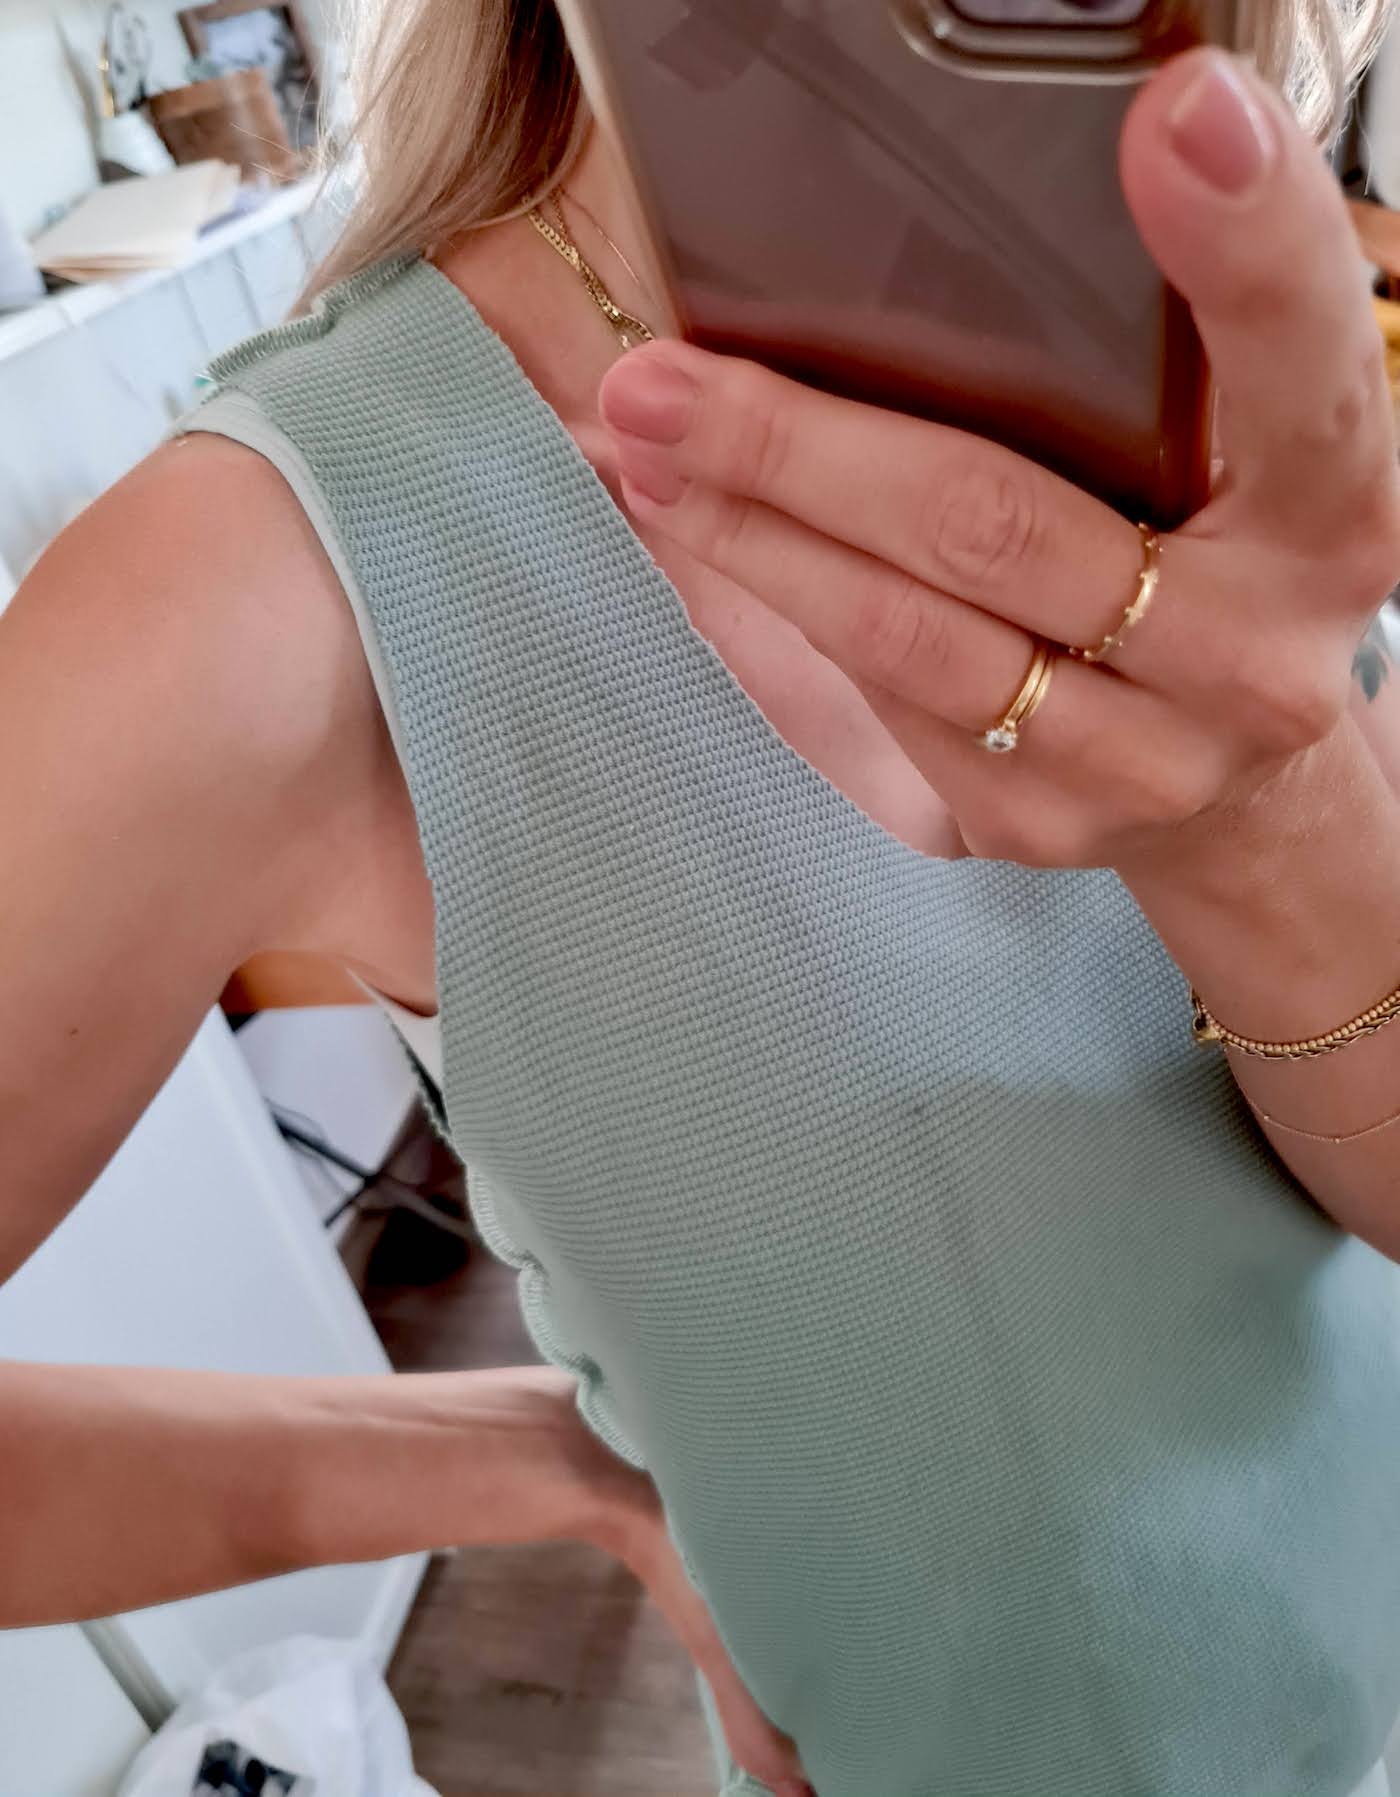
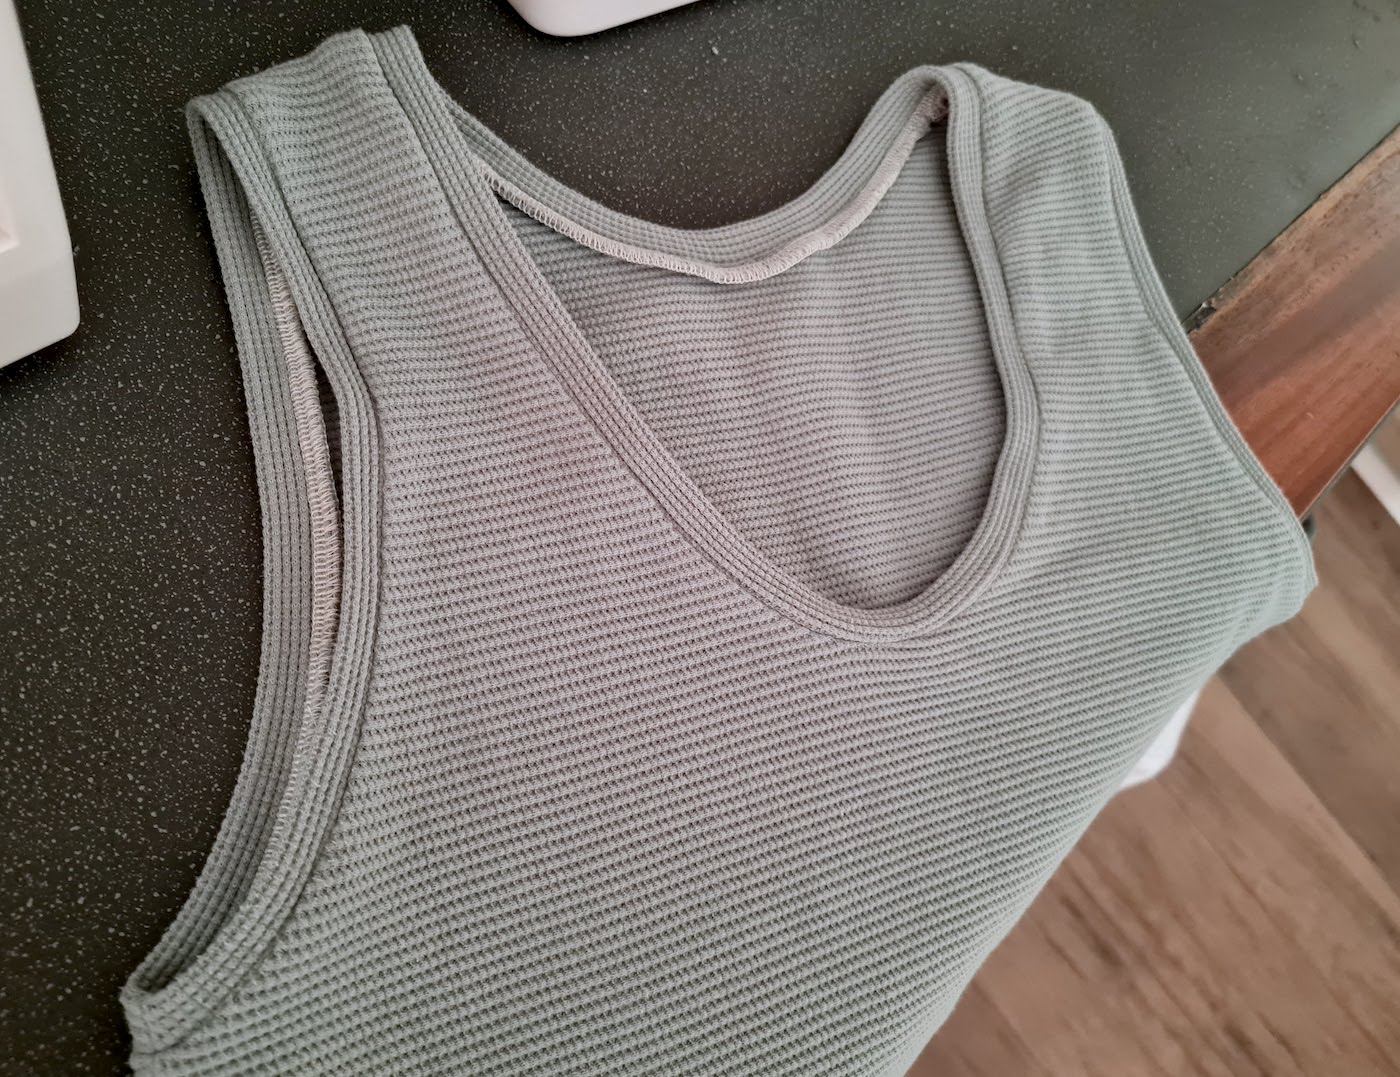
 After attaching the trim and pressing it up (pressing seam allowances towards top):
TOOLS:

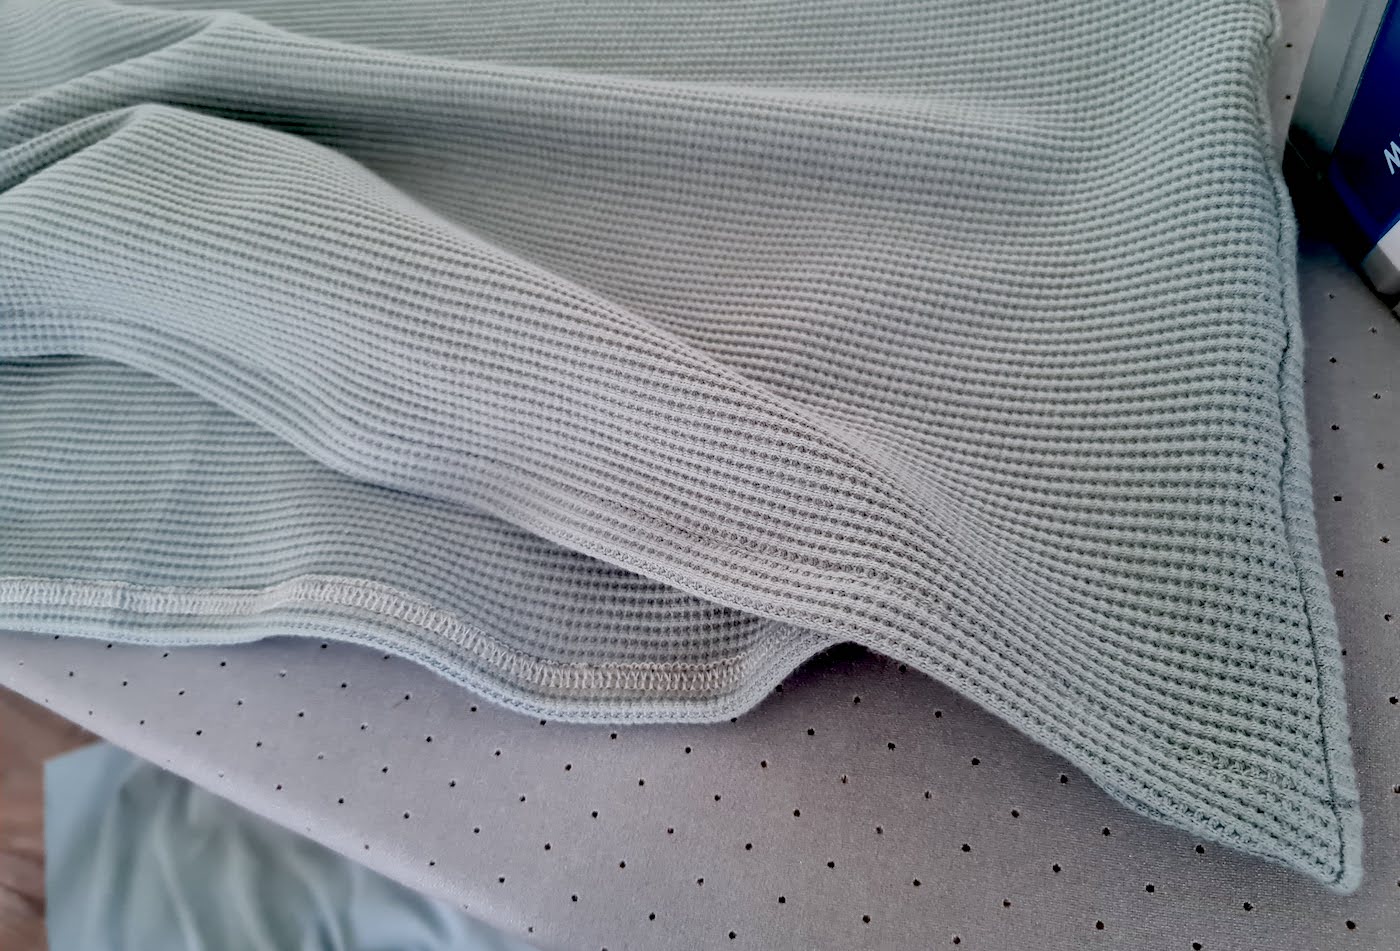
Fabric (any stretchy knit, I used this cotton waffle), 60 cm of 110 cm wide | Scissors | Pins | Sewing machine, serger if you have but not necessary
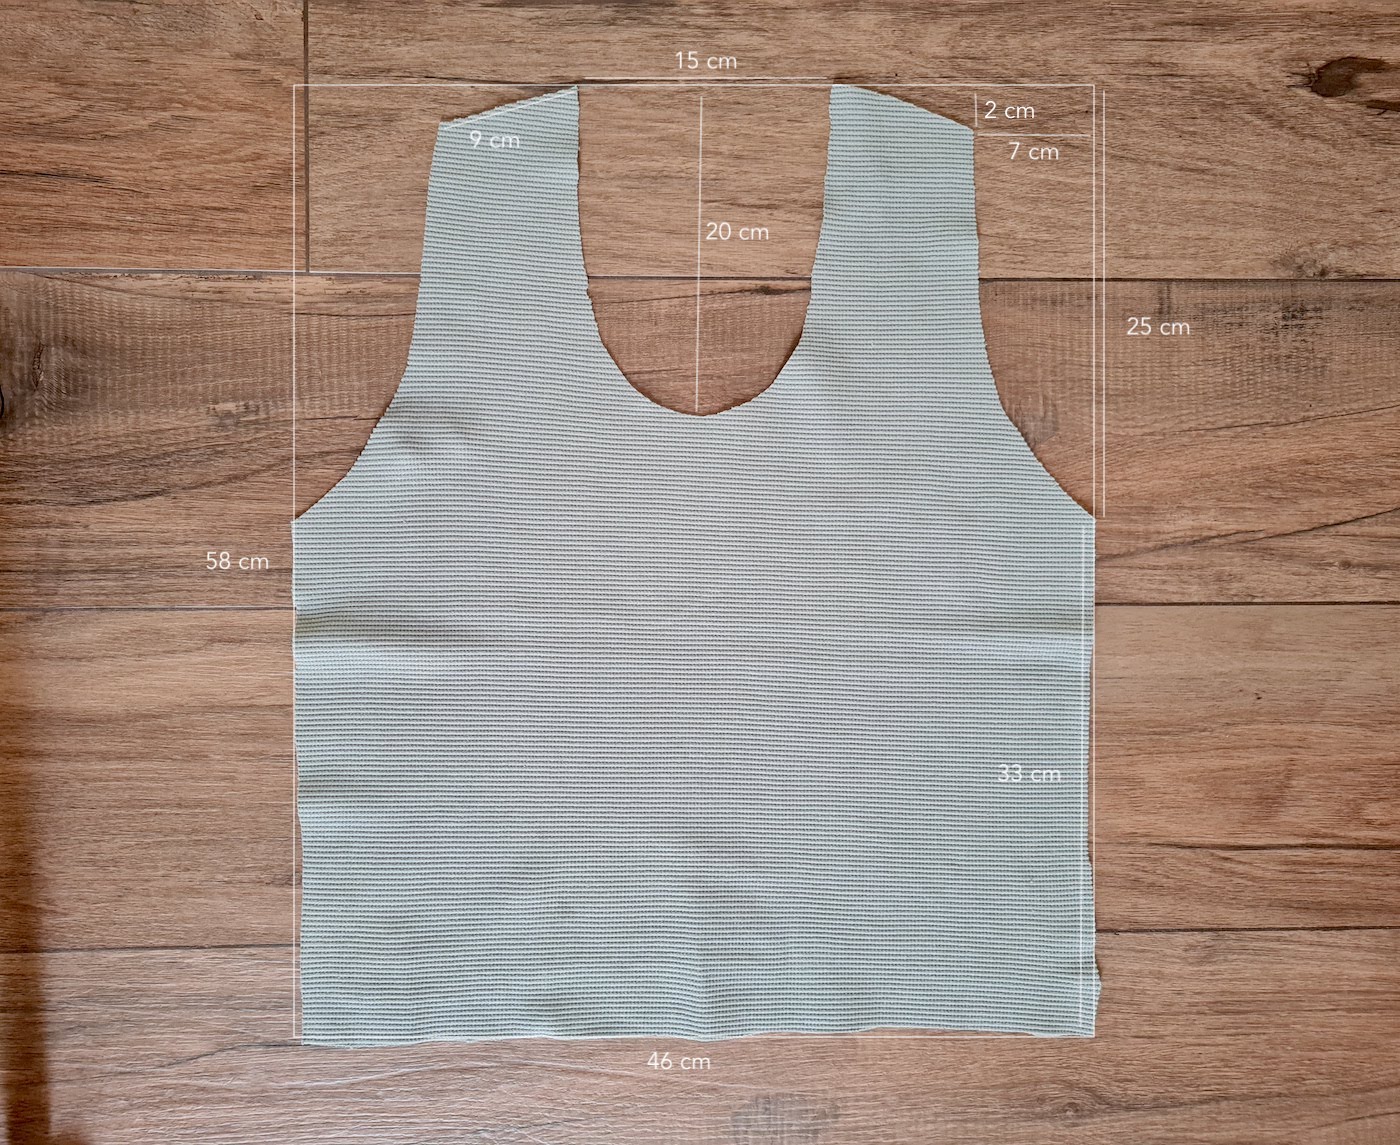
I. Here's my cut front piece - I've included a reference rectangle around the piece to help with drafting.
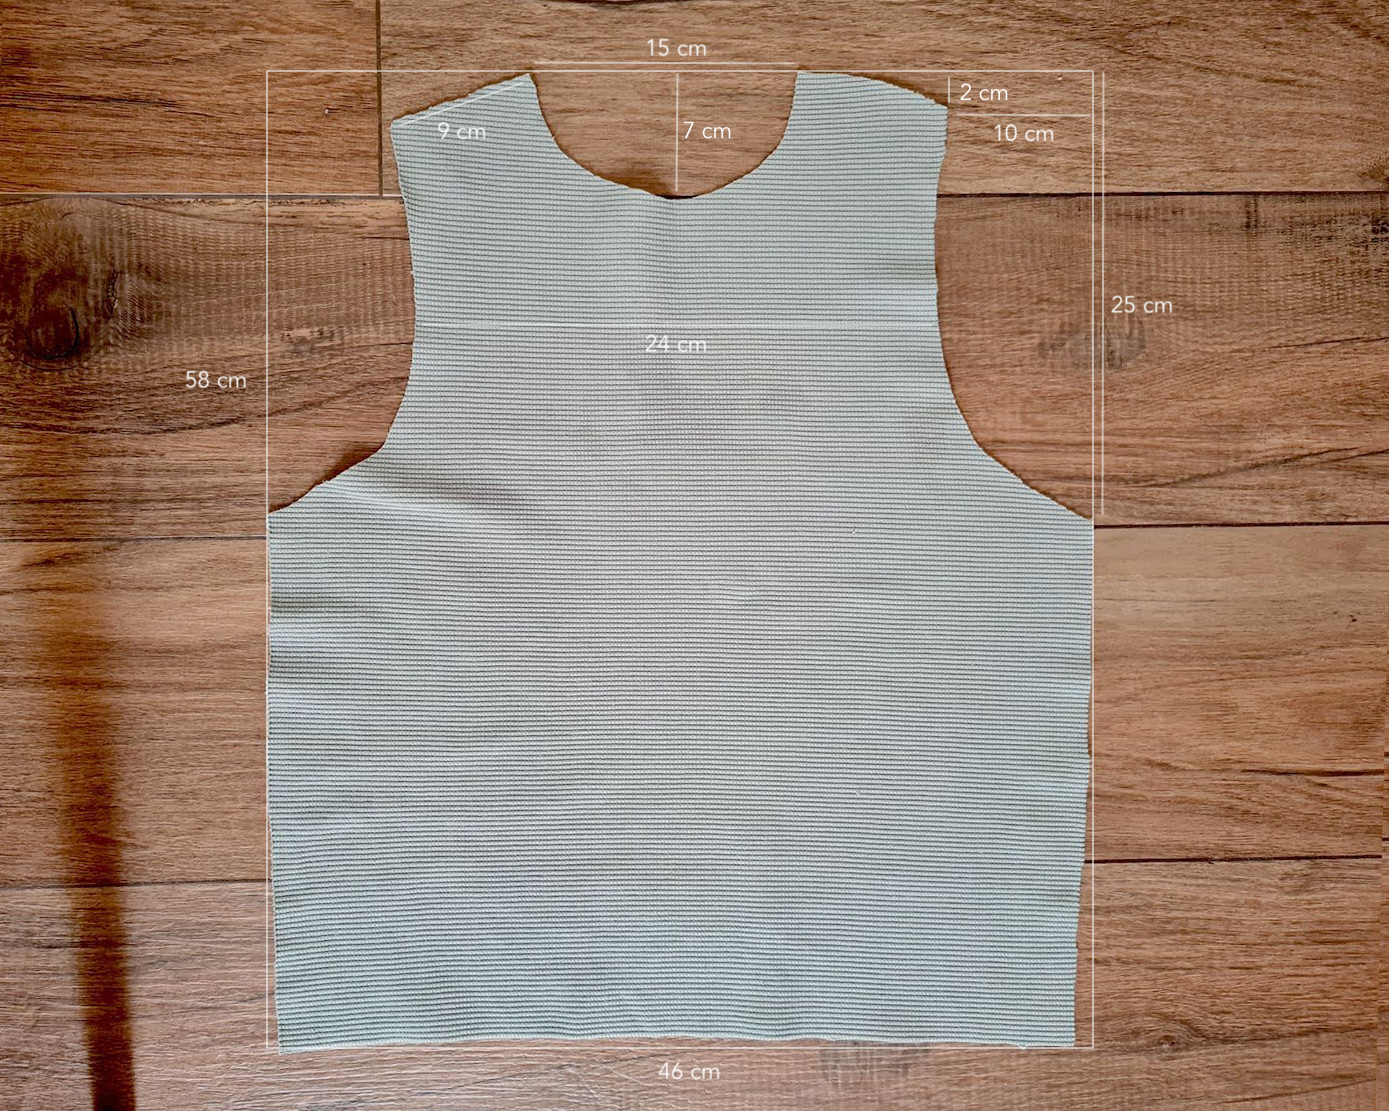
And the back piece:
II. First I pinned the shoulders and sides, right sides facing, and sewed them.
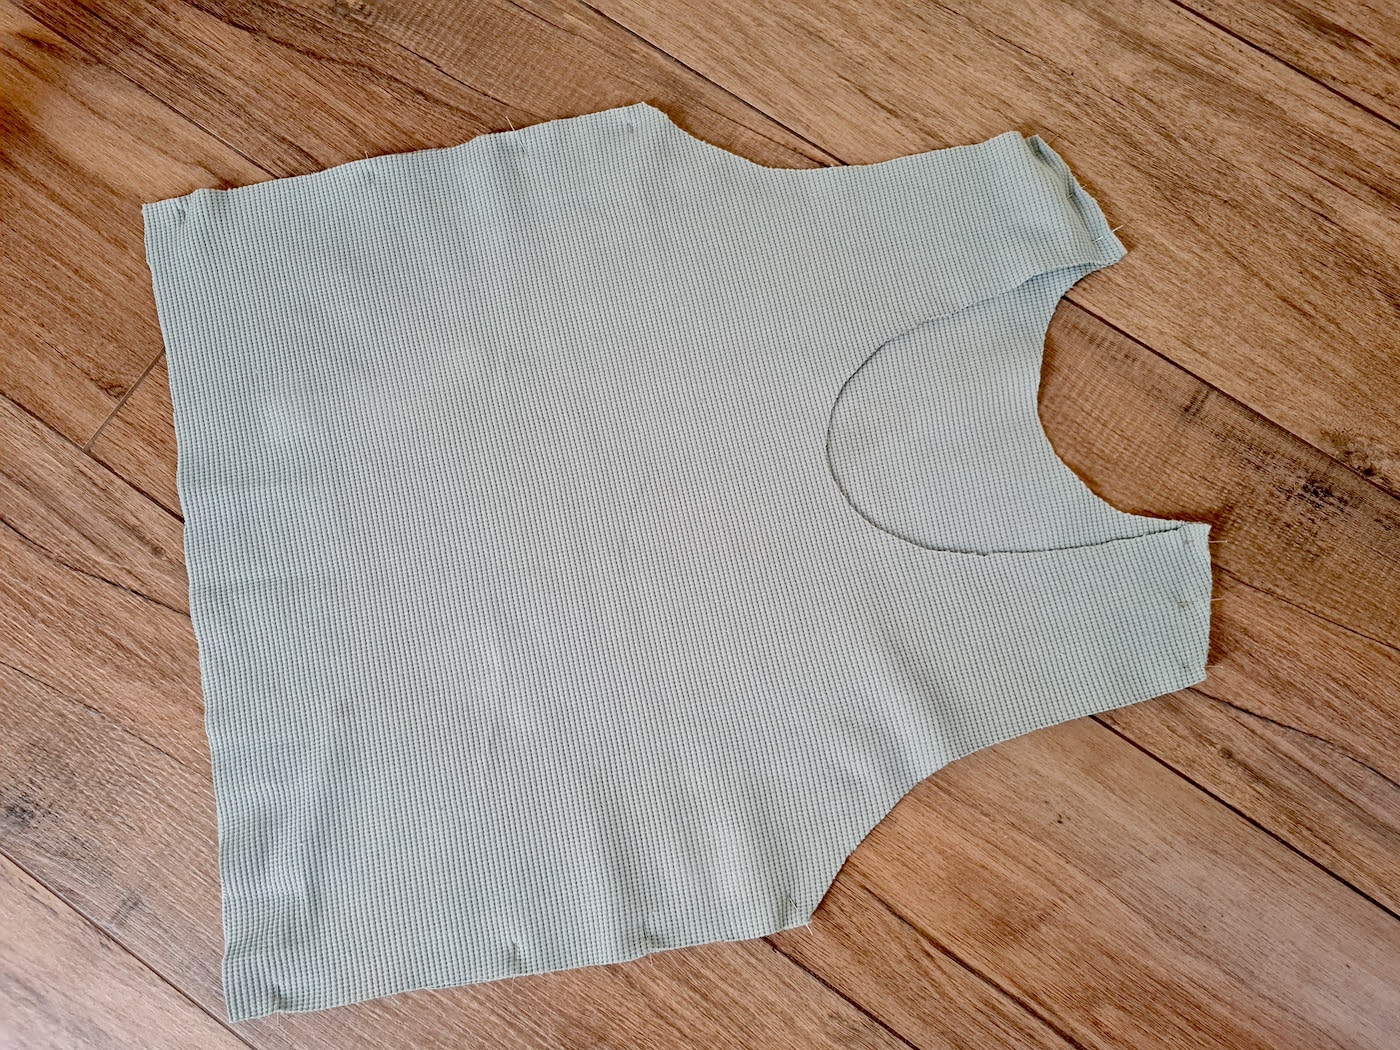
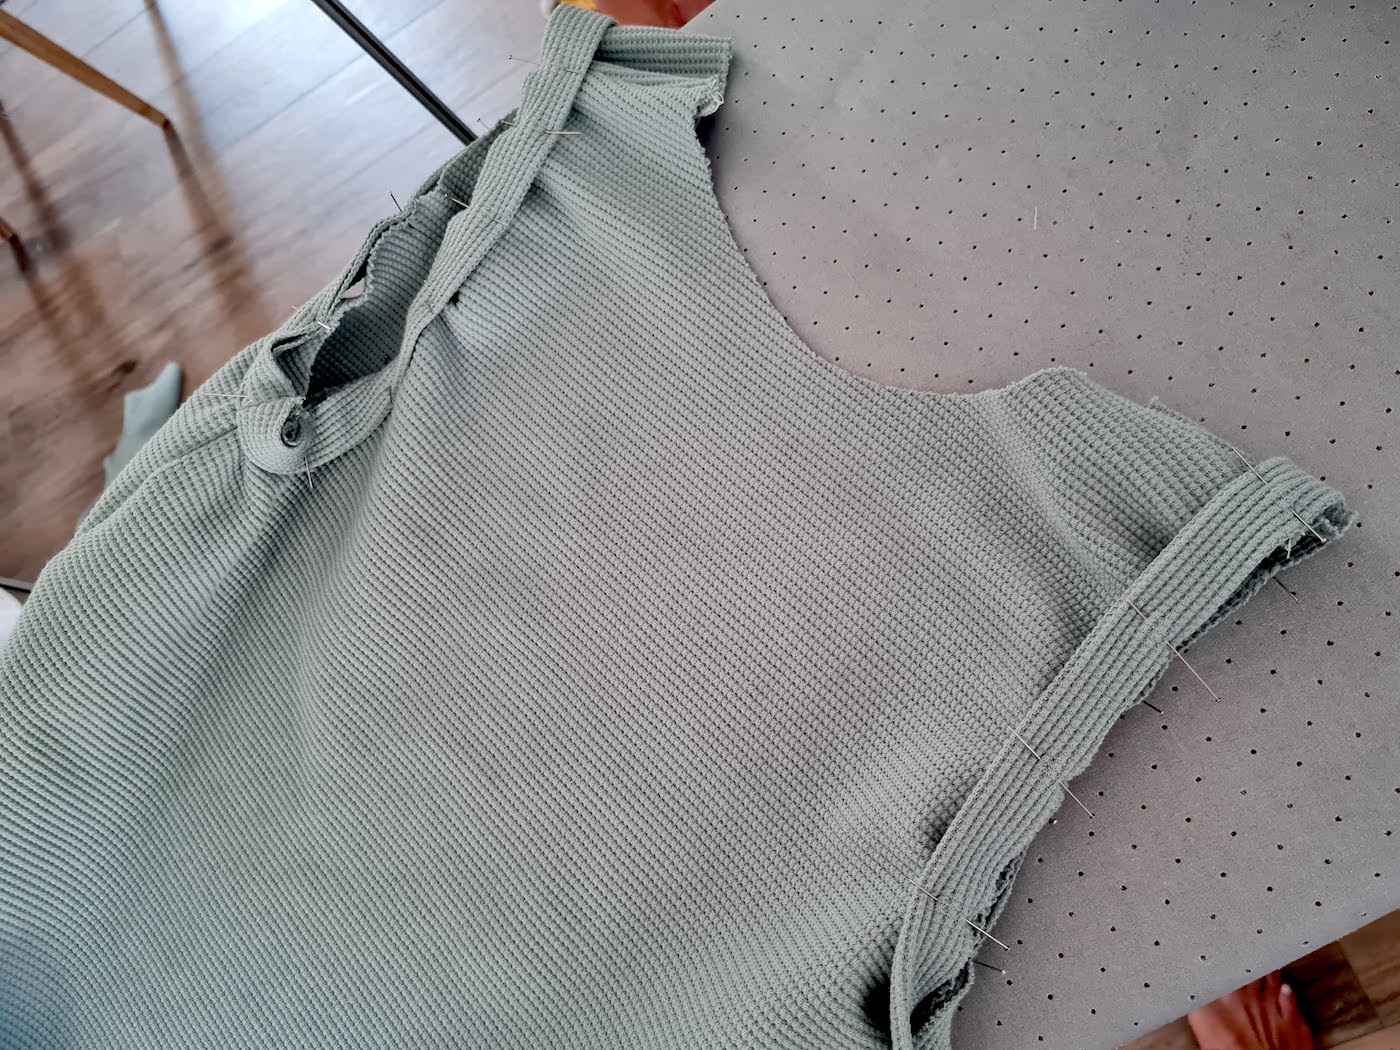
III. After that I checked for size. I had thought a loose fit was what I wanted, but I realised it wasn't vibing with the structure of the fabric. I made the call to take in a couple cm at the side seams under the arm, and trim a bit off the armscye as well (marked with pins below).

IV. Next I prepped my trim for the arm holes. I like to cut my trim at about 85-90% of the arm hole length:
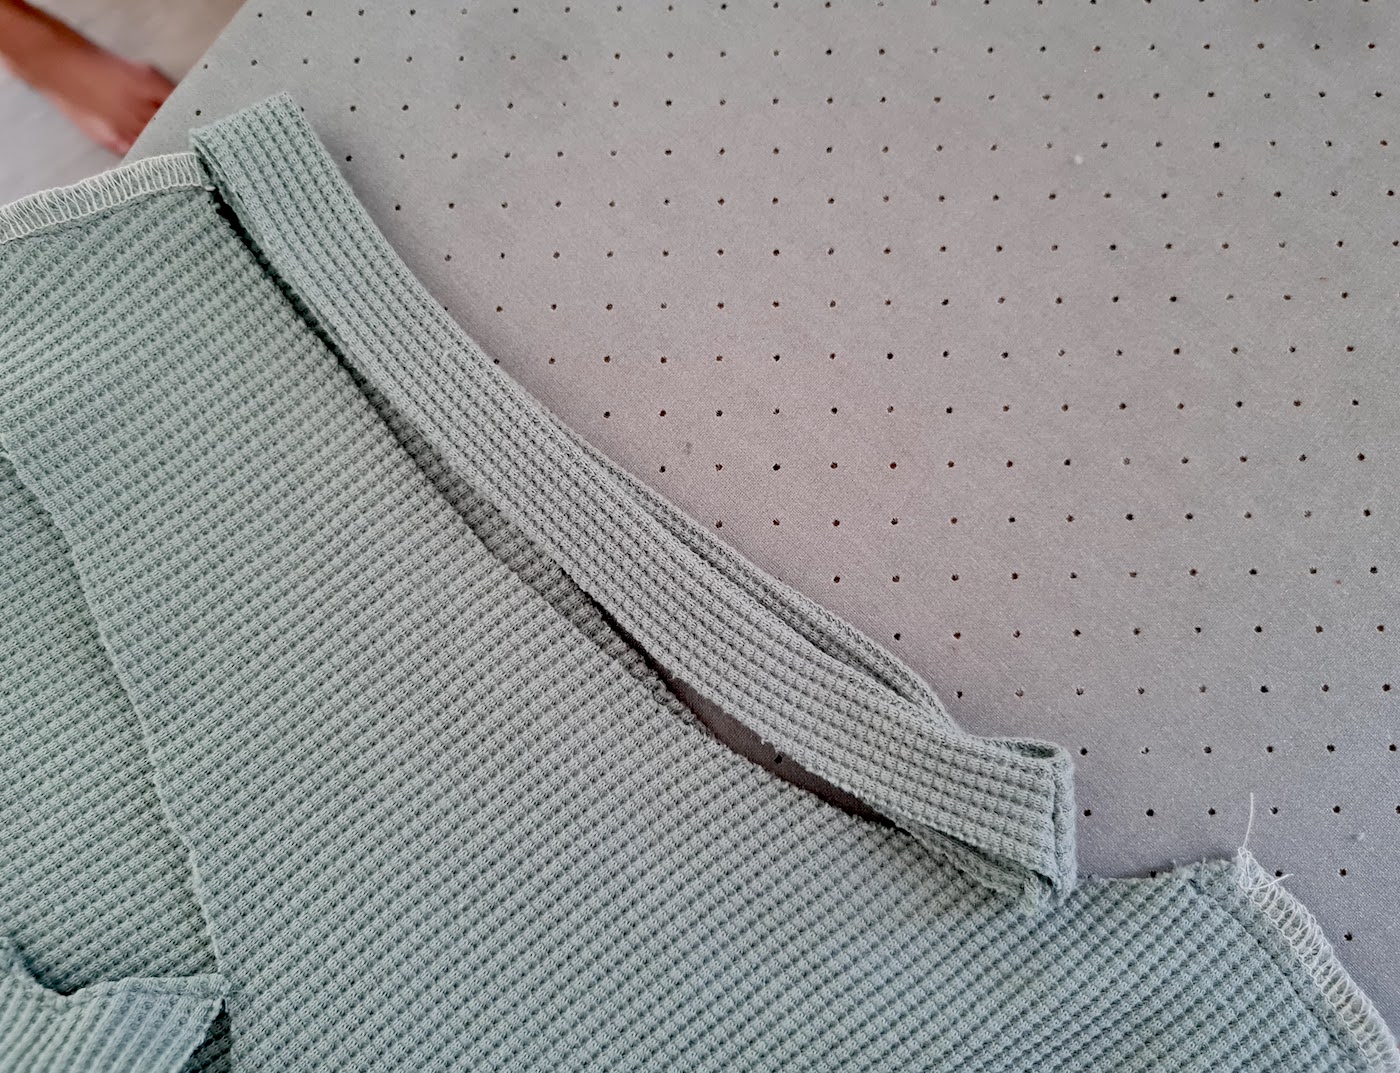

Below: trims pinned to top (after quartering = marking the quarters of the arm hole and the trim and aligning those), right side to right side, to sew around. For the neckline it's the same thing, only with that piece of trim, you can sew the trim ends together straight. Here's a video that walks through this pretty well.
V. Last step was hemming. I couldn't be bothered to set up my machine with a double needle.. so I just serged the hem and did a single fold which I straight stitched.
And done!


Julia


quality services
ReplyDeleteIt is simple to work with Netmiko because the commands are easy and clear. The setup works fast, and scripts run reliably. Netmiko allows engineers to automate network tasks efficiently and focus on more important work every day.
ReplyDeleteReactotron provides a smooth experience for checking applications and solving problems. The layout is simple, and the tools are easy to navigate. Reactotron helps developers save time and quickly find errors without any confusion while coding daily.
ReplyDeleteI find NVTOP an excellent tool for monitoring GPU usage in real-time. The interface is simple, and performance tracking works smoothly. NVTOP helps users understand device status quickly, making workflow more efficient and productive daily.
ReplyDelete